
New Options in the Lightroom Classic to Photoshop Workflow
The April update to Lightroom Classic (LrC) brought about some new options for consideration in your workflow when sending photos to Photoshop. LrC has a long history of being well integrated into working with Photoshop for tasks that either cannot be done in LrC or not done well enough. In addition, Adobe currently has a public Beta version of Photoshop available to those with a subscription, which offers a glimpse of what features may come in future versions. So many folks, me included, find themselves with more than one version of Photoshop installed and want a way to choose which version of Photoshop is used by LrC. In this article we’ll explore how to take full advantage of these new features.
Basic Workflow Tips
Before diving into the new features, I want to review a few aspects of the LrC to Photoshop workflow that should keep you out of trouble. First, make sure that when you update LrC to a new version you are also updating the Adobe Camera Raw (ACR) plug-in at the same time. When LrC sends a copy with Lightroom adjustments to Photoshop it uses ACR to render the photo that appears in Photoshop. Keeping those two programs at a compatible version will smooth out your workflow and ensure the photo is rendered correctly.
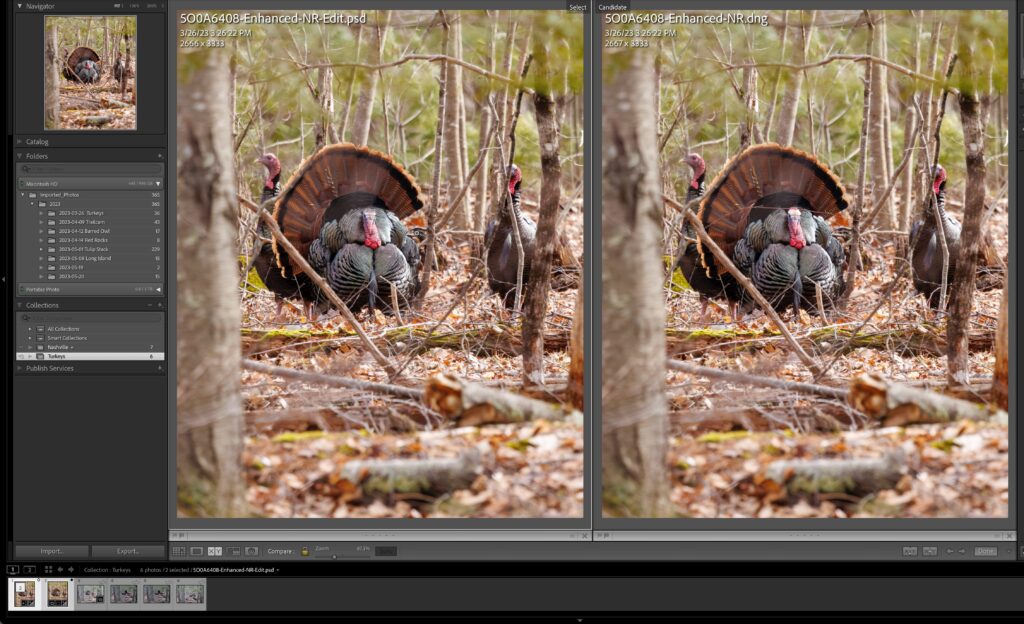
Second, pay attention to where you are selecting the photo in LrC before you send to Photoshop. If you use collections and you want the copy to be added to the same collection as the source photo, ensure you have the collection selected in the Collections panel (as opposed to a collection set or smart collection). If you only use folders, then ensure you have the desired folder selected in the Folders panel. Then make sure the sorting option for that collection or folder is set to Filename or Capture Time so that the resulting copy shows up right next to the source photo when your editing is done. Once you are done editing in Photoshop, use the File > Save command to automatically add the copy back to the LrC catalog and save it to the same folder as the source photo.
Since almost the dawn of (Lightroom) time, we’ve had the following choices under the Photo > Edit In menu for sending from LrC to Ps:
- Edit in Photoshop
- Open as Smart Object in Photoshop
- Merge to Panorama in Photoshop
- Merge to HDR Pro in Photoshop
- Open as Layers in Photoshop
Ever since the Photo Merge options were added to LrC for creating panoramas and HDR (and HDR panos) I think most of us have stopped using those options within Photoshop, but it is worth noting they still work and can be useful if LrC’s own functions don’t deliver desired results. The April update allows us to choose the version of Photoshop (based on what’s installed on your computer) and adds a new option to Open as Smart Object Layers in Photoshop, which provides the most flexibility for a non-destructive workflow when using multiple photos on layers. Let’s look at how to use those new options.
Choosing Photoshop Version
Historically, the latest version of Photoshop installed always became the primary external editor without any way to change that, and if you only had one version of Photoshop installed, then it wasn’t really a problem. However, there can be good reasons to have more than one version of Photoshop installed, and if so, you may want LrC to send the copy to a specific version of Photoshop for a given job. For example, perhaps you have the new public Beta version of Photoshop installed, but because it is a Beta version you don’t want to use it for some photos. Alternatively, you might have an older version of Photoshop installed because it still works with a favorite old plug-in, and you might want to use that sometimes. Whatever your reasons, the April update for LrC allows us to choose the desired version of Photoshop from the LrC preferences. Here’s how:
Step One: Ensure you have LrC version 12.3 (or later) installed.
Step Two: Go to Lightroom Classic > Preferences > External Editing (PC: Edit > Preferences > External Editing) to open the preferences.
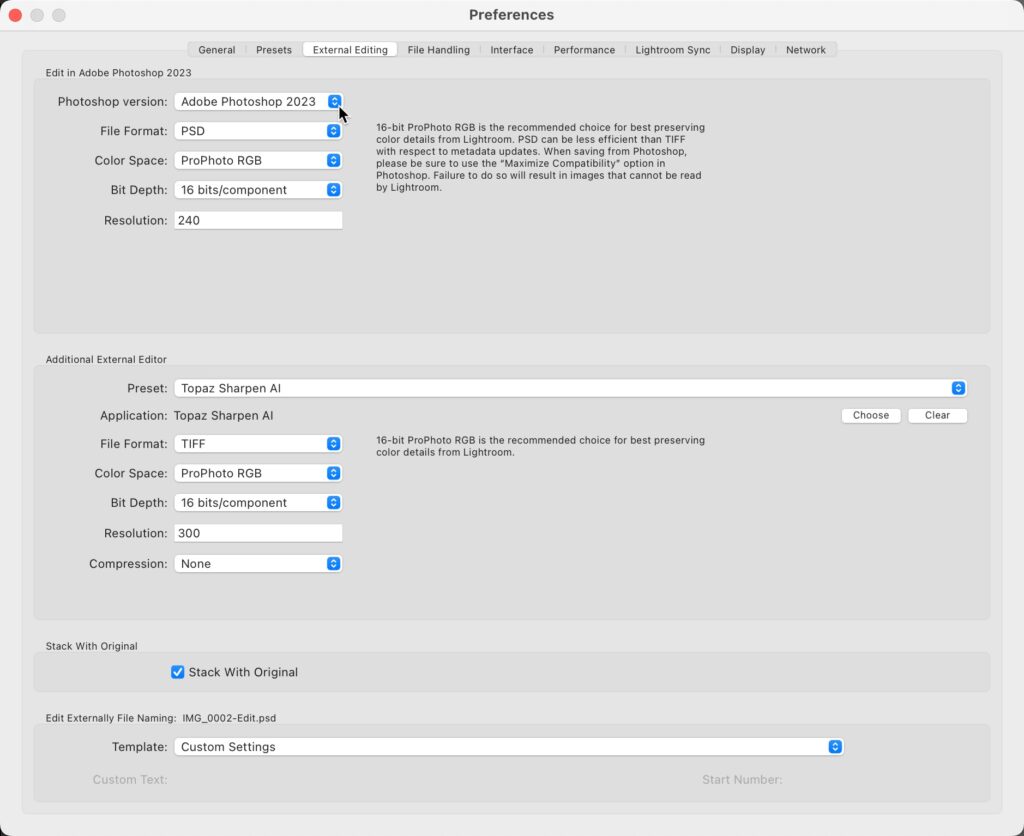
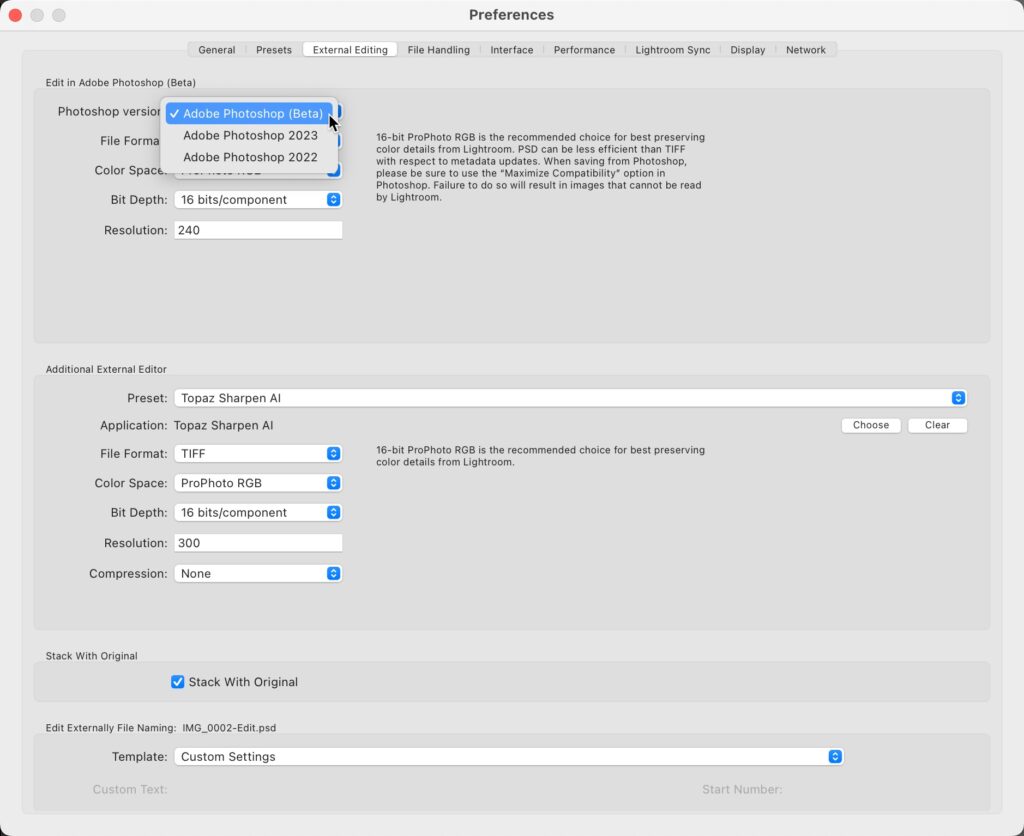
Step Three: Click the Photoshop Version drop-down menu and choose the desired version of Photoshop (if you have more than one version installed), then close the preferences.
Heads up, at the time of this writing there seems to be a bug in the Windows version of LrC affecting this feature, as I’ve heard from some folks on Windows that no drop-down appears. It is being discussed on the Adobe forum, but I’ve not seen a definitive solution yet. Hopefully this will be resolved soon if it affects you.
In this instance I’ve chosen the Adobe Photoshop (Beta) so that I can experiment with the new Remove Tool on one of my photos. As you can see from the screenshot, I also have an older version of Photoshop installed, and I could’ve chosen that if it fit my needs. Now I can use the Photo > Edit in > Edit in Photoshop command or Command+E (PC: Ctrl+E) as normal and the copy with Lightroom adjustments (because it is a raw photo with edits) will simply open in Photoshop Beta.
Side note, check out this video created by Adobe on how to install Beta apps if you are interested in testing them.
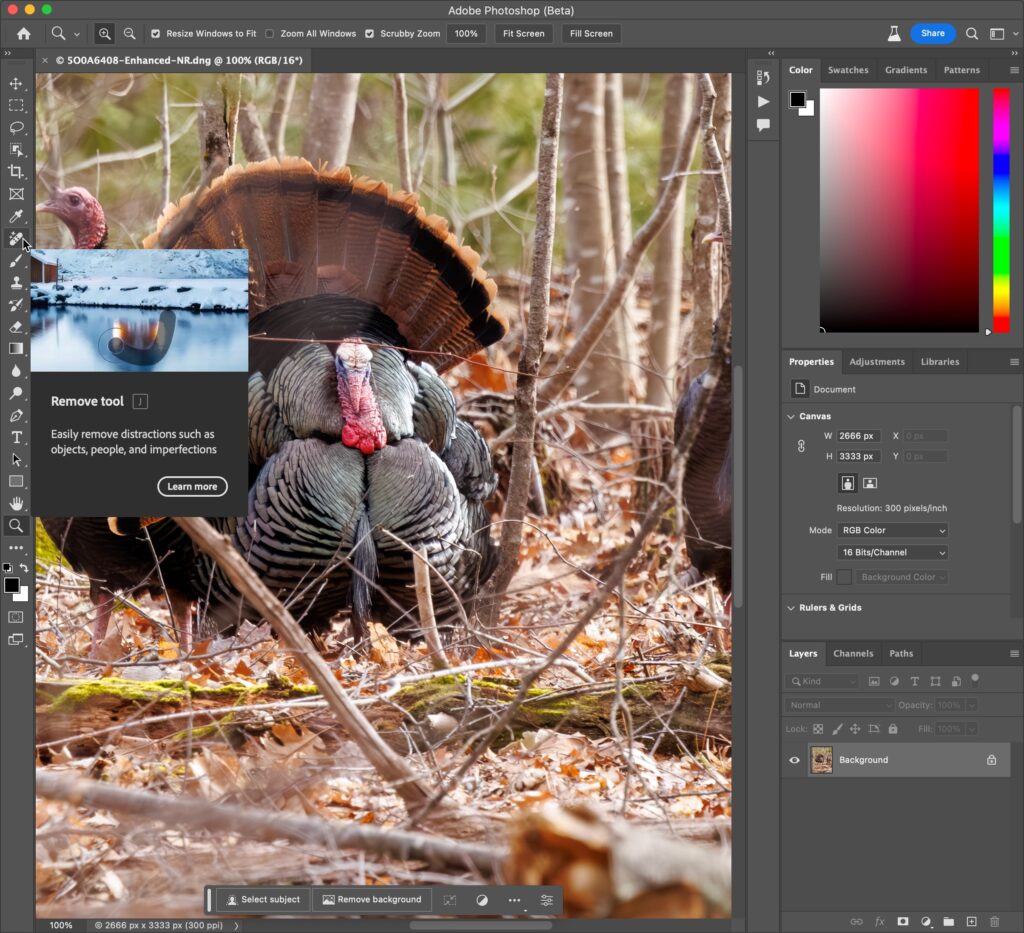
The Remove Tool in Photoshop Beta uses AI to replace the area you brush with new pixels in an amazingly realistic way (learn more about the Remove Tool). There may still be areas that need more TLC with another tool, but I was impressed with how well it removed the branch in front of this turkey’s face. When the editing is done, use the File > Save command as normal to add the copy to your catalog and then return to LrC.
Tune in next week as we finish up this look by exploring new options for opening as smart objects in Photoshop from LrC.


Unfortunately as pointed out, the default “open in photoshop” offers only one option in the drop down menu in lightroom classic preferences under external editor. The version of photoshop that opens is defined by the version of photoshop last updated. A workaround is to uninstall and reinstall a preferred version of photoshop (keeping preferences) Some have also reported that prior opening a desired version of photoshop will open in that version when opening from lightroom classic.
Marty, Are you on Windows? The new ability to chose which version of Ps opens works fine on Mac. I hope the issue affecting Windows is resolved soon. Glad you found a workaround for now.