
This is one of those little things that actually is way more powerful than it first seems (or sounds), but it actually has the power to change your workshop from this day forward. The button itself doesn’t have a very ‘sexy’ name, but what it does makes it a workflow superhero. It’s the ‘Previous’ button. Here’s how it works:
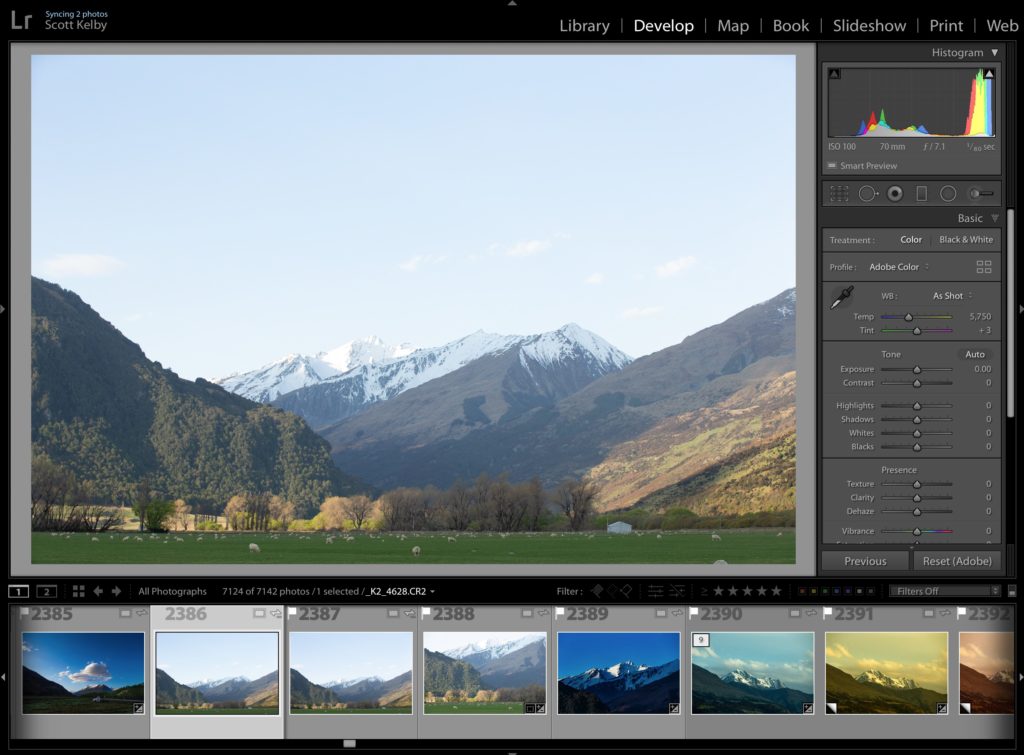
STEP ONE: Here’s our original image. Kind of washed out and “meh” looking.
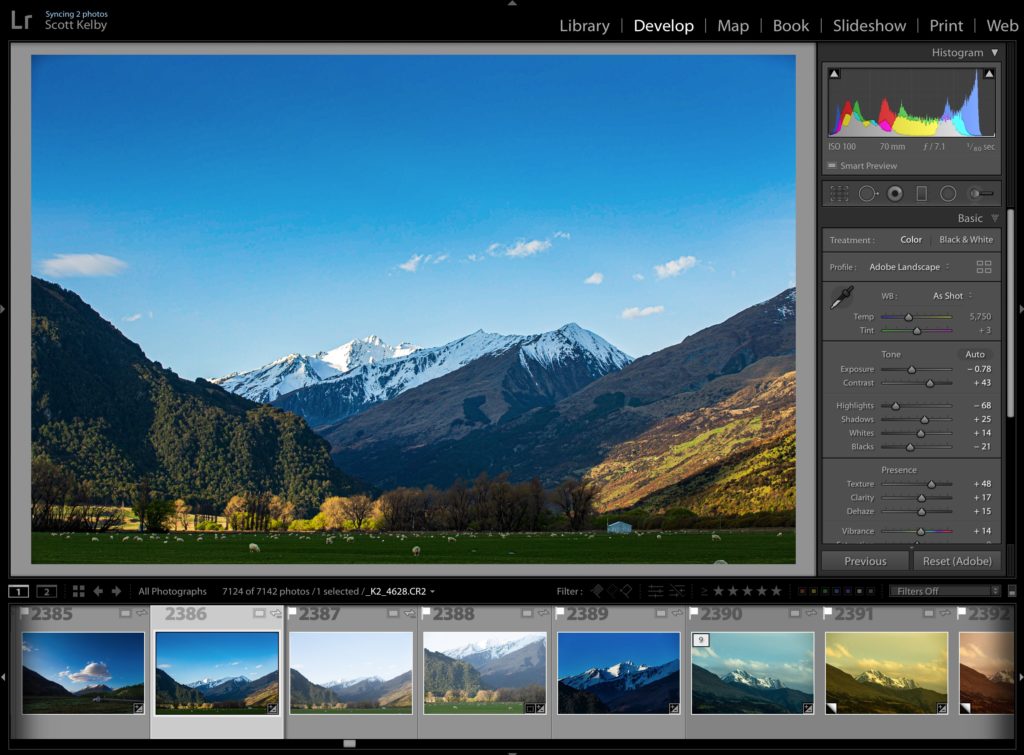
STEP TWO: So we tweak the settings in the Develop Module to make it less “meh.” Lots of contrast, some Dehaze to cut the haze, some Texture to bring out detail, a graduated filter to darken the sky — the standard stuff.
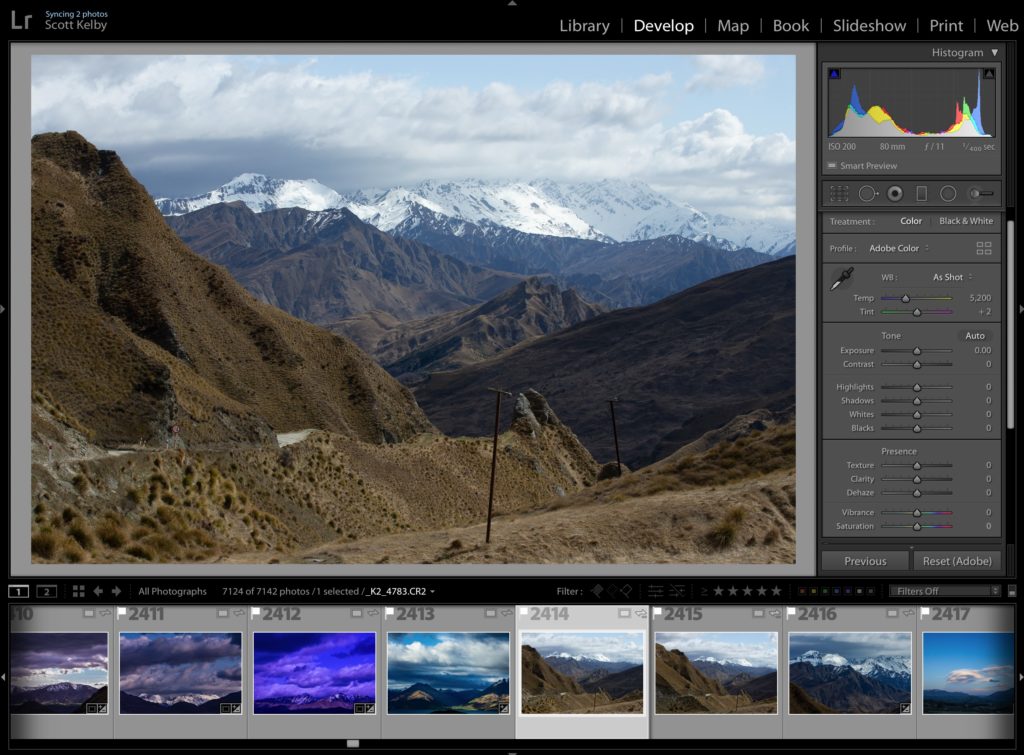
STEP THREE: Here comes the fun part. Now that you’ve got that image done, you can scroll through your entire shoot, and when you see an image where you want to apply that same look, you just click the Previous button, and it applies the edits you did to the previous photo to this photo. Take a look at the image above. Kind of ‘meh,’ right? Go to the next step.
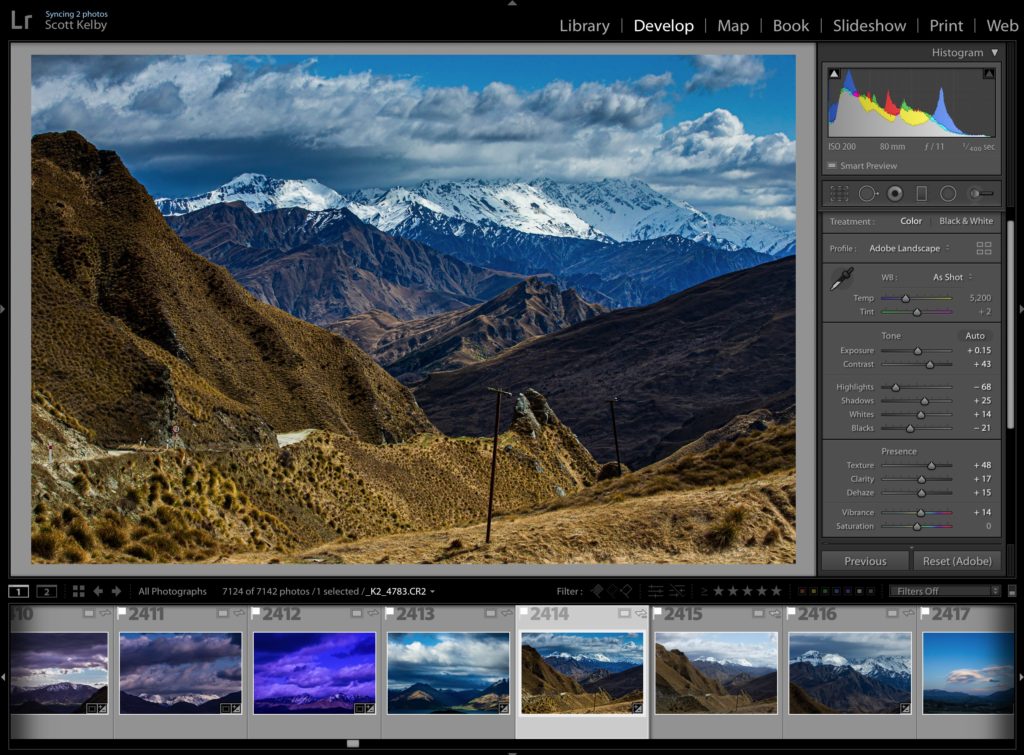
STEP FOUR: Hit the Previous button, which applies the same edits to this image. In this case, after hitting the Previous button, I thought it was a little too dark, so I just dragged the Exposure slider a tiny bit to the right. Boom. Done. Huge time saver.
Now anytime you see an image that you want to have this set of edits (including the little exposure boost I just gave this one), just click the Previous button, and whatever you did to the previous image gets applied to this image.
Hope you found that helpful, and here’s wishing you a fantastic weekend!
-Scott
P.S. I am super-psyched to be giving the opening keynote presentation at next month’s ClickCon Conference in Chicago. I’ll be doing the whole keynote about all the wild AI-powered stuff in Photoshop and I’ve got some absolutely mind-blowing stuff to share. How you can make it (here’s the link with details on ClickCon).

