
A Look at Filtering: Part 3
This week I wrap up my mini-series on filtering in Lightroom, so be sure to check out part 1 and part 2 for the background on the Library Filter that leads to …
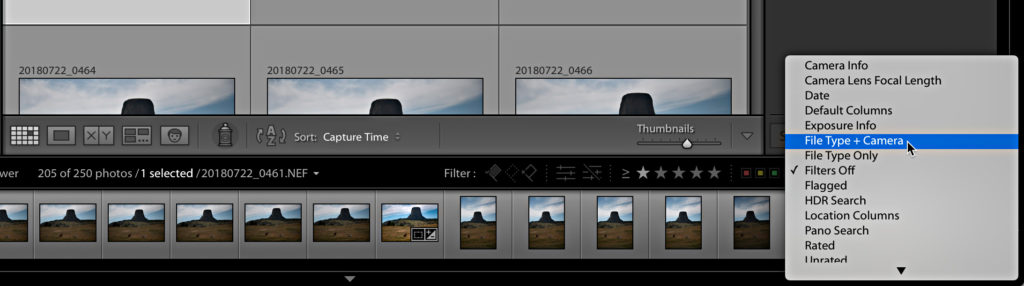
Filmstrip Filter
All of these filters can also be accessed right from the Filmstrip while you are in any of the other modules. Way over on the top-right side of the Filmstrip is the Filter section. Click the word Filter to expand the options (a second click will collapse them). The drop-down menu there gives you access to all the same filter presets as up in the Library Filter. The little light switch at the end turns the filters on or off. Don’t forget you can even change sources from the Filmstrip by clicking the path displaying the current source.
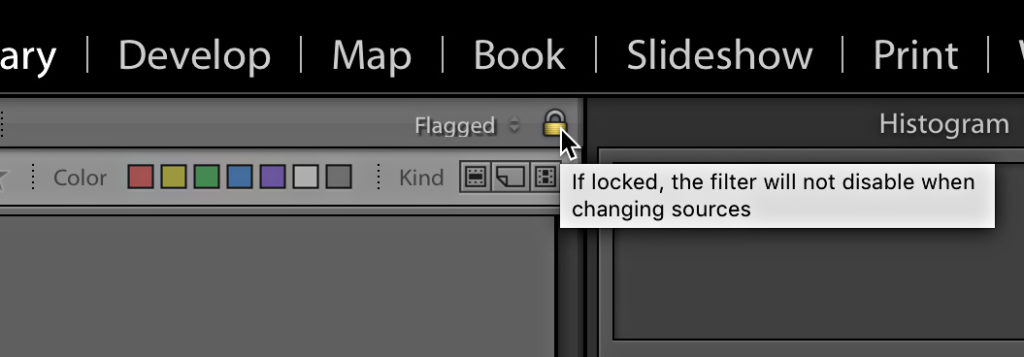
Locked and Unlocked
There are times when I want to apply the same filter to more than one source when I am gathering up photos for a project. The little lock icon at the end of the Filter bar will lock the current filter as you change sources when the lock is closed. When the lock is open you have to manually enable the filter if you change sources.
Did you know it is possible to lock a unique filter to different sources? It may be kind of an edge-use case, but it is there if you ever have the need. Let’s say you wanted to filter one folder on all photos that are 4 star and above, and another folder for all photos with a pick flag so that you could switch back and forth between sources without having to change the filter each time. Here’s how:
Step One: Select the first source and set the 4 star and above Attribute filter, then click the Lock icon.
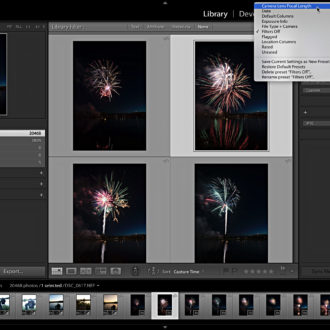
Step Two: Go to File > Library Filters, and check Remember Each Source’s Filters Separately.
Step Three: Switch to the second source and set the pick flag only Attribute filter.
Step Four: Switch back and forth between sources and you should see a unique filter applied to each one.
Clicking the lock icon again to unlock the filter will disable the unique filters when you are done with the project. File that away for the future.
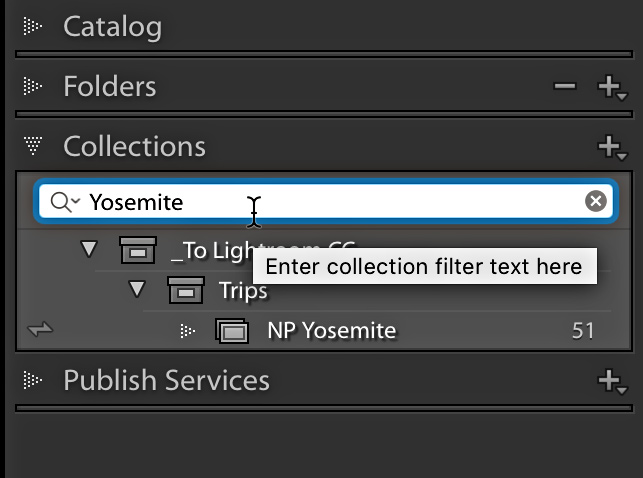
Filter Within Panels?
Have you ever noticed the little search field at the top of the Folders, Collections, and Keyword List panels? They are easy to ignore and overlook, but each is wonderful tool for filtering the contents of each panel respectively. I have hundreds of folders, nearly as many collections, and thousands of keywords. Instead of clicking and scrolling through each of those panels to find what I am looking for I can just type a few letters and the contents of each panel is filtered in real time! This is a huge time saver.
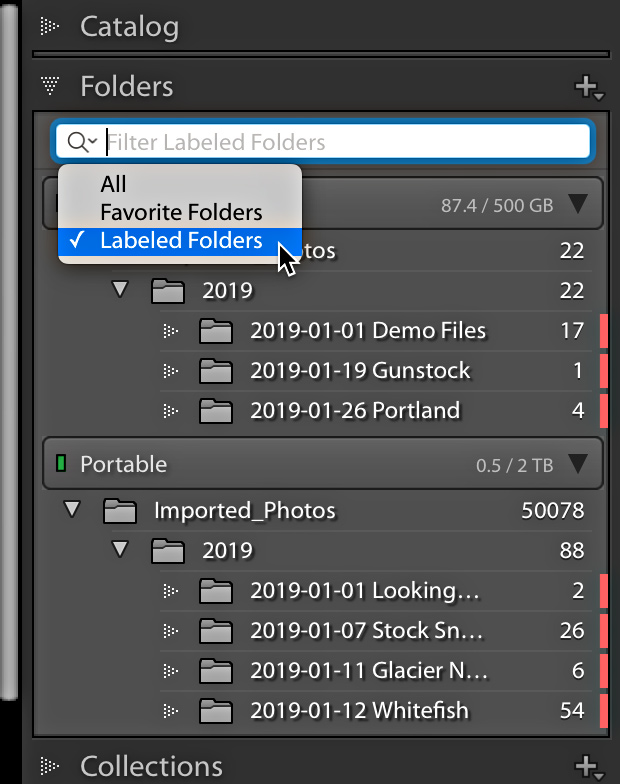
Here’s a simple example of how I use the filter in the Folders panel. Back in the Lightroom 7.4 update we gained the ability to assign a color label to folders. I decided I would assign all folders for the current year the color red. I did this because I work from the internal drive when photos are first imported, and then I use Lightroom to move the folders to an external drive later to preserve the space on my internal drive. This particular catalog has folders going back to 2001, and I usually don’t want or need to see the older folders. Now that my current year folders are red I can click the drop-down arrow on the magnifying glass in the Folders panel and choose Labeled Folders from the list to only display folders with a color. In other words, now I only see the current year of folders on both drives, which makes it just that much easier for me to move back and forth between them. It would be nice to filter per color, so hopefully that will be added in the future and make color labels even more useful.
That little drop-down menu in each of the panels holds the real goodies so be sure to try each one. Did you know you can filter the Collections panel to only display synced collections? You can! And the Keyword List panel can be filtered to just show People keywords if you use face recognition. Filtering data is one of the most useful things you can do in a database (catalog), so get out there and try all these little gems to see how they can help make your workflow more efficient.

Thanks for your work.