
Exploring Range Mask Options: Depth
We’ve previously explored the Luminance and Color options for Range Mask, so let’s wrap up this series with a look at the Depth option.
Note at the time of this writing, the Depth option currently only works with photos in HEIC file format captured on supported iPhones (7+, 8+, X, Xs, Xs Max, and Xr) using either the built-in Portrait mode or the Depth capture mode in the Lightroom camera. You can enable the Depth capture mode in the Lightroom camera (on the supported devices) by going to Settings > Technology Previews, and enabling Depth Map Support. Hopefully support will be expanded in the future.
If you don’t have one of the above listed iPhones, and want to follow along you can download the photo I used and import it into the latest version of Lightroom Classic.
Apply Local Adjustment
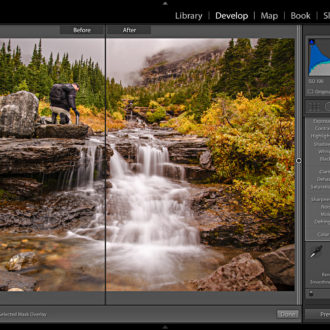
Just like with Luminance and Color, you need to first apply a Graduated Filter, Radial Filter, or Adjustment Brush before you can enable Range Mask. In my example, I applied a Graduated Filter off to the side of the photo, knowing I can use the embedded depth map to control where the actual adjustment will be applied. Once the Graduated Filter was applied I clicked the Range Mask drop-down menu and choose Depth from the list (when Depth is unavailable it means the selected photo is not the supported file format and/or it doesn’t contain a supported depth map).
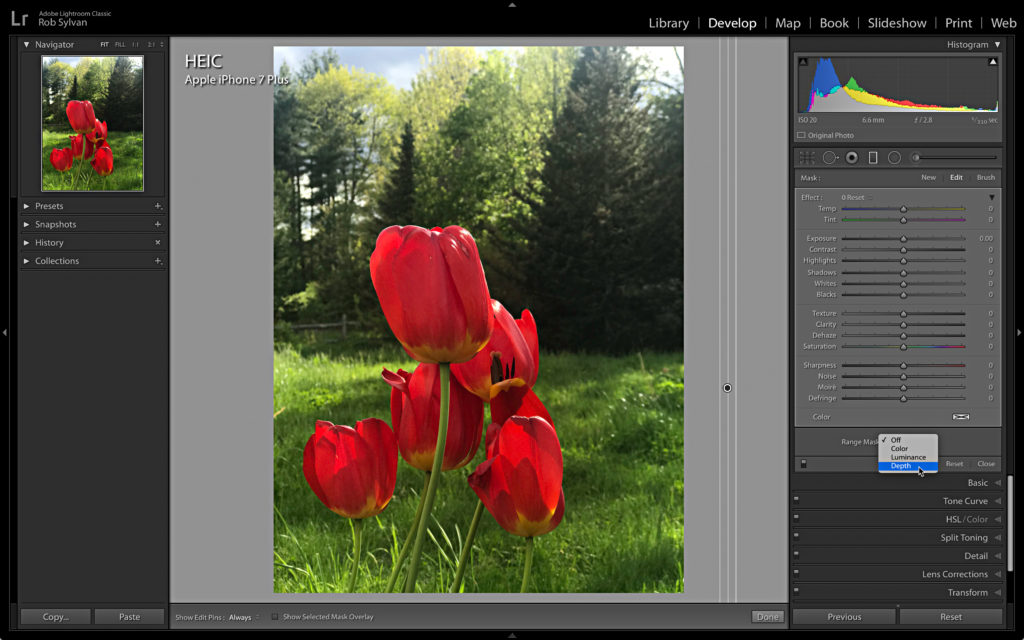
I turned on the Mask Overlay by pressing the O key, and then pressed Shift+O to cycle it to white (since red and green didn’t work well in this photo).
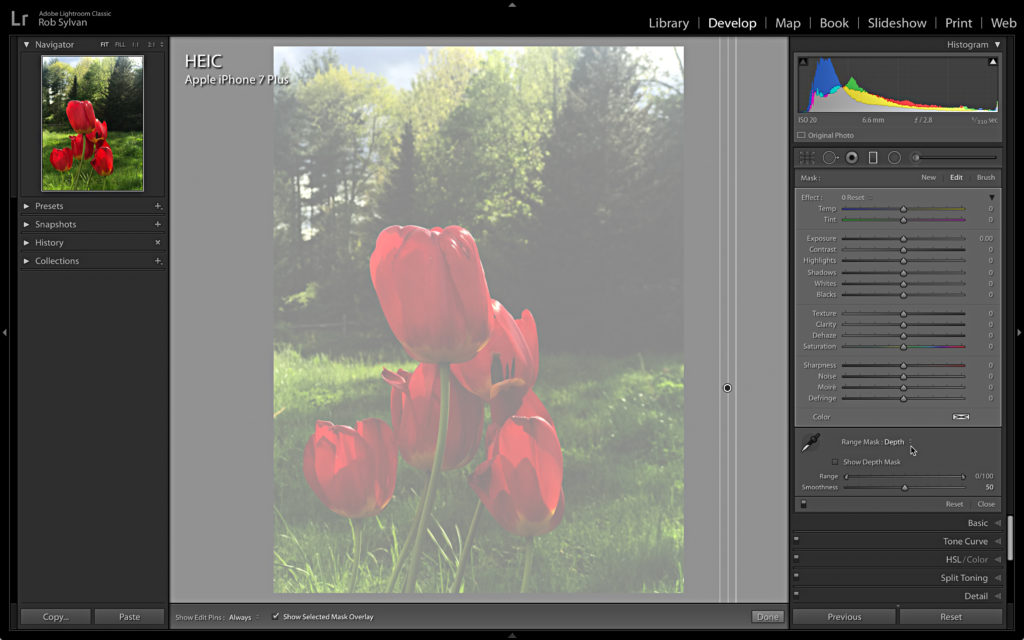
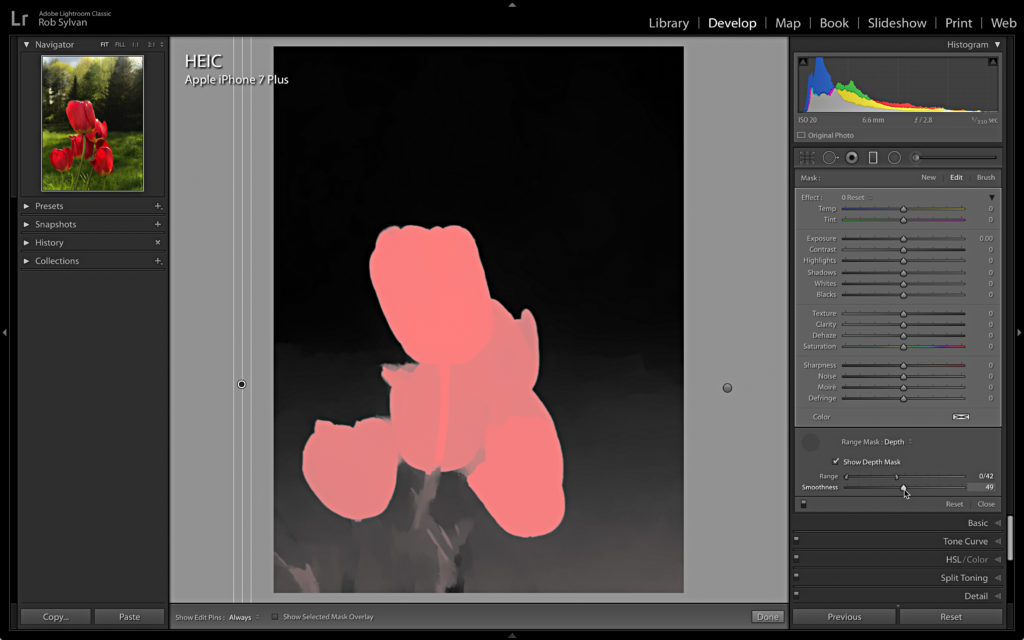
The Depth Range Selector tool (eyedropper) is a simple way to click on the area of the photo and select the depth that you want your adjustment to affect. I clicked on the background, which constrained the mask to the area behind the tulips. Note that the Range Selector sliders moved to reflect this selection. You can fine tune the desired range by moving the Range sliders, and then smooth out the falloff with the Smoothness slider. Note, you can also click and drag a region with the Depth Range Selector.
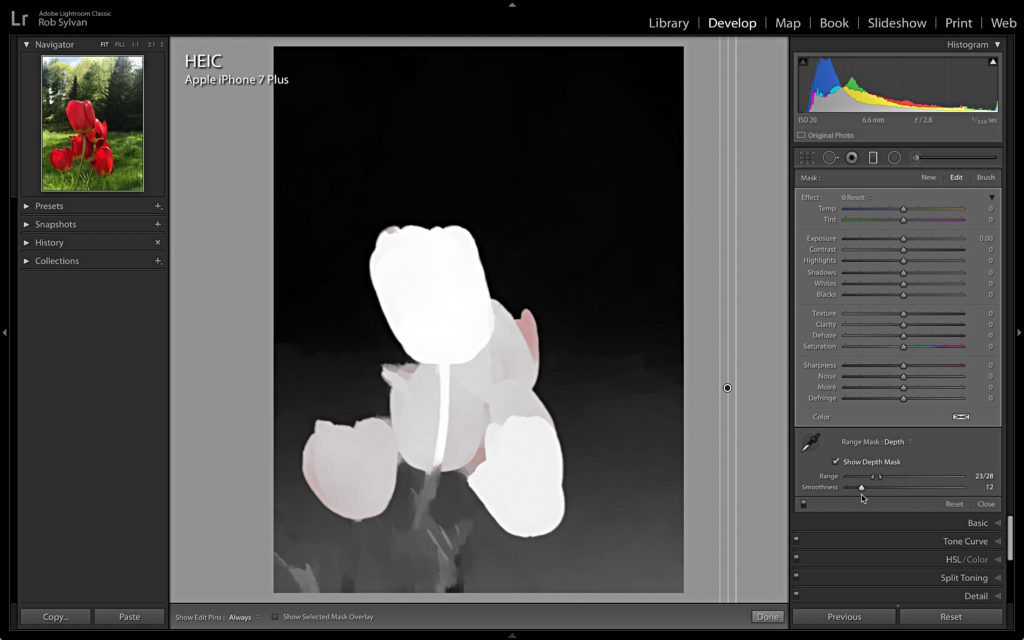
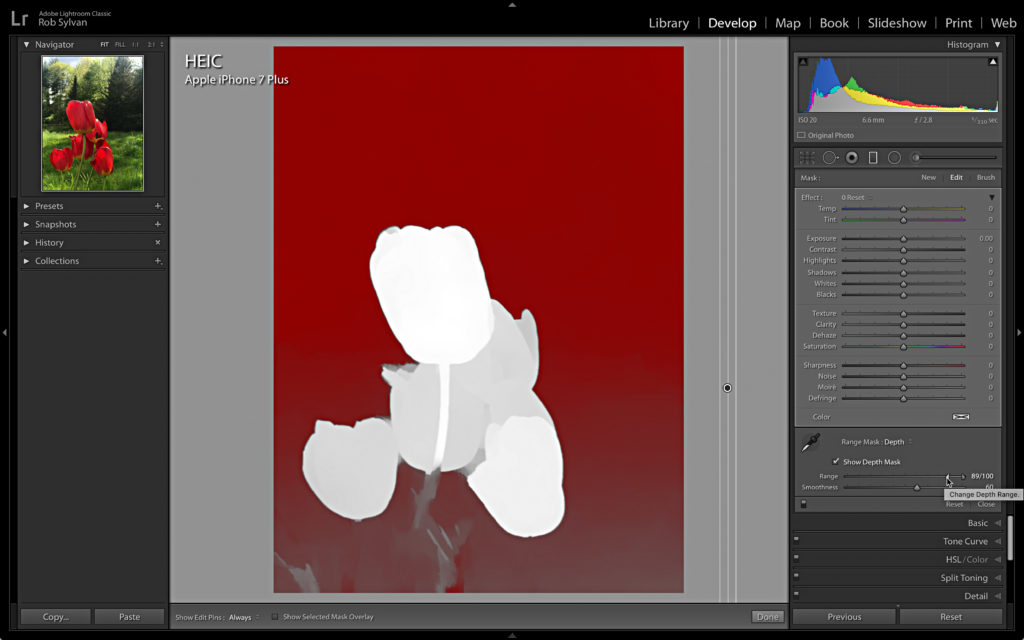
Another way to visualize the mask is by checking the Show Depth Mask box, which displays the depth map as a grayscale image. The white areas are closer to the camera and the black areas are further away. The red overlay shows the region affected by the settings on the Range and Smoothness sliders.
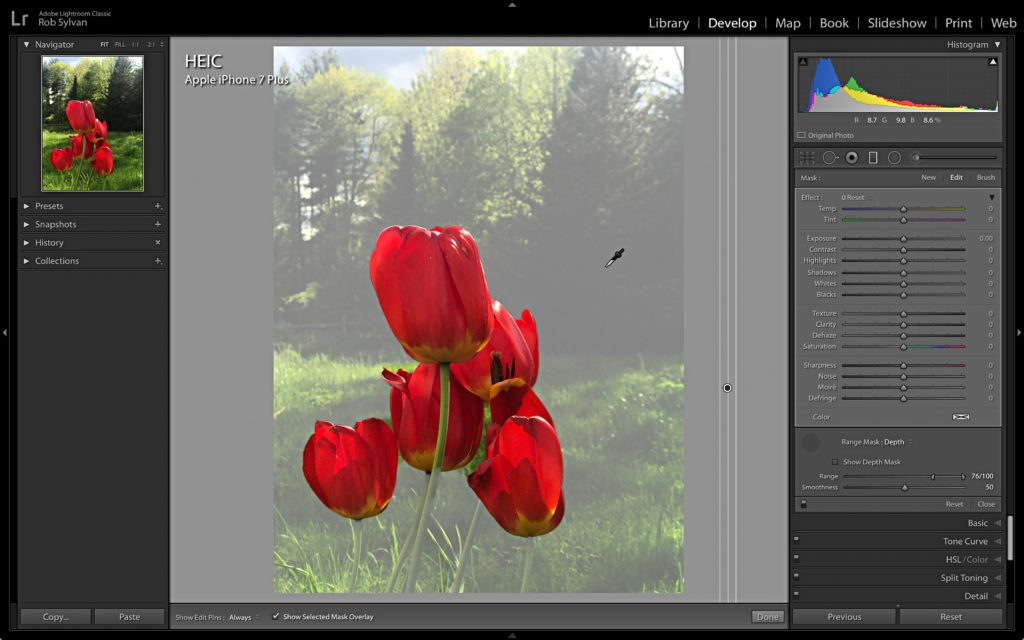
With the range of the Graduated Filter limited to just the background I dialed in the desired settings to darken the area down, warm it up a little, and soften/blur it out. I took it to somewhat of an extreme to show what is possible.
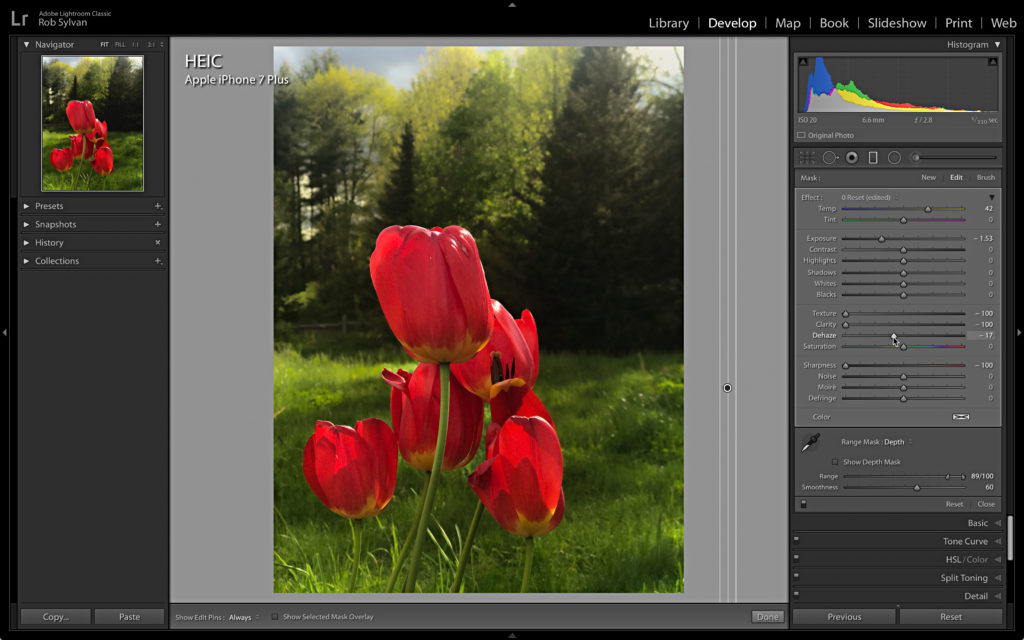
You can add multiple local adjustments if needed, so I added another Graduated Filter, and dialed in the range to just affect the tulips. Note, try holding down the Option (PC: Alt) key while adjusting the Range or Smoothness sliders as another alternative for visualizing the region being isolated using depth map.
I then applied settings to further separate the tulips from the background by increasing Shadows, Texture, Clarity, and Sharpness.

The mask made by the depth map isn’t perfect, but it is cool to see what can be done very quickly based on information captured when the photo was taken and with minimal effort on my part to hone in on. I’d love to see support extended to more capture devices and means for adding depth information.
Thank you for these tips, really great.