Zoom Options in Lightroom Classic
There comes a time in every workflow for pixel peeping, and Lightroom Classic (LrC) has a number of ways for us to zoom up close and personal with the pixels in our photos. Some are old, and some have been recently added, and we can leverage them in the Loupe view in Library module and Develop.
The Navigator Panel
It’s worth starting with a look at the Navigator panel because that is where you can choose different levels of zoom as well as see what zoom level you are currently viewing. It is also a panel that exist in both Library and Develop.
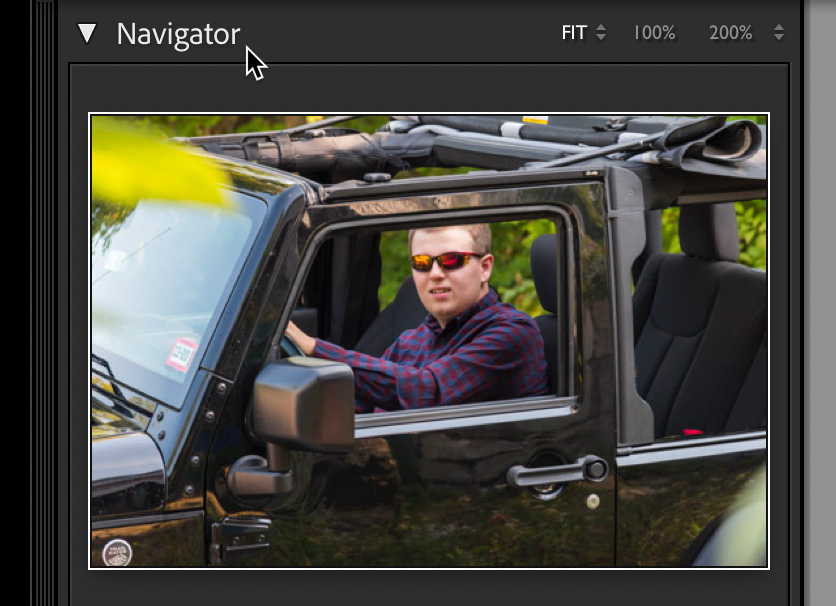
Across the top of the panel you can choose between Fit and Fill (with Fit being the default) view. Fit view will show you the entire selected photo within the workspace, and Fill will fill the entire workspace with the photo, which can leave some areas of the photo outside the visible work area, as if it were cropped.
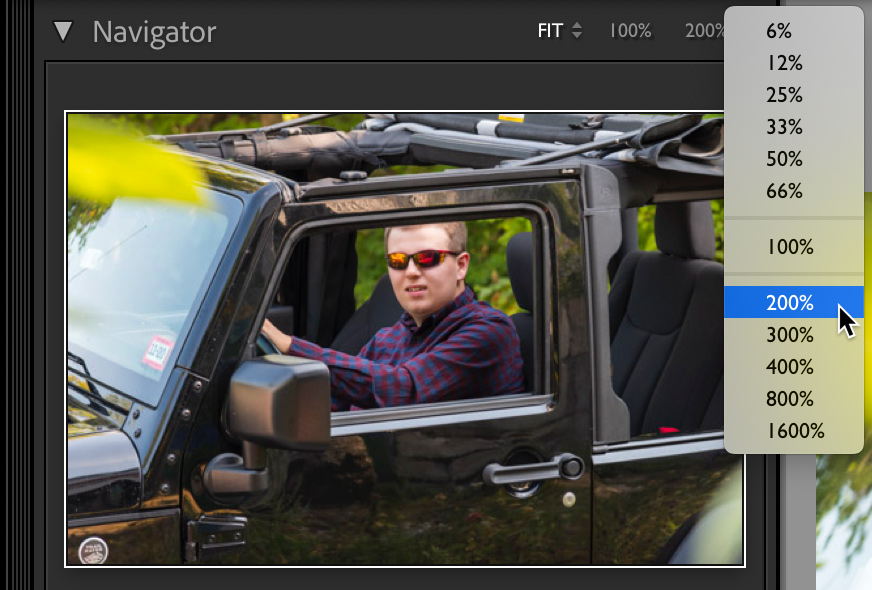
In the center is the button to jump to viewing at 100%, which you may recall is a relatively new update. Previously, we had ratios like 1:1 or 1:2, and so on. Those ratios have all been replaced by view percentages, and you can access a range of zoom percentages, from 6% to 1600% in the (tiny) drop-down menu on the right-edge of the panel.
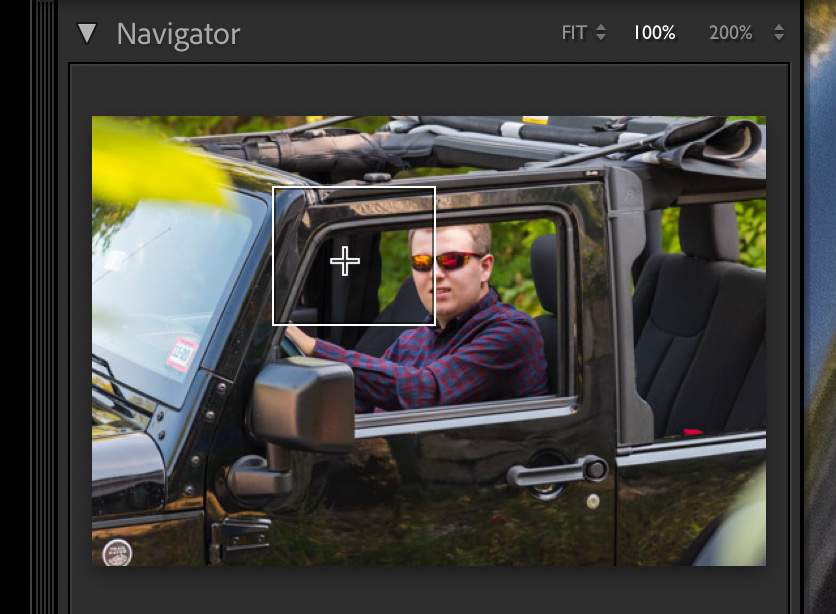
When zoomed in closer than Fit screen you can also use the Navigator panel to pan around the photo by clicking and dragging the box that appears, or just by clicking in the area you want to see.
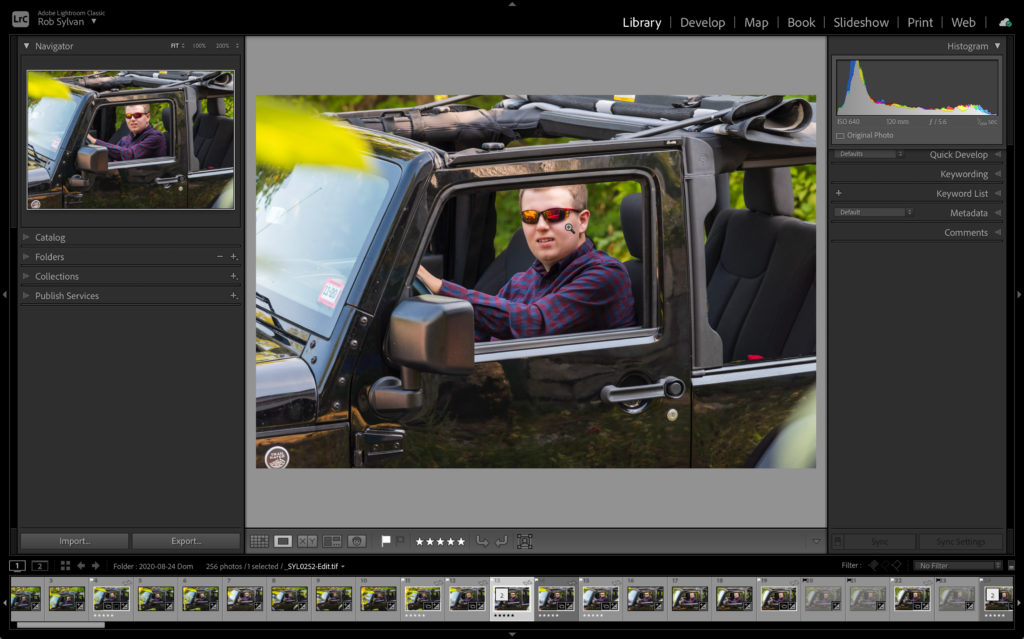
Clicking On the Photo
In normal use though I rarely touch the Navigator panel, and instead simply click on the photo to zoom in, and click again to zoom out. By default, that should switch between Fit and 100% views, which are what I use most of the time. If you zoom to a different value, say 200%, then clicking in that photo, and subsequent photos will switch you between Fit and 200% (or whatever value you chose) until you change it to something else. This is why having that 100% button always visible in the center of the panel is handy.
Handy Shortcuts
You can also use the Spacebar to zoom in or out as needed. Likewise, pressing the Z key does the same thing. One of my favorite zoom tricks is to start in Grid view of the Library module, select a photo, then press and hold Z to zoom in to 100%, check focus, and then release the Z key to return back to Grid view.
To zoom incrementally, press CMD = (PC: Ctrl = ) to zoom in or CMD – (PC: Ctrl – ) to zoom out.
To learn about the new Scrubby and Box zoom functions, jump over to my post on the October 2020 updates. Let me know if you have any handy zoom shortcuts in the comments.
Obscure Menu and Preference Options
One of the pieces of data LrC stores in its catalog is the last zoom position you zoomed into on a photo. This can be very handy when you are switching between Fit and 100% (or whatever zoom percentage you are using) so that you always go back to the same location you were zoomed in on. However, this can be problematic if you are comparing pixels in multiple photos and you had previously zoomed to different points in those different photos. Luckily, there is a menu command that can help you in that situation.
Lock Zoom Position
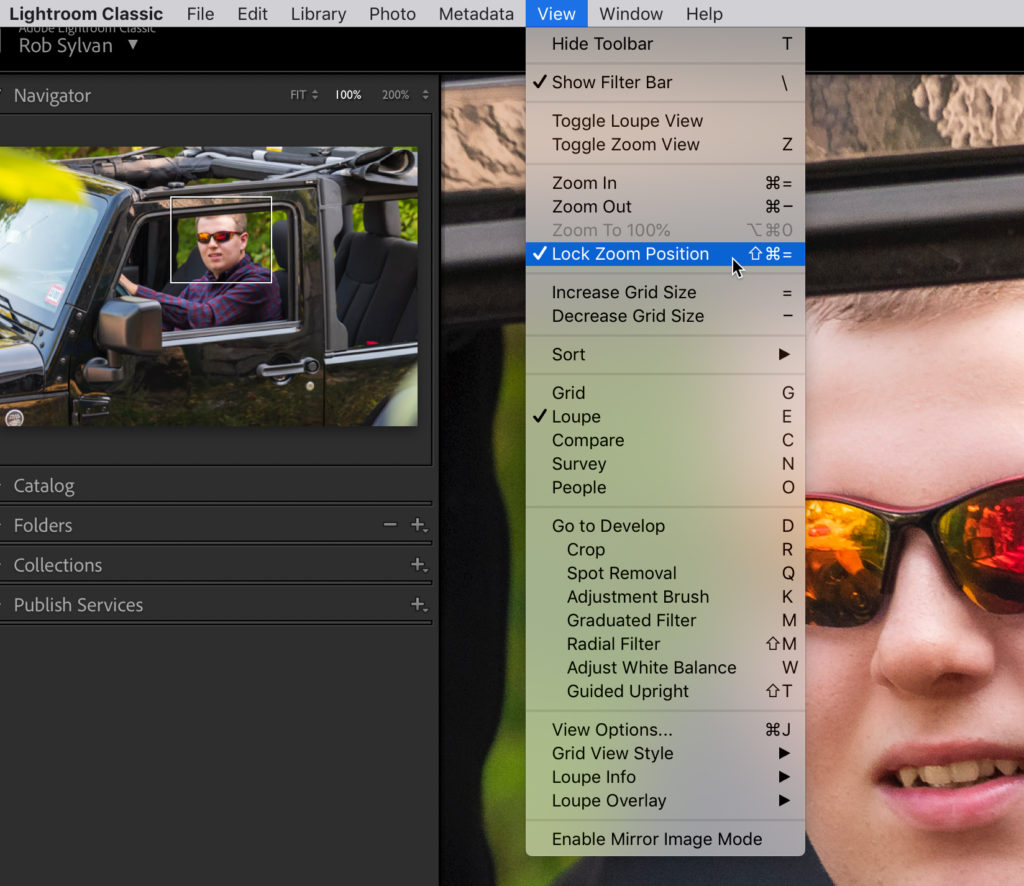
Under the View menu, click Lock Zoom Position (note the associated keyboard shortcut if you use this often). Now, say you zoom into the eye of a subject and want to step through the rest of the photos from that shoot at the same zoom location, with Lock Zoom Position enabled you can do just that (assuming the subject’s eye is in the same place within the frame of each photo).
Zoom Clicked Point to Center
By default, when you click a point in a photo to zoom in, that point will remain under your cursor where you clicked. So, if you clicked in the upper right corner of a photo to check focus on an object, you’ll see that object zoom in under your cursor in that position. I find that this behavior makes it easy for your eye to track the object you wanted to inspect closer.
However, there is an option in the preferences that enables a new behavior where the point you click, no matter where in the photo it may be, will zoom in and be centered in the workspace. Go to Lightroom Classic > Preferences > Interface (PC: Edit > Preferences > Interface), and in the Tweaks section at the bottom, check the box next to Zoom clicked point to center, and give it a try.

Now when you click, the point you clicked on will zoom to the center of the workspace and no longer appear under the cursor where you clicked, which means you need to shift your gaze to the center after each click. While this isn’t my preferred way to work, I could imagine it being very helpful for other workflows, so check it out, and if it is not for you, just go back to the preferences and uncheck that box.
Happy zooming!