
Quick Portrait Lighting Fix
Here’s a really simple, yet really effective trick I use to make sure in a portrait my subject’s face is the brightest thing in the image. Here’s how to do it (it’s just two steps and takes all of 30-seconds).
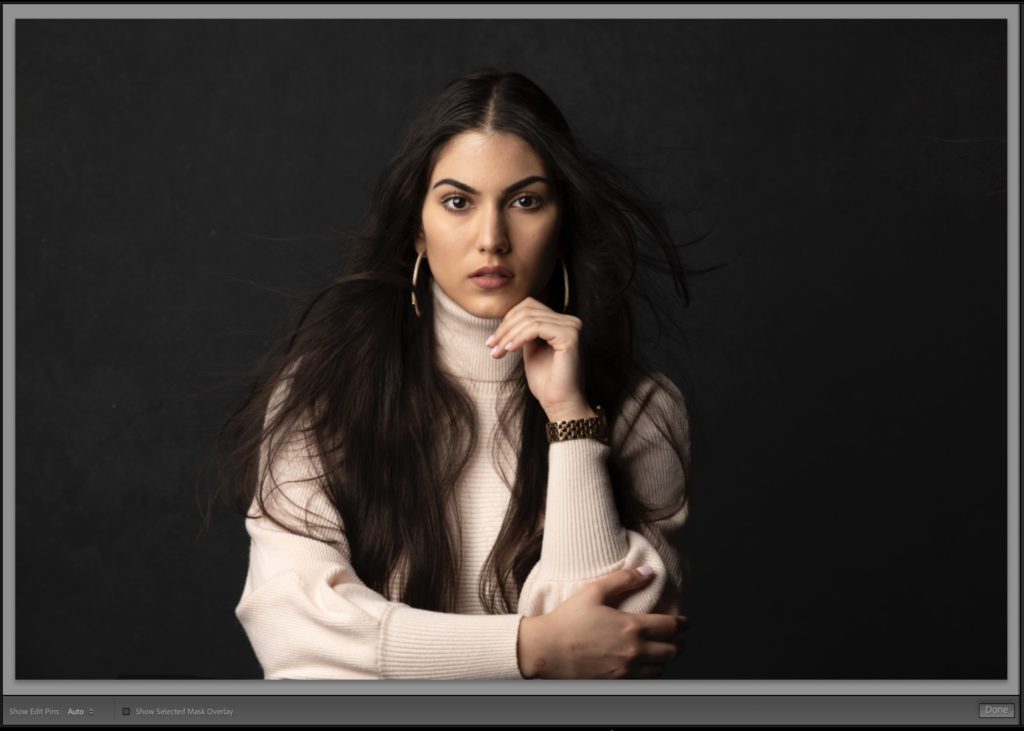
Above: here’s our original portrait, lit with one Westcott FJ400 strobe with a 5′ Rapid Box softbox. The issue here is she’s wearing a very light colored top and her arms are brighter than her face, so we need to quickly tone down that area, and we’re going to use the Graduated filter (called the Linear Gradient in LR cloud) to do it.
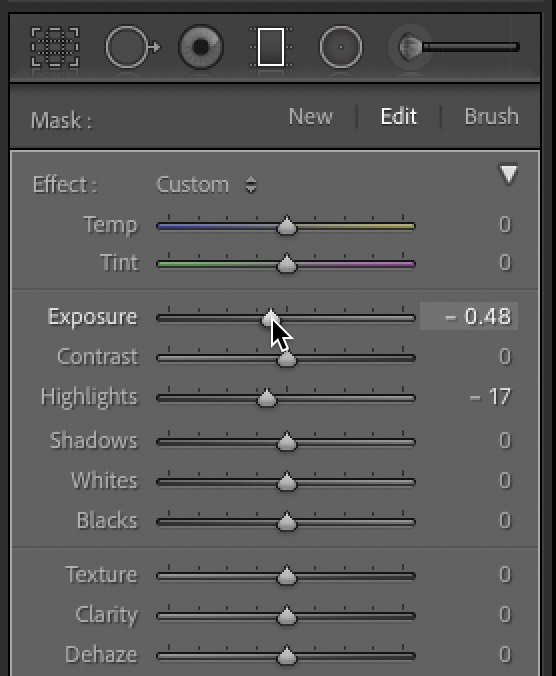
STEP ONE: Get the Graduated filter, and lower the Exposure amount to around -1/2 stop (here I went to -0.48) to remove the overall brightness and then pull back the Highlights a bit (here I dragged to the left to -17). Also, we’re set for some darkening.
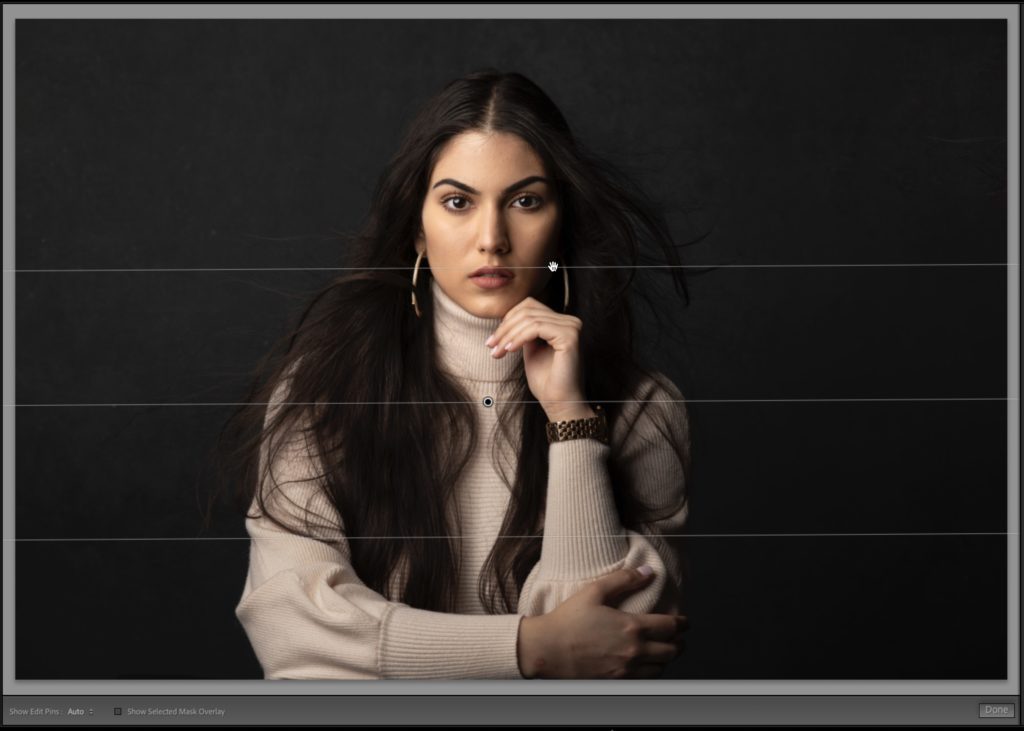
STEP TWO: Drag the tool from the bottom of the screen upward and stop right when you get to your subject’s face (as shown above). The line that crosses over her lips here is completely transparent, so the gradient darkens the most at the bottom of the screen, and then it graduates up to transparent.
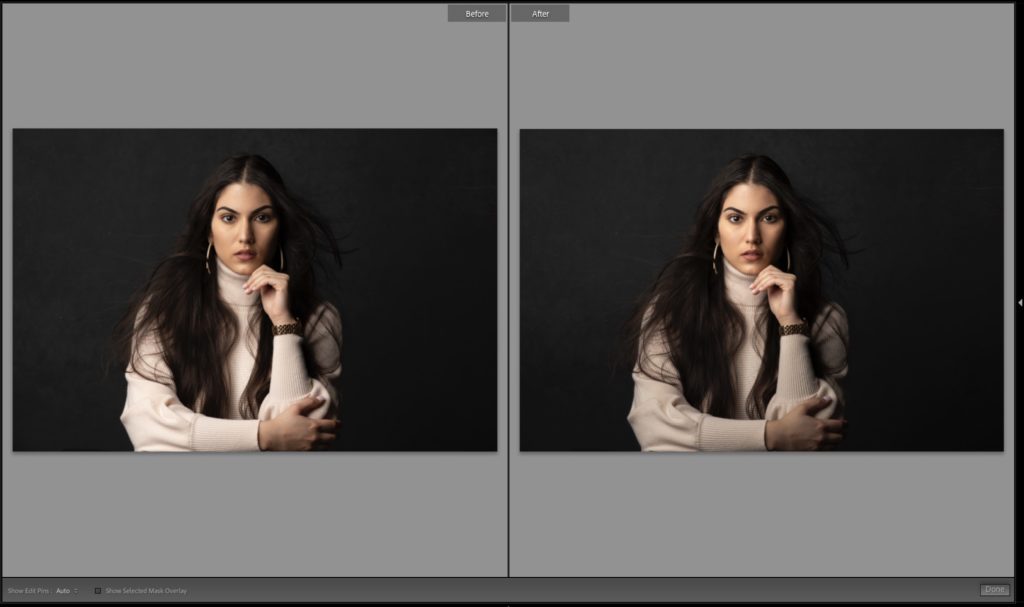
Above: Here’s a side-by-side showing the original on the left, and then the darkened version on the right.
TIP: The part of the gradient at the bottom of the screen will also darken in the background. I like how it looks in this shot, but if you don’t want that there; hold the Option key (PC: Alt key) to switch to the Eraser brush; use a nice big brush and quickly erase those areas on the painted canvas on either side of her.
Hope you found that helpful, and here’s wishing you a great happy, healthy week!
-Scott


I use the radial gradient [Shift-M], not the linear gradient, for emphasizing the subject’s face in portraits.