
Using the New Centered Crop Overlay
I never knew I needed a centered crop overlay, but the other day it was the perfect crop overlay for the job at hand. While walking around the downtown of nearby Portsmouth, NH, I noticed the drawbridge going up and a very large ship about to pass underneath. Since traffic was stopped (obviously) I walked out into the middle of the road and waited until the ship seemed to be about centered on the bridge, and took a few photos with my iPhone. The photos then automatically imported into the Lightroom app and uploaded to the cloud as I continued my walk around town.
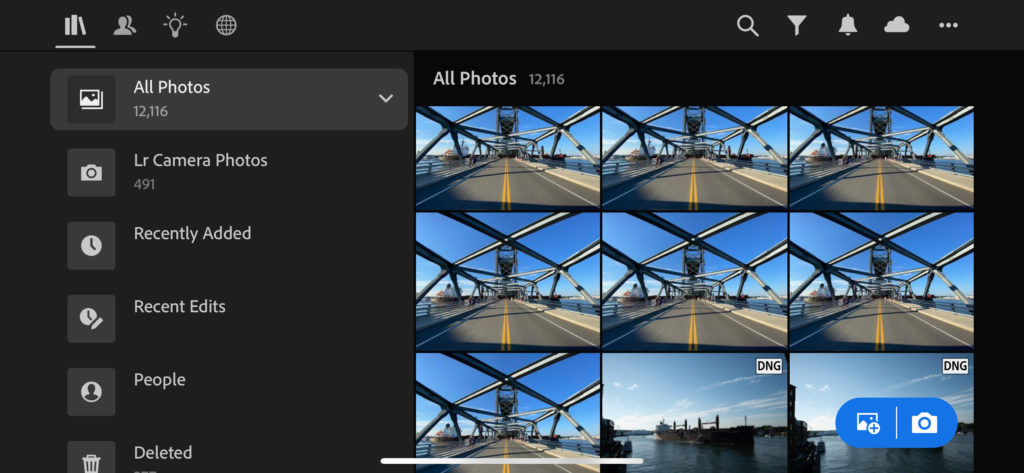
The next time I opened Lightroom Classic back home all of those photos automatically downloaded into my Classic catalog and local storage. With all of those wonderful lines and shadows I wanted to ensure the photo was centered and straightened correctly, and I remembered the new centered crop overlay.
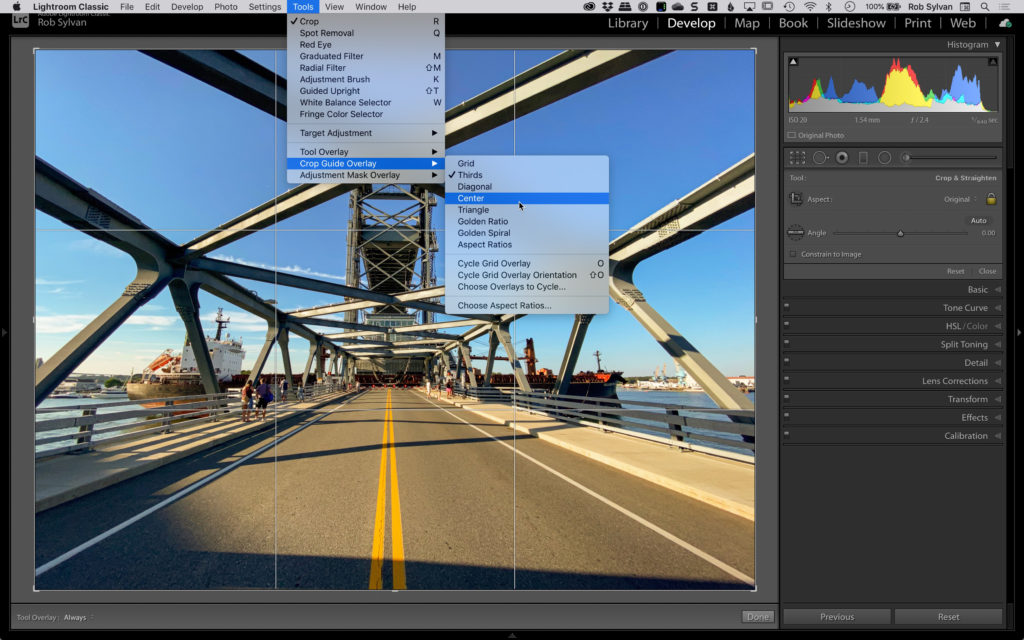
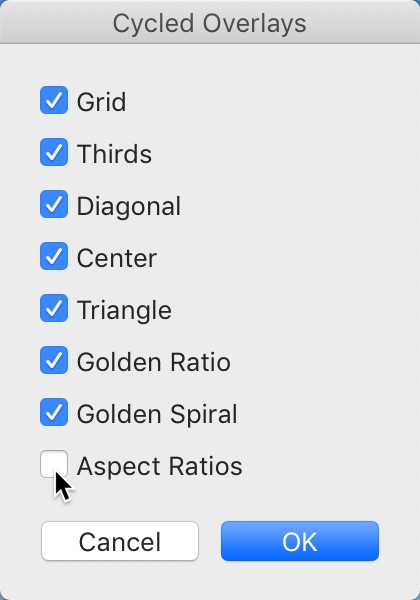
With the Crop tool enabled, you can find it via the Tools > Crop Guide Overlay menu, or just press O on your keyboard to cycle through the other overlays until it appears. Side note, if there are overlays you don’t ever want to see just go to the Choose Overlays to Cycle option under the Crop Guide Overlay menu and deselect any overlays you’d rather not see when you cycle with the shortcut (you can still access any of the overlays via the menu directly).
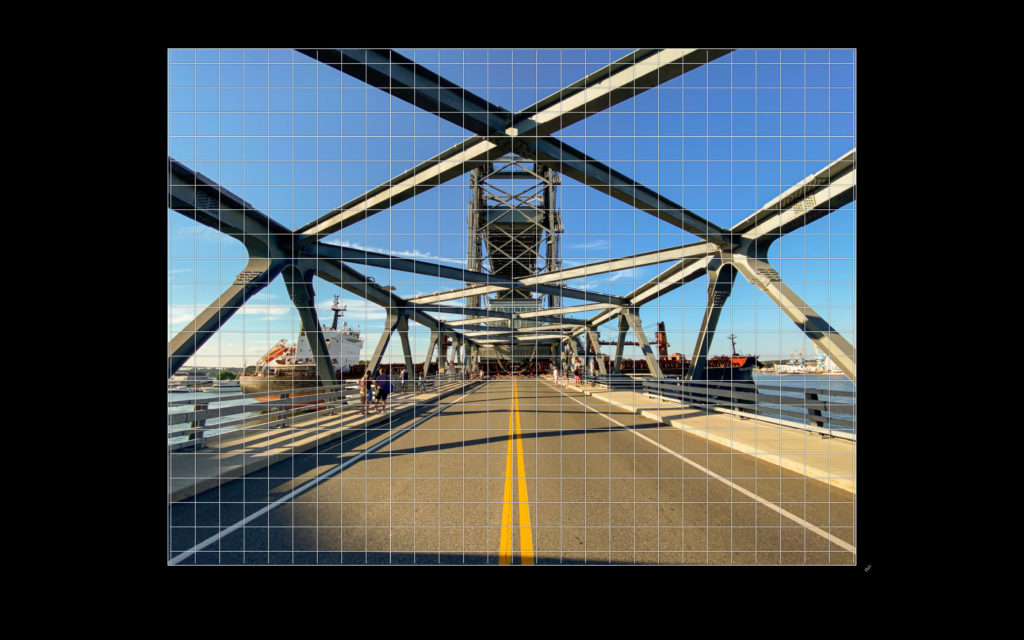
When I crop I like to hide all panels (Shift+Tab) and enable Lights Out (press L twice), so that my photo fills maximum screen real estate (hiding panels) and so that as I adjust the crop I am seeing the final cropped look in real time (Lights Out). With the Centered overlay on screen, I held down Shift+Option (Alt on Win) and clicked and dragged a corner Crop handle toward the center. Holding Shift+Option/Alt moves all four corners toward the center simultaneously.
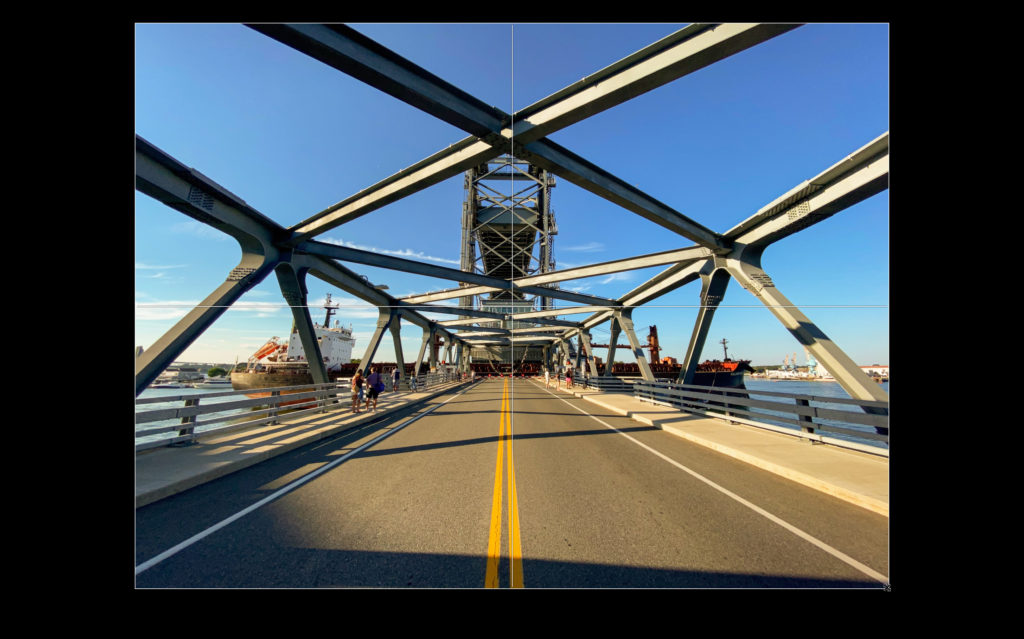
I could see that I was close to having shot it level, but not close enough. I wanted to see that center line of the overlay bisect the center of the painted lines all the way up through the center of the cross beams at the top. So, moving the cursor slightly outside the frame of the photo engages the ability to click and drag to rotate the photo. As you start to rotate the overlay changes to the Grid to help visualize horizontal and vertical alignment. I just needed a slight nudge to level it.
Once the photo was centered, I continued to tweak the composition by adjusting the Crop handles and repositioning the photo for preferred composition.
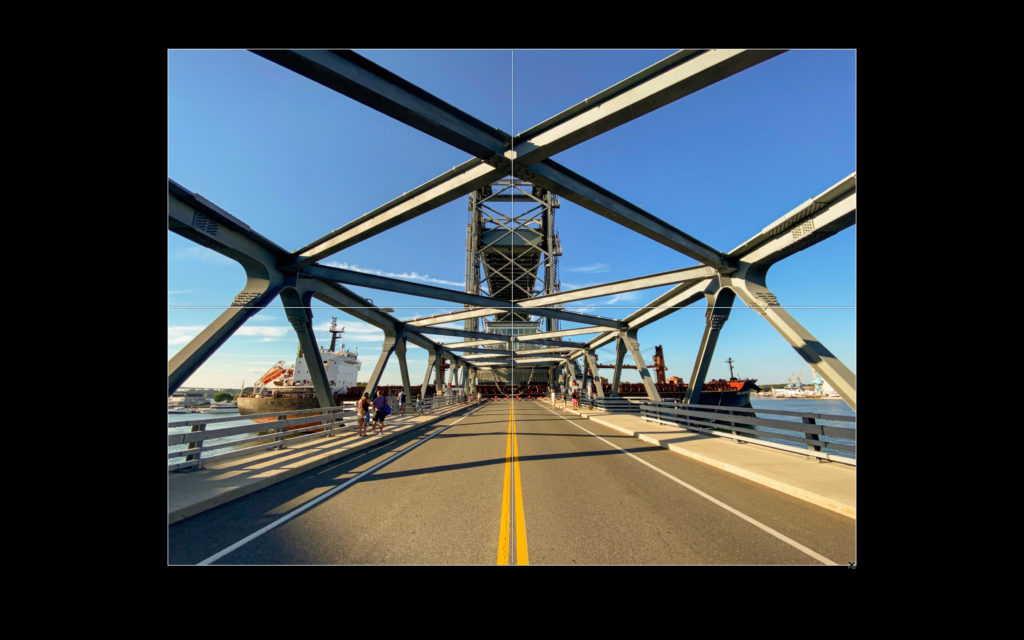
Once I was satisfied, I pressed Shift+Tab again to bring back the panels, and then pressed L once to return to Lights On (also accessible via the Window > Lights Out menu).
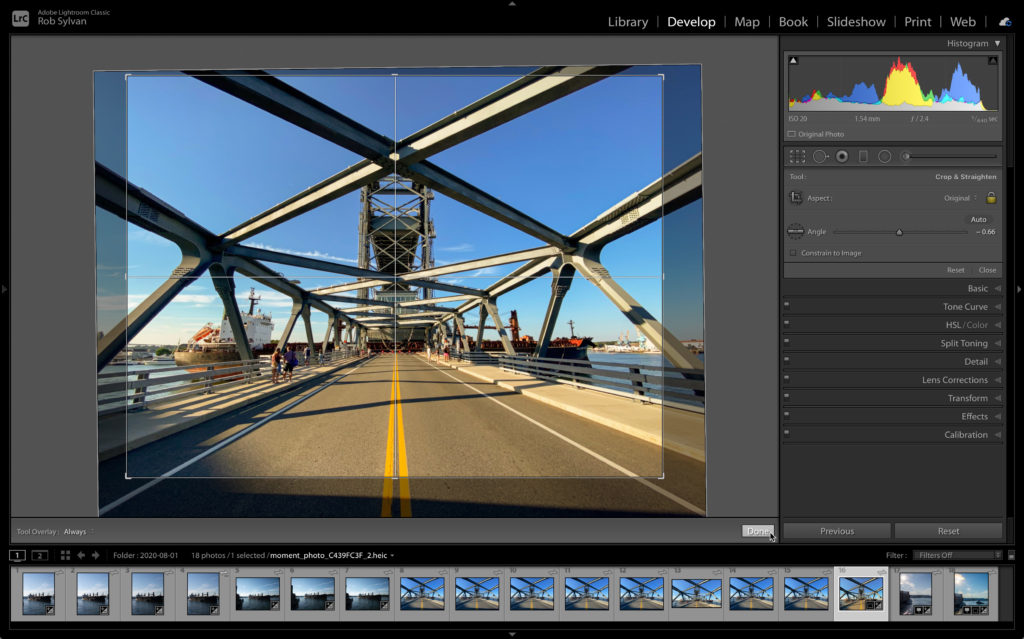
From there, click the Done button or press R (or D or Esc) to exit the cRop tool and complete your edits. Thanks to Adobe for something I didn’t know I wanted. 🙂

Great little feature
I didn’t know there was a “Choose Overlays to Cycle option!” I just learned something. This’ll save me a few bangs on the O key. Thank you!
You are welcome!