
We’re picking up where we left off (removing distracting stuff), but we’re going in a different direction with it because we’re not using a Healing Brush or Clone tool this time; we’re using some real Photoshop magic: Content-Aware Fill. This is Photoshop doing some crazy math behind the scenes to either cover over something we don’t want, or filling in missing parts of our photo, and doing it incredibly intelligently.
This is one of those features that works incredibly well most of the time. Not 100% of the time, but probably 70–80% of the time it does a jaw-dropping job. Another 10–15% of the time, it doesn’t fully fix the problem, but it does enough that we can kind of clean it up pretty easily, so it does “most of the job” for us. That other 5–10% when it doesn’t work at all, leaves a big mess, and our only recourse is to hit “undo.” Still, the odds are hugely in our favor, so this is one of those go-to tools worth learning right upfront.
REMOVING STUFF
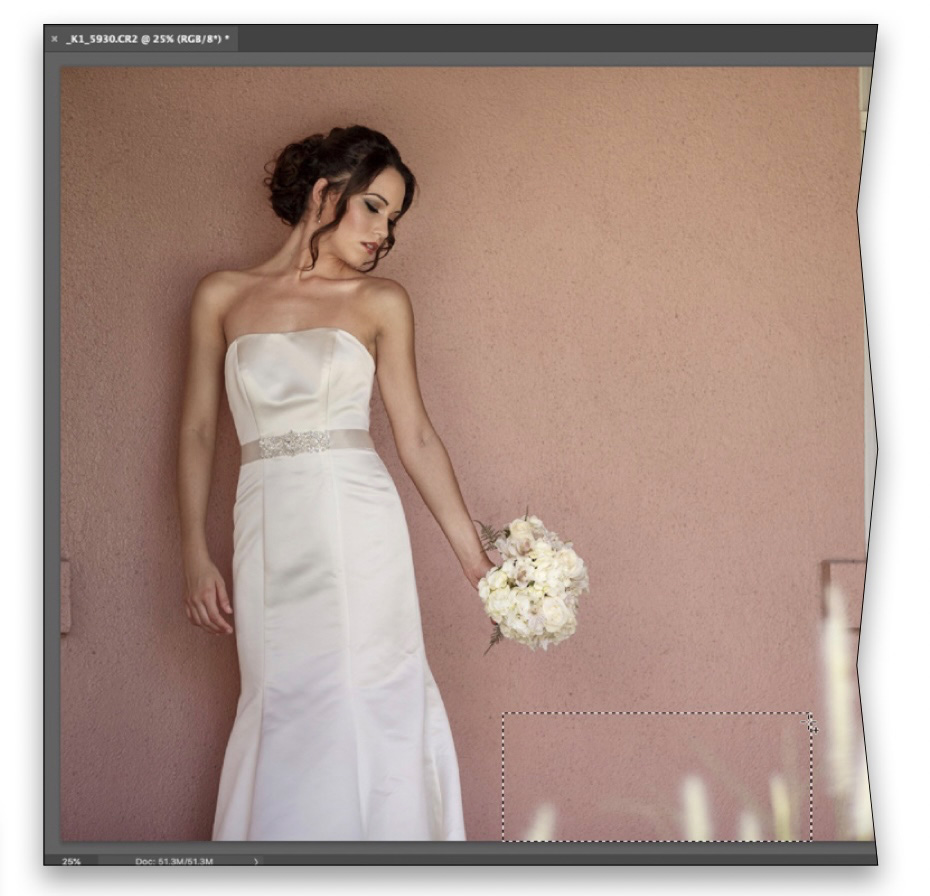
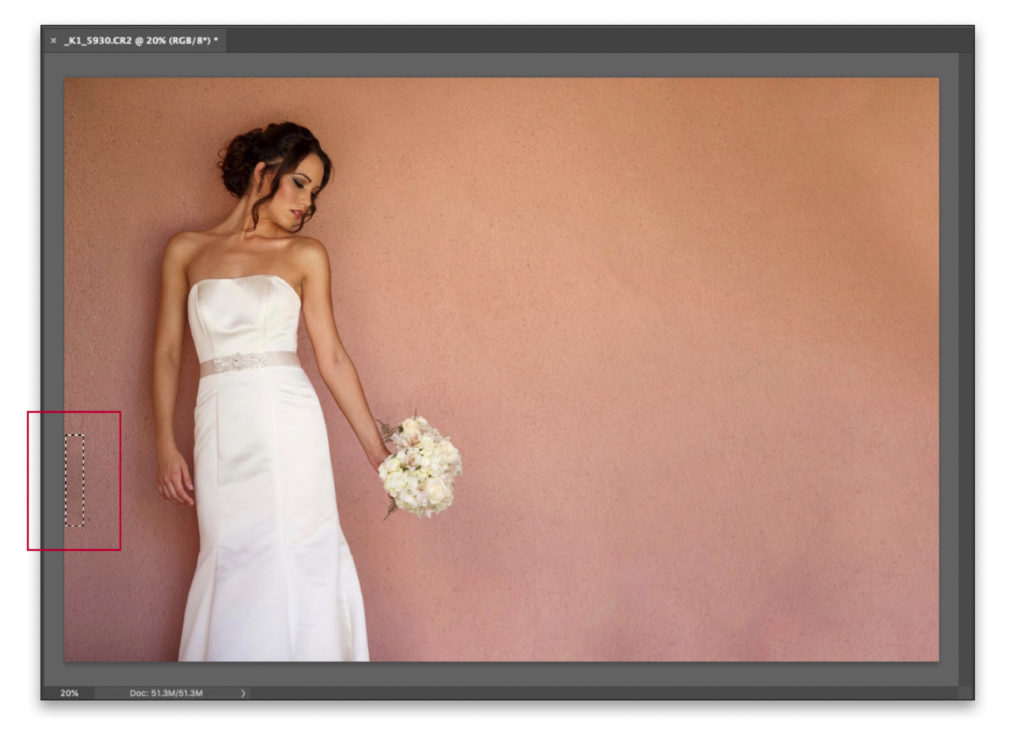
Here’s our original image, and it’s a little messy. What I want is our bride on a simple clean wall, but what we have is a bride with plants (weeds?) sticking up into the picture, as well as a window, a column, a random piece of metal along the left side, and, well, we’ve got some cleanin’ to do.

STEP ONE: Let’s start with those weeds down in front, and target them for removal. Grab the Rectangle Marquee tool (the one that makes square and rectangle selections) by pressing the letter M on the keyboard, and drag out a selection right over some of those weeds, as shown above here.
STEP TWO: If the image is on your Background layer in Photoshop, there’s a special shortcut that brings up the Fill dialog so you can get to Content-Aware. You simply press the Delete (PC: Backspace) key on your keyboard and the Fill dialog pops up. If your image isn’t on the Background layer, you pull up the dialog a different way: go under Photoshop’s Edit menu and choose Fill. It brings up the same Fill dialog either way. And there’s also a keyboard shortcut to bring it up when you’re not on the Background layer: Shift-Delete (PC: Shift-Backspace).
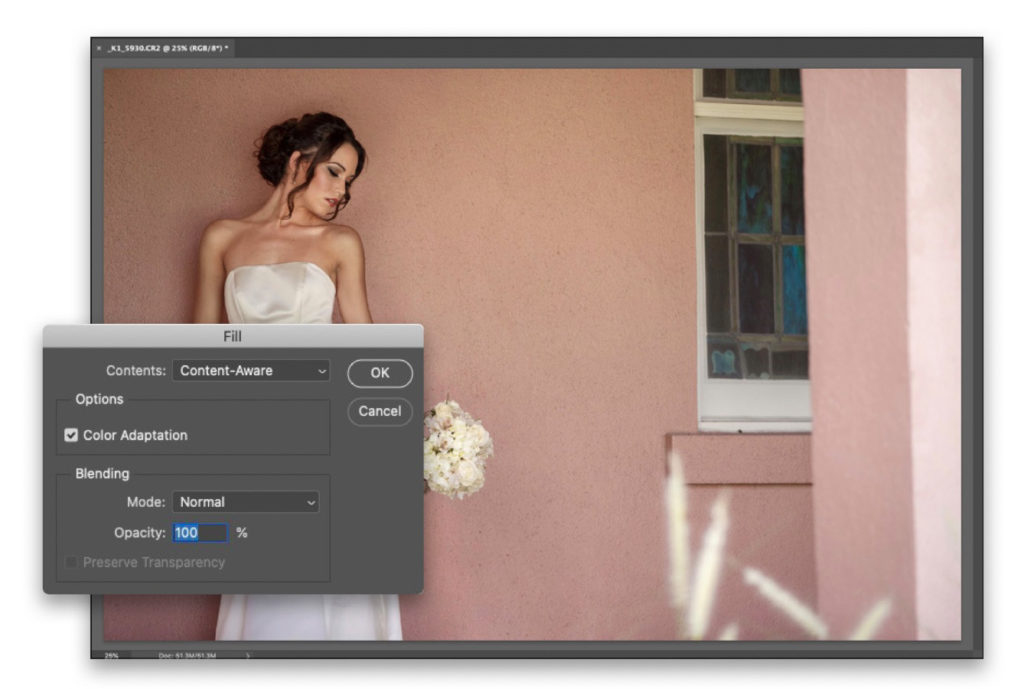
Once the Fill dialog appears, where it says Contents up top, it should say Content-Aware (that’s the default setting), but if it says anything else, just choose Content-Aware from the pop-up menu. Now just click the OK button at the top right to apply a Content-Aware Fill to your selected area.
Just like that those weeds are gone and Photoshop intelligently replaced them with a texture and tone from the surrounding area. That’s all there is to it (well, that’s all there is to the basics—there’s still some meat on this bone, so hang with me for another minute). In short, make a selection (it doesn’t have to be with the Rectangular Marquee tool; you can use any selection tool you like), choose Fill, make sure Content-Aware is selected, and click OK.
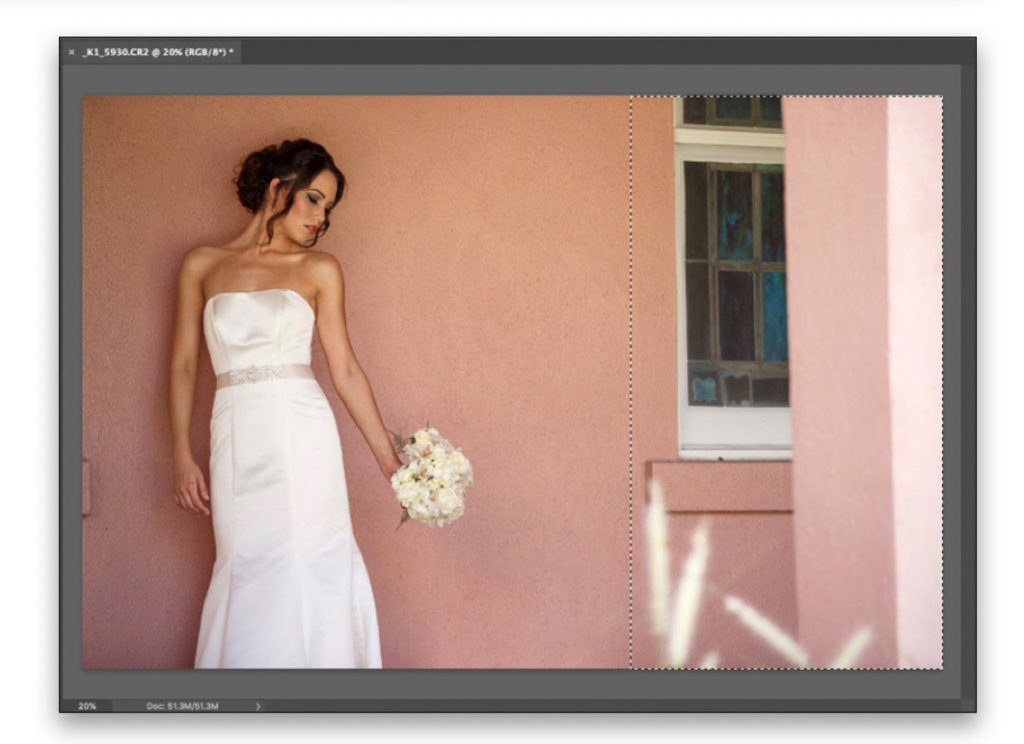
STEP THREE: Now, let’s keep chunking away at this, but let’s take a bigger chunk this time. We’re going to select that entire right side of the image with a big ol’ rectangular selection (like you see here), and then go under the Edit menu and choose Fill. Content-Aware will already be chosen; once you choose it in the Fill dialog, it’s sticky and will stay at Content-Aware until you change it. So you don’t even have to look at the dialog; just choose Fill and hit OK. Of course, you can use the Delete (PC: Backspace) keyboard shortcut, as well, if your image is on the Background layer.
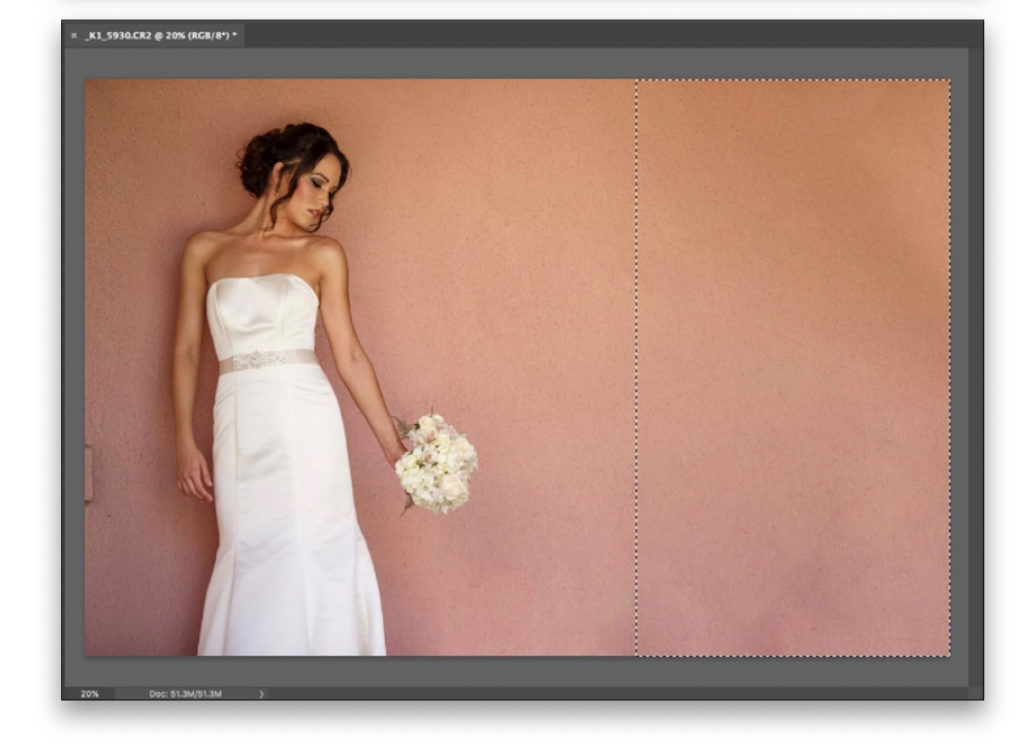
It worked! (It works on big things like this more often than you’d think, but in the next issue we’ll cover what to do when it doesn’t work.)
STEP FOUR: Now let’s grab that thing sticking into our image on the left side. Same routine: put a selection around it, go to the Fill dialog, and click OK. That’s the routine. Yup, it’s gone now, too!
FILLING IN MISSING AREAS
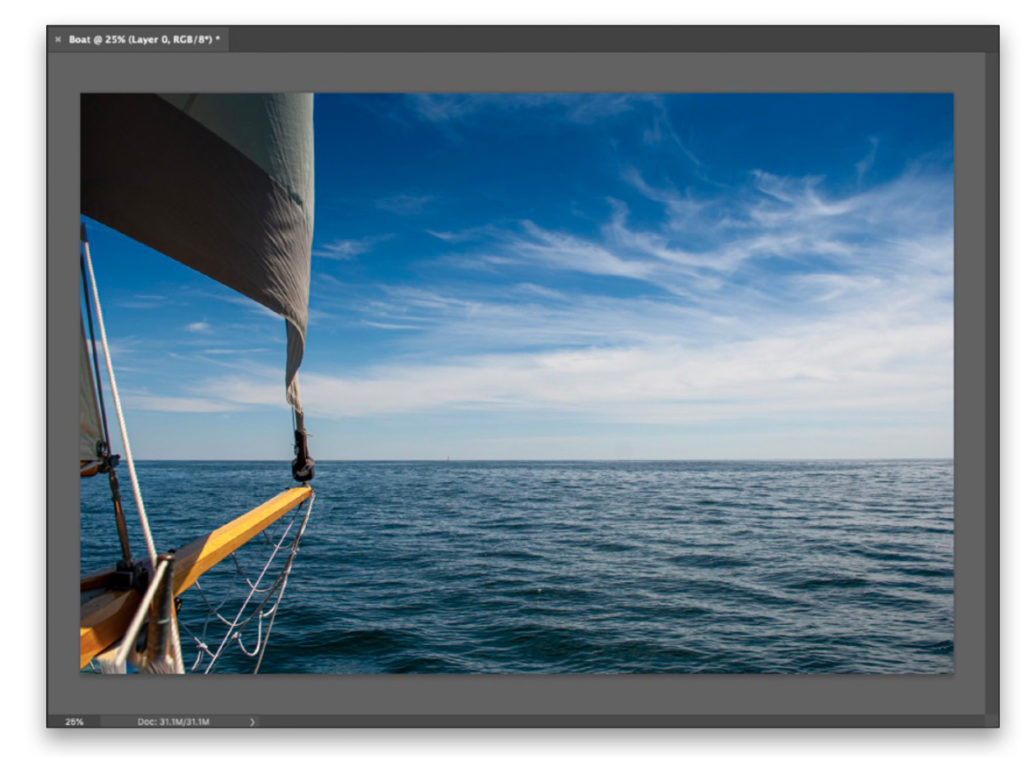
Okay, let’s look at a different photo and a different situation when we’d use Content-Aware Fill. Here’s our image and, as you can see, our horizon line is super crooked. There are a bunch of ways to straighten it, but for now, we’re going to use Photoshop’s Free Transform tool to rotate it so it’s straight.
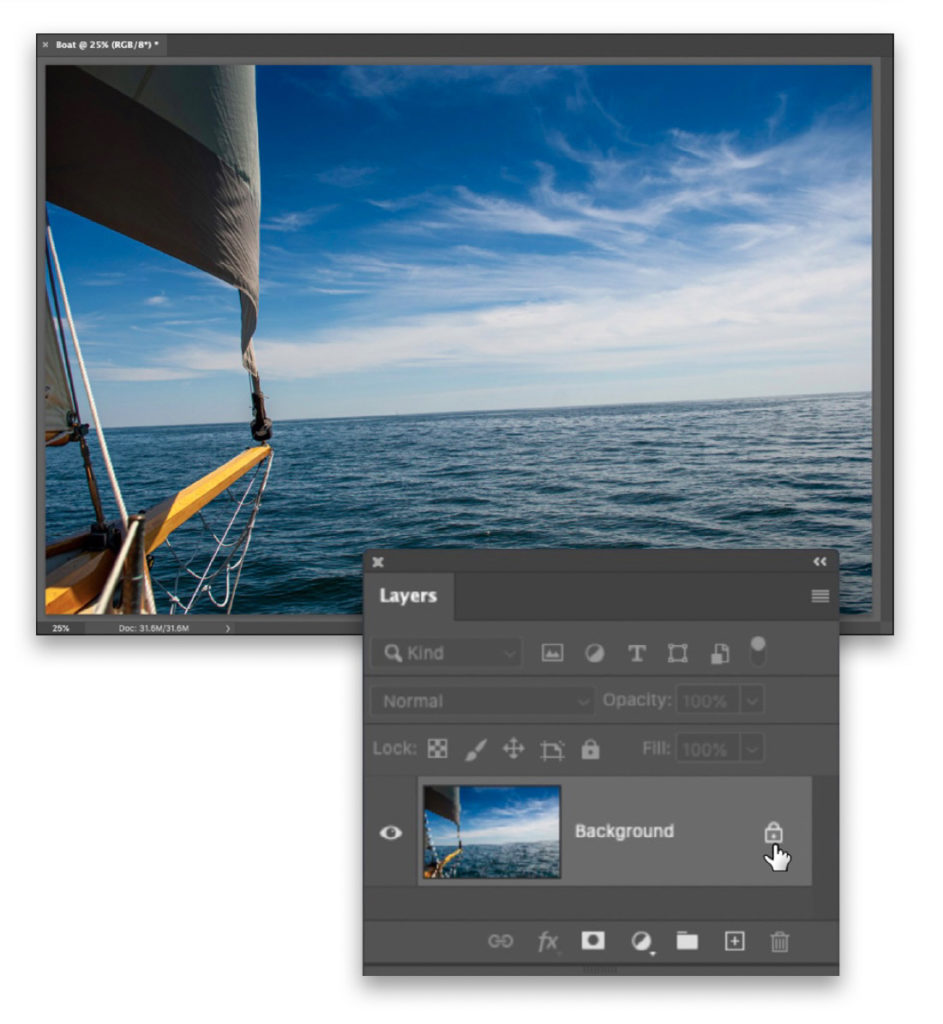
STEP ONE: We can’t use Free Transform on the Background layer. That layer is locked (see the lock icon to the right of “Background” in the Layers panel?). So, to use Free Transform we have to make it a regular layer (not a Background layer). To do that, just click once directly on that lock. That’s it; now it’s a regular layer (Layer 0).
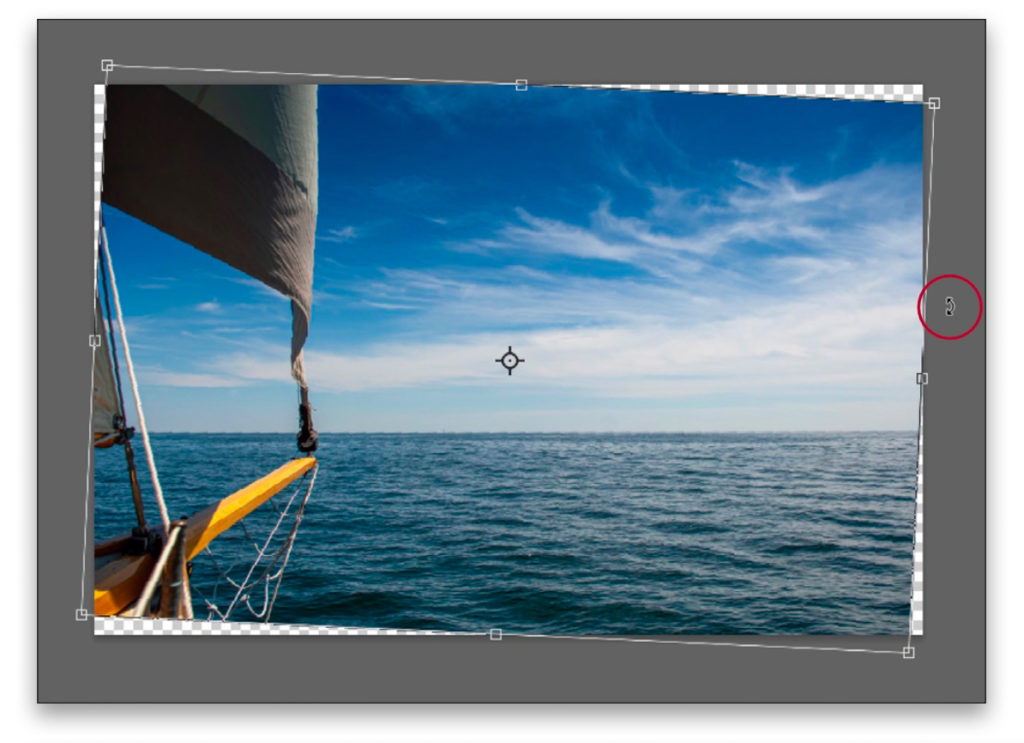
STEP TWO: Press Command-T (PC: Ctrl-T) to bring up the Free Transform feature. It puts a bounding box around your image with handles on each side and each corner. We’re not going to use any of those handles for this; instead, move your cursor just outside that bounding box, and you’ll see it change into a double-headed curved arrow. Now click, hold, and drag in the direction you want to rotate the image until your horizon line looks straight (or kinda straight; I didn’t exactly nail it, but let’s not dwell on that). Hit the Enter key to lock in the rotation.
STEP THREE: Do you see those gaps in the corners of our image that appeared because we rotated it? That’s what we’re going to use Content-Aware Fill to fix. First, we have to tell Photoshop what we want to fix ( just as we did by selecting the weeds, column, window, etc. in the previous project). The easiest, quickest way to select those corners is the get the Magic Wand tool from the Toolbar (it’s up near the top nested with the Quick Selection tool [W], and its icon looks like, well, a magic wand).
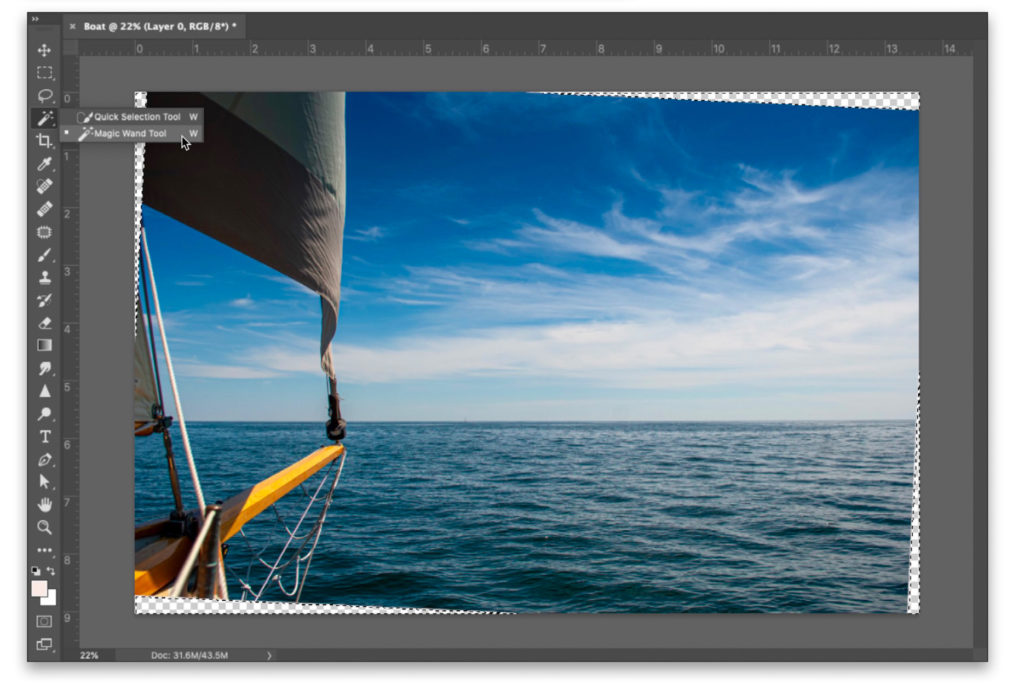
Click it once in the gap up in the left corner and it “magically” selects that whole transparent area. To add the other three corners, you first have to hold the Shift key (that tells Photoshop you want to keep the corner already selected, but you want to add other areas to it). Now when you click in the other three corners, it selects them, too. Okay, at this point, all four corners are selected (as shown here).
STEP FOUR: Okay, you’re about to learn a killer tip to help you get better results in situations like this when you’re filling an empty area using Content-Aware Fill. Right now, all you’ve selected are empty corners, right? You can help Photoshop make a more intelligent “fill” by expanding your selection just a little, so the empty areas are selected and just a tiny bit of the image area, as well. When Photoshop sees those extra pixels selected, it makes a smarter fill, so it’s worth doing.
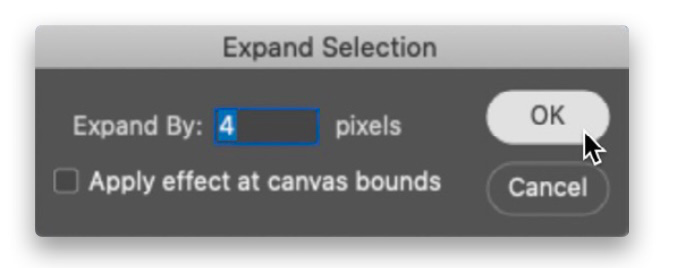
Here’s how: Go under the Select menu up top, under Modify, and choose Expand. We’re going to expand (grow) this selection by 4 pixels (that’s the magic number) and then click OK. You won’t see much happen onscreen unless you zoom way in, and do a before/after by pressing Command-Option-Z (PC: Ctrl-Alt-Z) a few times to toggle back and forth. You’ll see that, sure enough, your selection expands out just a little into your image.
STEP FIVE: Now do the rest of the Content-Aware Fill routine. You already made your selection, so go under the Edit menu, choose Fill, click OK, and it’s done. For three of the corners it did it’s usual amazing job. For the bottom-left corner, ummmm, not so much. It looks like it didn’t quite fill in that bar and piece of wood (I’m sure it has an official boating name, but for now, this landlubber will just call it “a piece of wood”), but it’s easy to fix, and finish it off.
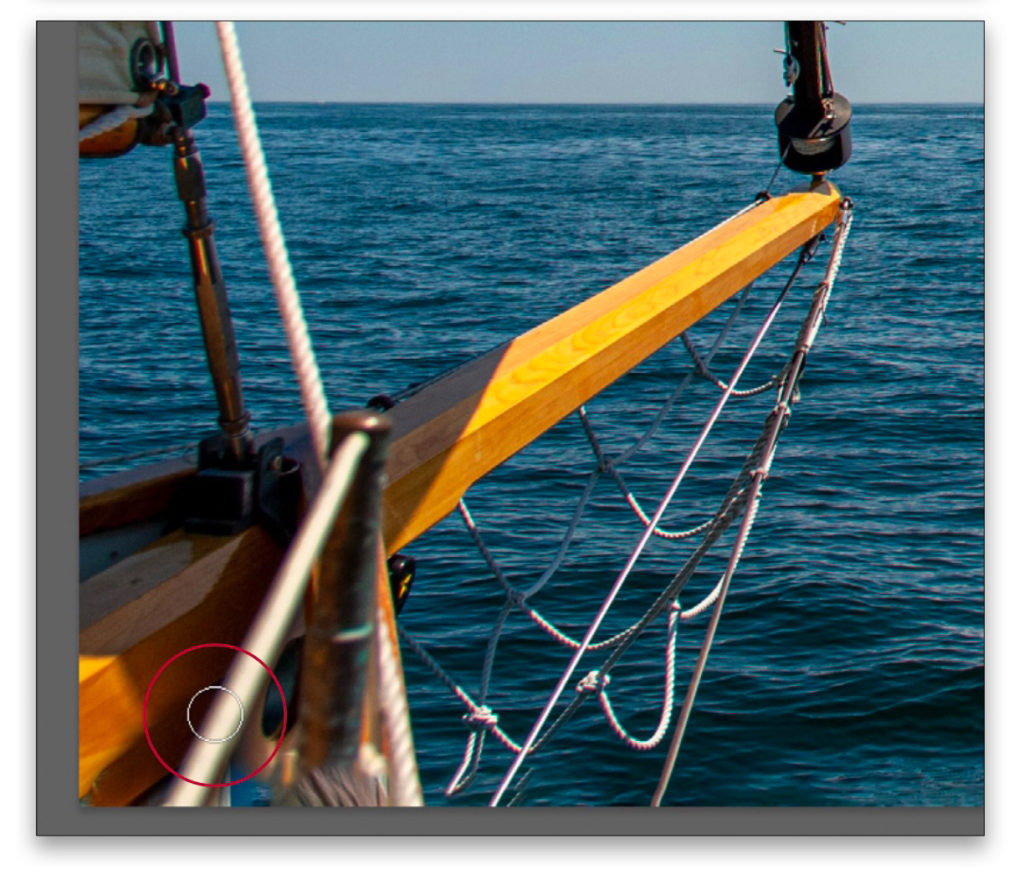
STEP SIX: Yup, we’re going to go get the Clone Stamp tool (the same one we’ve been talking about in the past few issues), and use it to clone more of that bar so it reaches the left corner and the piece of wood so it fills in that gap. Get the Clone Stamp tool (S) from the Toolbar, hold the Option (PC: Alt) key, and click right along the round wood thing, and then paint it right into the left corner. Then, resample the wood behind it and fill in the gap. There ya have it, and we used two of Photoshop’s tools together to get the job done, so you can see another instance of how the tools work so well together.
Okay, next week our journey continues and we’ll look at what to do when using Content-Aware creates a big mess; but I hope you found this tutorial helpful, and that it’s a reminder of how powerful these tools are when you use them together.
-Scott


Loving the PS for LR Users series, thank you! I forget how powerful Content-Aware Fill is, thanks for the reminder and the tutorial. I followed your examples step-by-step by working on a screenshot of your images. Really helpful, thank you!
Very good tips.
Content aware fill is amazing, I use it so often than I created an action for it :
– expand selection 3 pixels
– fill
– unselect
This action is associated to a function key.
That’s a great idea. Should be one of the default actions. 🙂