
Making Photo Books in Lightroom: Adding Two Columns of Text
I got this question from a member this past weekend who was watching my class on Creating beautiful photo books in Lightroom Classic. He asked:
I have a question to which I can’t seem to find an answer anywhere. For my photobook, I have a written introduction. I would like to have all the text on one page but split into two columns on the page. Can that be done and if so how?
When you go to the pre-designed page templates for text pages, there isn’t a two-column version available, but it’s easy enough to get there. Here’s how:
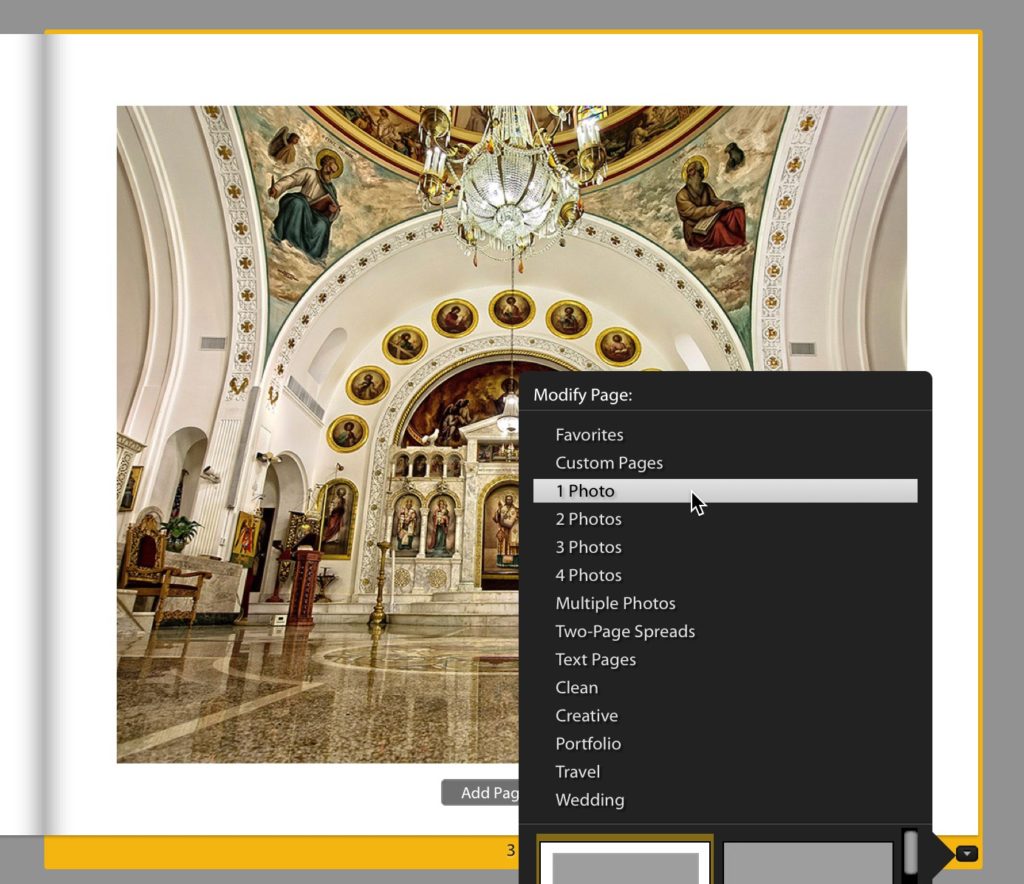
STEP ONE: Start by click on the Template picker (bottom right corner of any page) and from the template list, pick the 1 Photo layout (you could pick about any of them honestly, but this just makes it quicker).
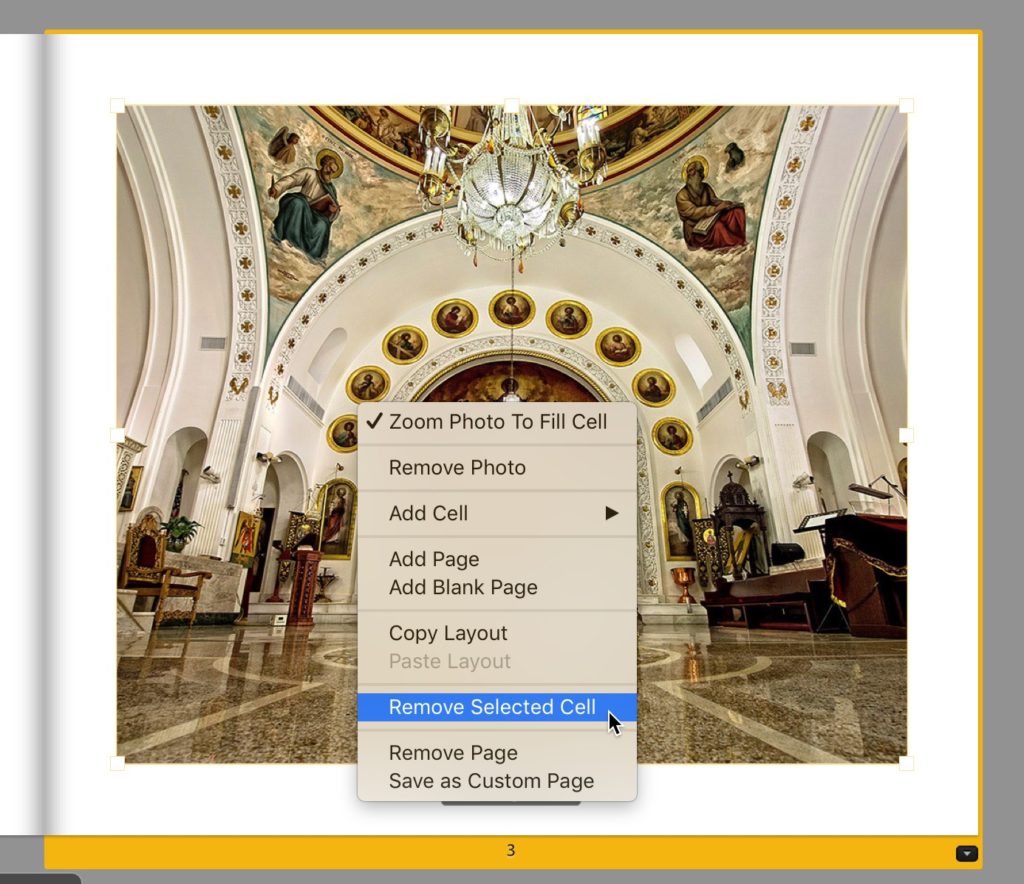
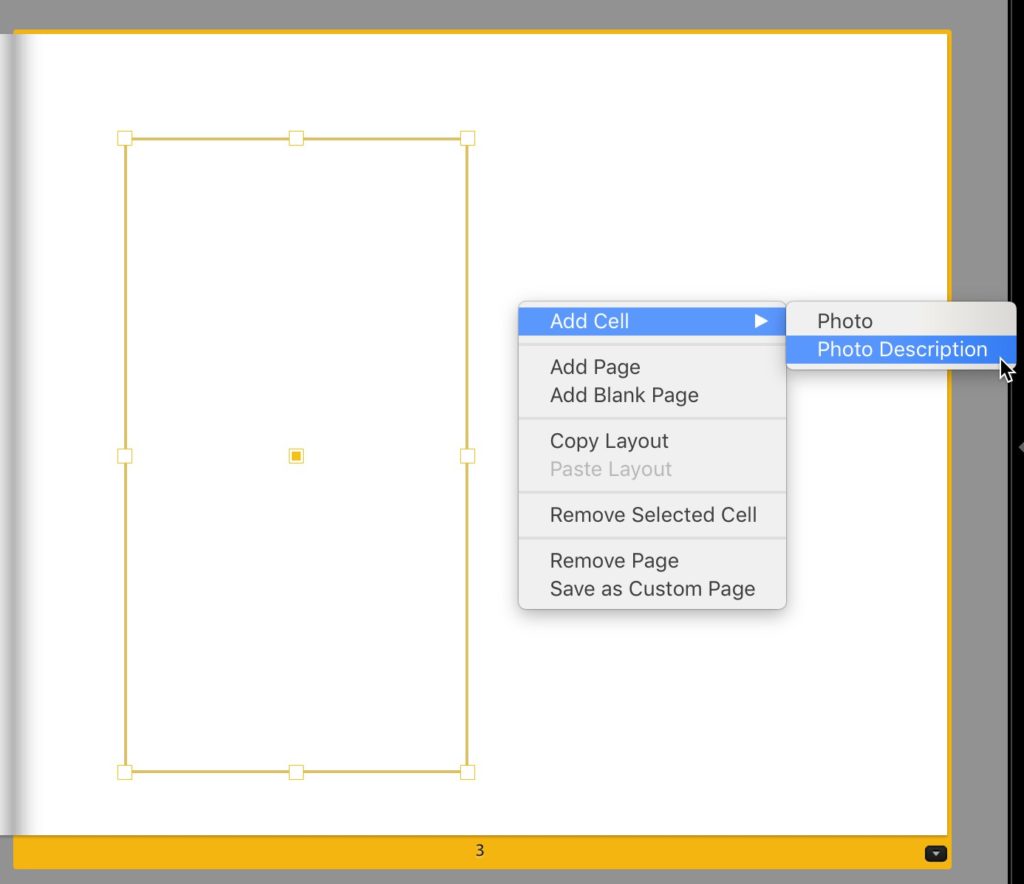
STEP TWO: Right-click (on Mac: Ctrl-click) on the image (or gray empty Image Cell) and from the pop-up menu that appears, choose ‘Remove Selected Cell’ (as seen above).
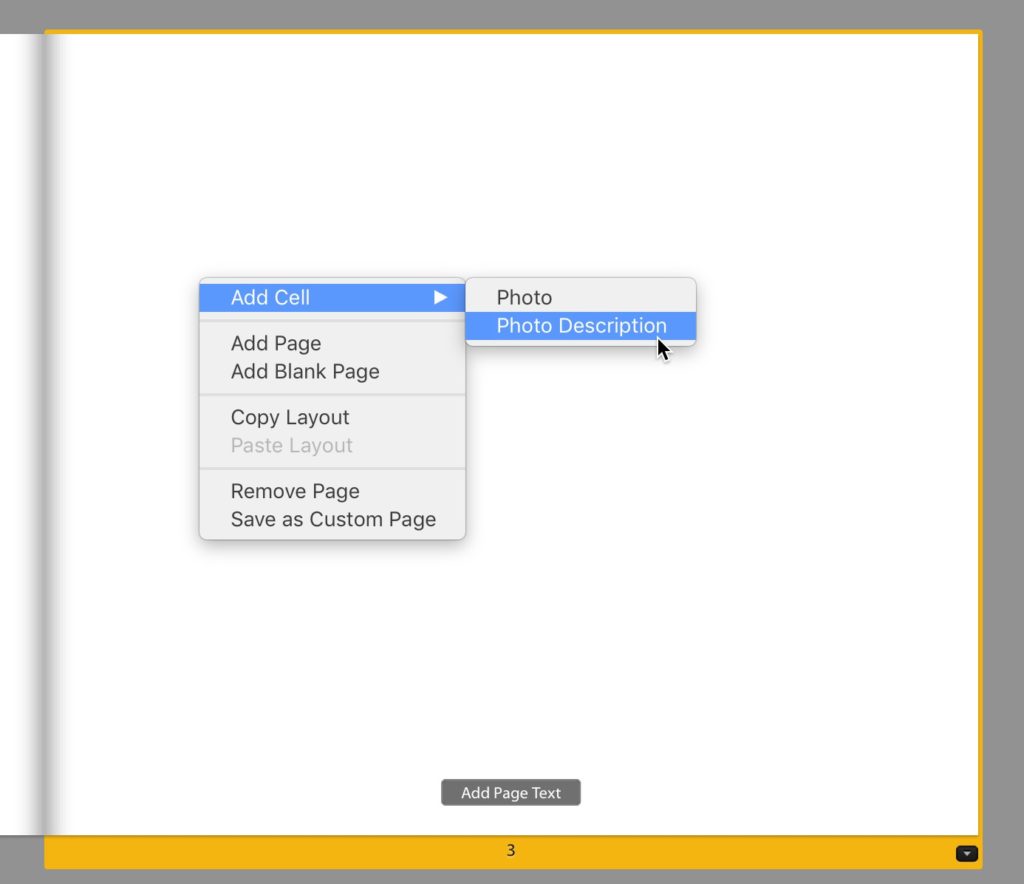
STEP THREE: Once that photocell is gone, right-click again on the empty page and when the menu appears, go under ‘Add Cell” and choose “Photo Description” (as seen above).
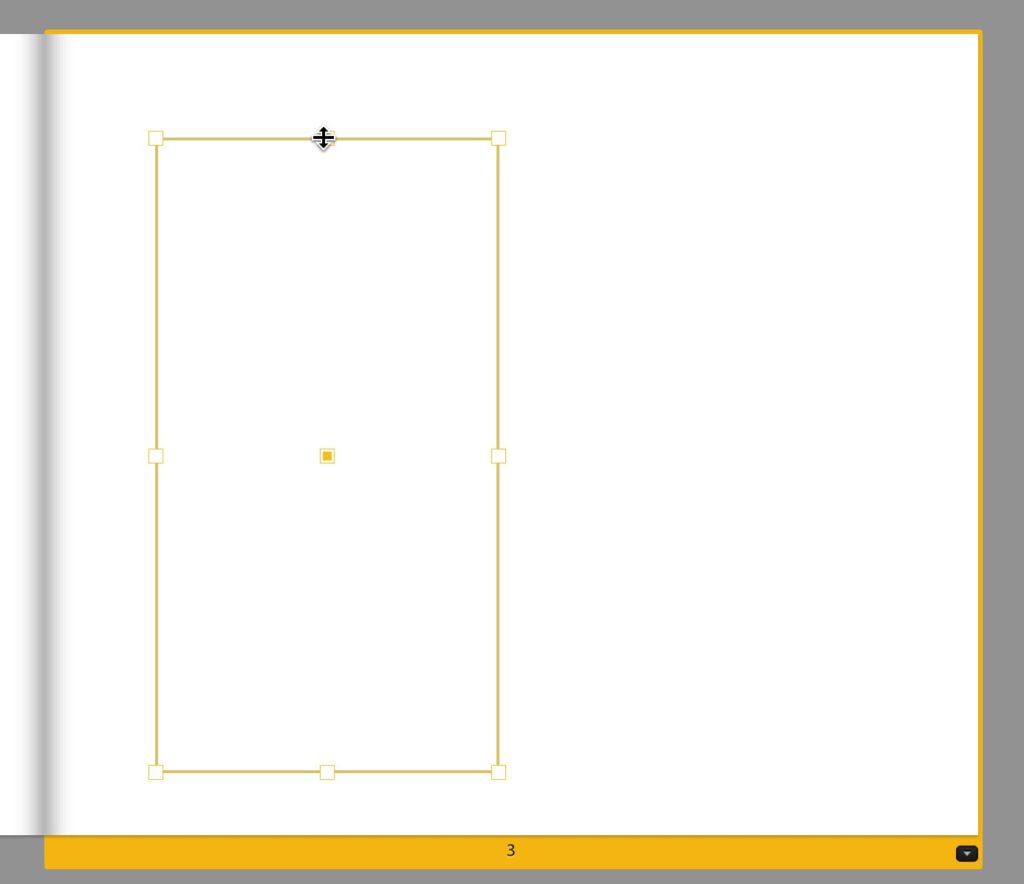
STEP FOUR: This adds a text cell to your page, and you can adjust its depth, width, and position on the page by clicking and dragging (above I dragged the cell upward to make the first column).
STEP FIVE: Now to the right of that, right-click again and choose Photo Description to add that second text column.
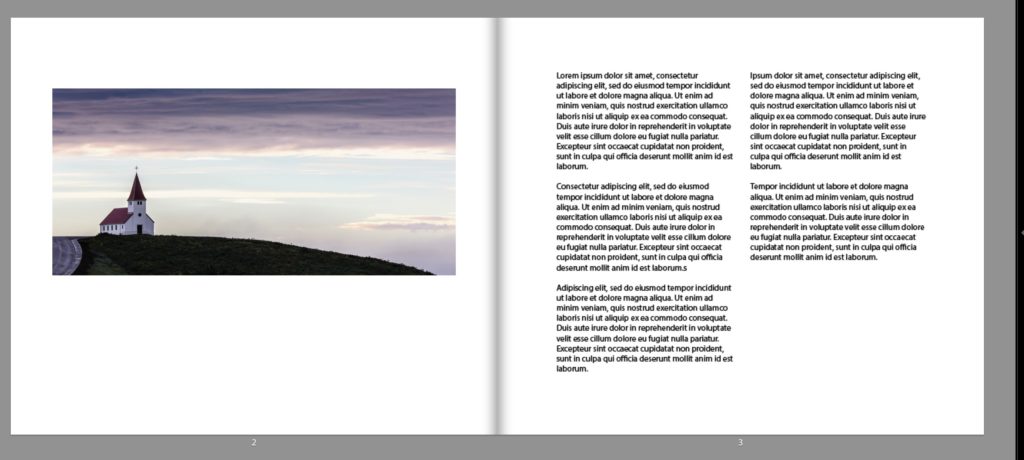
STEP SIX: Now that you have two columns, you can copy and paste your text right into these columns. The columns aren’t linked, so if you paste text that’s longer than your first column, you’ll have to paste that text again in the 2nd column and then delete the redundant text so it looks as though it flows from column to column, but it’s really kind of a manual thing.
Well, there ya have it!
If you want to learn more about making Photo Books in Lightroom Classic, I’ve got an entire class on it.
Here’s the trailer:
And here’s a link to the class. Hope you find it (and the tutorial above) helpful. 🙂
Have a great Monday and a kick-butt week!
-Scott


Scott
There is an automatic “Column” mode under the Type section of the book module where it will “flow” the text to the second column automatically. You just have to expand the lower section using the little white triangle to see columns. You can have up to 3 columns.
Where is your free lightroom wedding Photobook collage that’s on YouTube
Scott have you commented in another tip that once you have made your in this case two text column page that it can be saved for future use.
Really helpful tip, thank you, wish I’d known this before my most recent book, but will def use next time, thank you!
Great tip, Scott! (I was tempted to type “Great Scott, tip! :))