Lightroom’s Upright “Constrain Crop” Feature Gotcha!
Above: the uncropped, un-lens-corrected image.
I love the Upright feature Adobe added to Lightroom for fixing lens problems. Love, love, love it! Now, beyond that, one feature I love within it is the “Constrain to Crop” feature, because when I turn it on, it automatically crops away any white border areas left over from Upright’s automated correction. However, there’s a little gotcha.
Above: Here’s the image after I hit the “Auto” upright correction button, with the Constrain Crop checked on.
If I decide I don’t like the way it cropped the image (or I want to see more of the top or sides of my image), just turning off the Constrain Crop checkbox won’t make the crop border visible again so I can change the crop. In fact, turning off that checkbox (once it was on) doesn’t do anything at all.
Above: Here I’ve turned off the Constrain Crop checkbox and nothing changes.
To be able to re-crop your image your way, you have to:
(a) Turn off the Constrain Crop
(b) Click on the Crop Overlay tool up in the toolbox, and only then does it show you the entire pre-cropped image with the cropping border in place, so you can crop it yourself.
Above: Once you do those two steps, you can now recrop the image (in this case, I had to click on the padlock icon to unlock the proportional crop lock, so I could drag the cropping borders any where I wanted them without being constrained to the original proportions.
Anyway, thought you might run into that at some point (I have run into it several times myself), and hope you find that helpful.
Have a great Tuesday everybody!
-Scott
P.S. I did a post over at Exposure.co on my weekend getaway to the Oregon coast with the wifey. The images and the story are at this link, if you get a quick sec.


Was wondering what it was and just googled it thanks alot.
2021, checking box or not, always constrained to image area, always has been.
I don’t get what you’re doing.
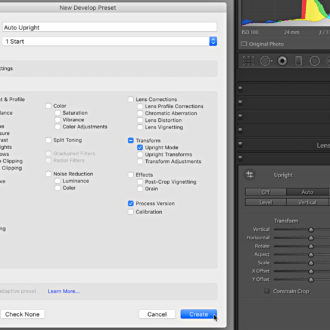
The other “problem” with Constrained Crop (which I regularly turn on) is that I cannot figure out how to save it in a Develop Preset. In a previous incarnation of Lightroom, I edited the preset definition itself and added it, but the Develop Presets are in an entirely new format, so I have to learn how to do the same to the new format.
Thanks for this. It’s not obvious from the title what it does. (I’ll leave it unchecked).
Say, after using the Constrain Crop, don’t be afraid to jump over to the Manual tab in this same panel and make any distortion, scale and aspect adjustments to bring the image into better perspective.
Thanks! I can use this.
Great tip Scott! I like where this site is going! The videos are a great addition, there is always more to learn. Nice to see the enthusiasm that you and RC have for all aspects of photography and Lightroom!
Thanks for the kind words, Dave 🙂
Scott,
Nice one. It is amazing how much good stuff I just ignore doing my workflow. Lightroom is really powerful. And I, an idiot.
Thanks!
Steven