DevelopFeaturedLightroom CC

Are you taking advantage of Lightroom’s Headless Mode?

headless

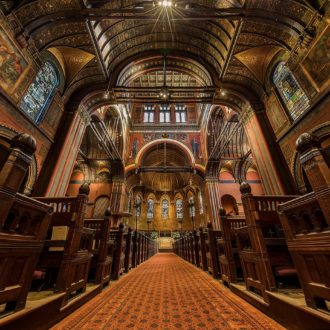
Hi gang — I just got back from my trip to London and Paris and while I was there I took a few panos, but I did a lot of exposure bracketing so I could compile those images into one single image using Lightroom CC’s built-in Merge to HDR feature (which works great by the way).

But one feature I really feel in love with this time around is Headless mode — where Lightroom will process your bracketed HDR images (or panos) automatically in the background without brining up a preview window or interrupting your workflow in any way.

Here’s how it works
Select your bracketed images (or pano images — your choice), then press Shift-Ctrl-H on Mac or Shift-Alt-H on Windows (for HDR, or use M at the end instead for panos), and that’s it. It takes your selected images and compiles them in the background using the last settings you used. If you’re charging by the hour, you can use just hold the Shift key and choose the menu items instead (as seen above).

I did this so many times when processing the images from my trip and it worked amazingly well, as I could keep right on working on other images while they were quickly chugging away in the background. I hope you’re taking advantage of this headless feature — it’s a huge timesaver!

Best,

-Scott

P.S. I shared some of my favorite photos from my trip to Paris, along with some stories and travel photography tips over at this link. — Hope you can stop by and check them out.

Share:

10 comments

  1. Sinte 26 December, 2015 at 02:36 Reply

    It is a very nice composition ideend.My guess is that Carl exposed on the darker areas in the foreground such as Lin’s hair and reduced the background exposure a bit perhaps by half an EV step. This can be set directly in the camera prior to taking the shot, but also in raw development if you don’t get the settings just right.

  2. gene tewksbury 23 October, 2015 at 09:07 Reply

    Great tip; however, I cannot believe this (or any hdr/pano in LR) does not auto stack with the group it was made from.

    Why would they do this? They give us the option for “external editing”..
    Do why would they not give the same option for internal HDR/pano work?

    Please tell Adobe to put the tinniest bit of thought into things.

  3. Joao Coelho 28 July, 2015 at 19:53 Reply

    I use this a lot. Sometimes I have as much as 8 HDR pics being processed. Really hogs the CPU, but you can still do other things with the computer or get a coffee while the processes finish 🙂

  4. Noobie Doobie Doo 22 July, 2015 at 14:07 Reply

    I checked out your pics of your trip to Paris and London. All I can say is WOW you must have a nice camera.

  5. Tassu 22 July, 2015 at 12:41 Reply

    “Works great by the way” Seriously? Have you tried night or dark scene with HDR. Ghosting is just unusable! It`s really noisy and results are just poor quality. Adobe has lot of work of it. Now it is just a toy.

    • Steve 18 August, 2015 at 16:04 Reply

      I have been capturing HDR and Panorama images for years and love the feature in LR for stitching, and it produces beautifully clean images if you give it good images to merge.
      I have used LR to stitch a few 22 image Panoramas now and it only takes about 30-45 seconds to complete the task, although I do use a pano-rail allowing me to get very precise alignment.

  6. Scott 22 July, 2015 at 10:31 Reply

    Couldn’t get this to work on Windows. Tried most every combination of H. Cont-H will give me the preview window.

  7. Eric Habens 22 July, 2015 at 05:25 Reply

    Hello Scott, very nice pictures !
    I am french, so,please look of this :Eiffel tower is “La tour Eiffel” in french, not “le tour eiffiel”
    Best regards

    Eric

Leave a reply

Your email address will not be published. Required fields are marked *