
5 Reasons Smart Previews Are So Awesome For Lightroom Classic Users
Today’s post (from the vault) is inspired by a question I get asked a lot when I’m out there teaching, and that is “Should I be using Smart Previews?” or “Why should I be using Smart Previews?” or even “What is a Smart Preview?” So, I thought I’d tackle that today by sharing five reasons why Smart Previews are awesome.

They let Lightroom Classic users edit images without having an external hard drive of originals with you
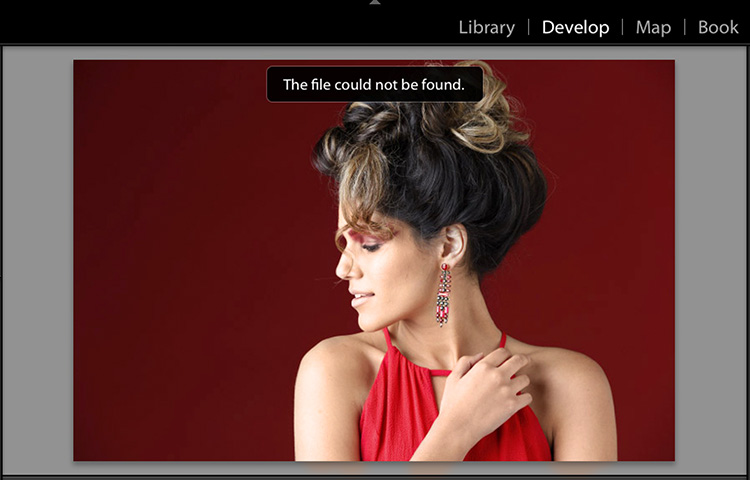
One of the big ideas behind Smart Previews is that it would allow you to travel without having to take along all your original files with you on an external hard drive. Normally, without having the high-resolution original image files with you, all you’d be able to do in Lightroom is view your thumbnails in the Library module, and sort them, and stuff like that. If you jumped over to the Develop Module, you’d get a warning that “The file could not be found” (as seen above) and all the sliders would be grayed out. But if you chose to make a Smart Preview for that image, you can still edit those images in the Develop Module even without having the high res originals with you. Better yet — you when get back home and reconnect your external hard drive, it syncs those changes you made to the Smart Preview file to the High-Res original image files. How sweet is that!

They take up a ton less space
Smart Previews only take up around 1-MB of size (versus as much as 50 or 60-MB for a high res RAW image, or more!), so you can have a whole bunch of them on your laptop, and it doesn’t eat up all your hard drive space. For example, 600 RAW photos take up around 16-Gig (depending on your camera’s make and model), but 600 Smart Previews only take up less than 5oo-MB.

You can make Panos and HDR images just using the Smart Previews
It wasn’t always that way, but in one of the updates they added the ability to merge panos and HDR images with nothing more than Smart Previews. Again, it syncs your changes to the high-resolution versions when you plug back in your hard drive.

You can even make a print or export a JPEG from just a Smart Preview
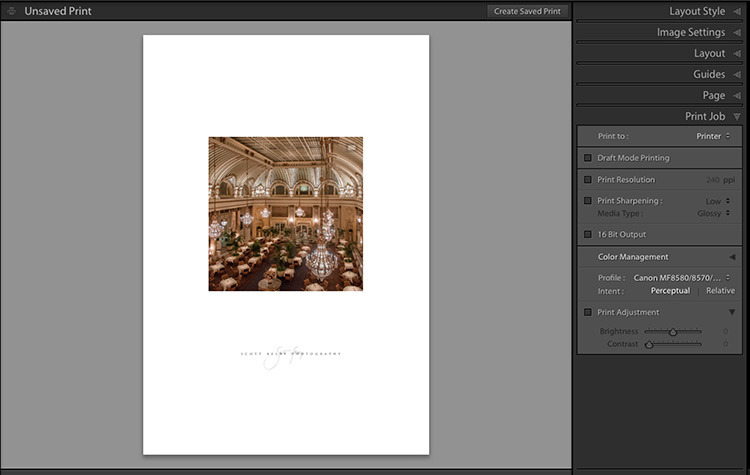
If you need to make a print while you’re on the road, the Smart Preview itself has enough resolution to print around an 8×10″ size photo. You can’t go much bigger, but there’s enough resolution for either a small print, or to make a JPEG to email or post on Facebook, Instagram, etc.. I’ve met people who have somehow lost their originals but were still able to make prints or JPEGs from just the Smart Previews, and that saved them from a total loss

You can add them anytime, or delete them just as easily
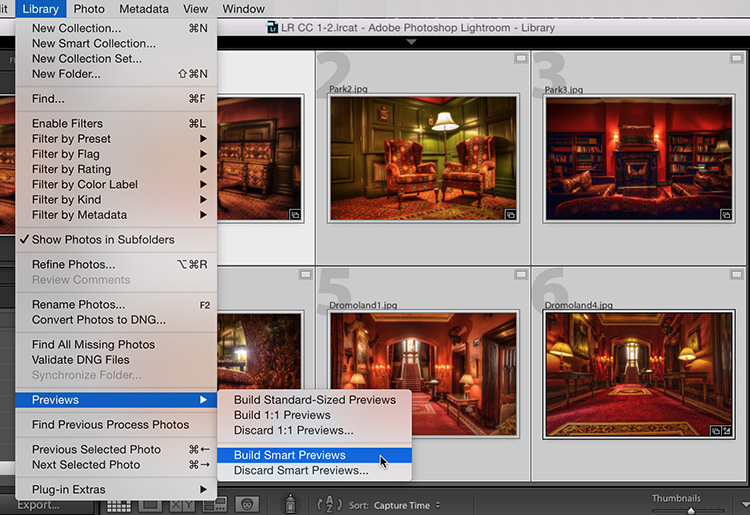
You can create Smart Previews automatically as you import your images (turn on the ‘Build Smart Previews’ checkbox in the File Handling panel on the top right side in the Import window), or if your images are already in Lightroom Classic, just select all the images you want to apply Smart Previews to, then go under Library menu, under Previews, and choose ‘Build Smart Previews‘ (as shown above). You can delete them the same way, but of course, choose “Discard Smart Previews” rather than ‘Build.’
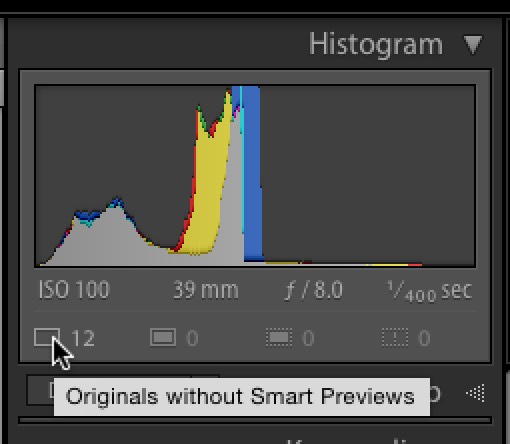
TIP: You can also create Smart Previews by selecting all the images you want to build Smart Previews for, and then click the first icon from the left right under the Histogram (as shown above). That shows you the number of images you have selected that do not already have Smart Previews.
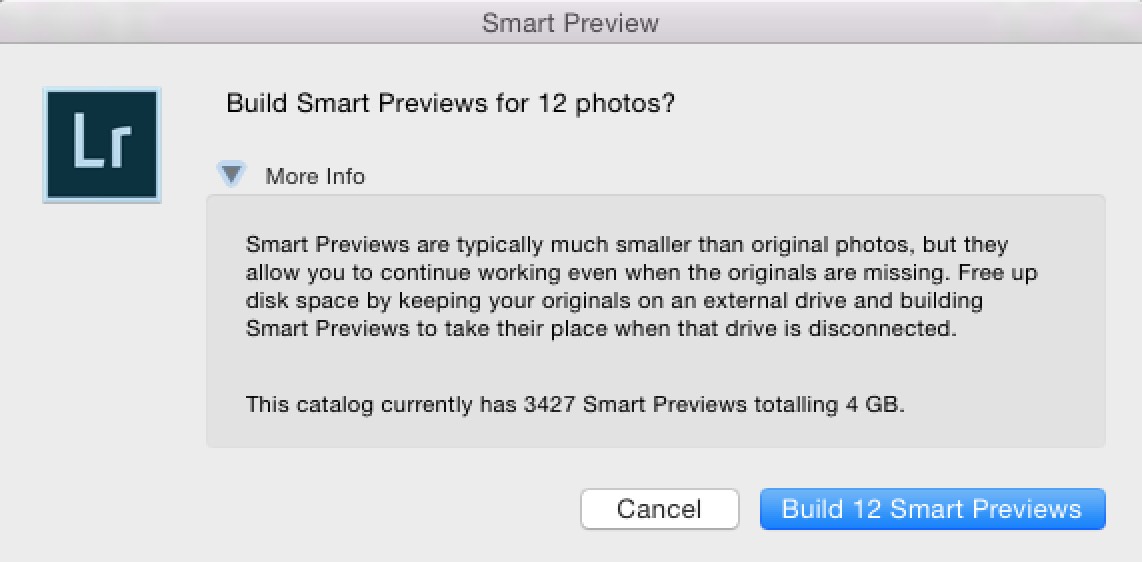
Above: When you click on that icon, it brings up the dialog you see above, and you can click the button on the bottom right to have it build the smart previews for you, without having to go under the menus.
Hope you found that helpful. 🙂
We’ve got a big announcement tomorrow (something I think you might be really interested in), so make sure you check back then. Have a good one!
-Scott


I use Smart Previews a lot… and when I was still traveling pre-COVID I would edit and keyword a lot of photos on the plane using only the smart previews. Very handy!
great – thanks