
Seven Little-Known Lightroom Keyboard Shorts
1. If you don’t like the results you’re getting from using the Spot Removal tool
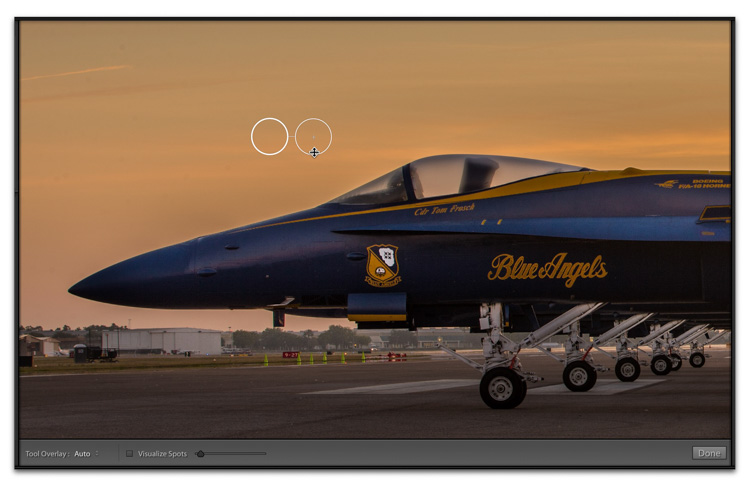

If you’re getting a result you don’t like, press the ” / ” key on your keyboard and it will try again, using a different sample area so you’ll get different (hopefully better) results.
2. Quickly Move Through Your Develop Module Sliders
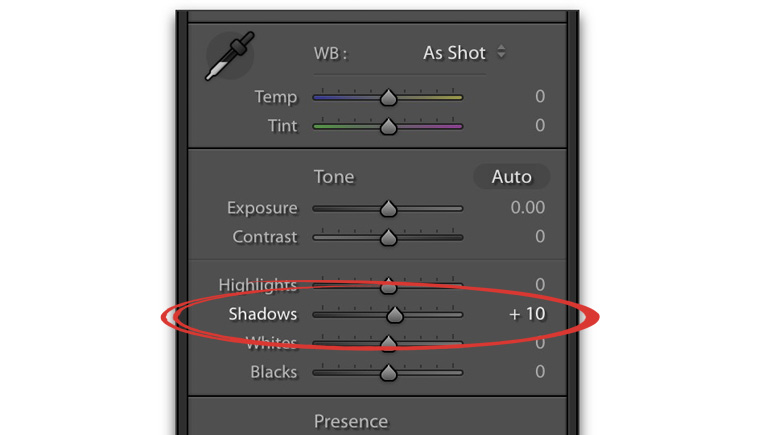
Pressing the period (.) key on your keyboard moves you through the various Develop Module sliders. The sliders highlight as you move to each slider, as seen above where Shadows is highlighted. When you get to the slider you want; pressing the + and – keys on your keyboard moves their value up or down.
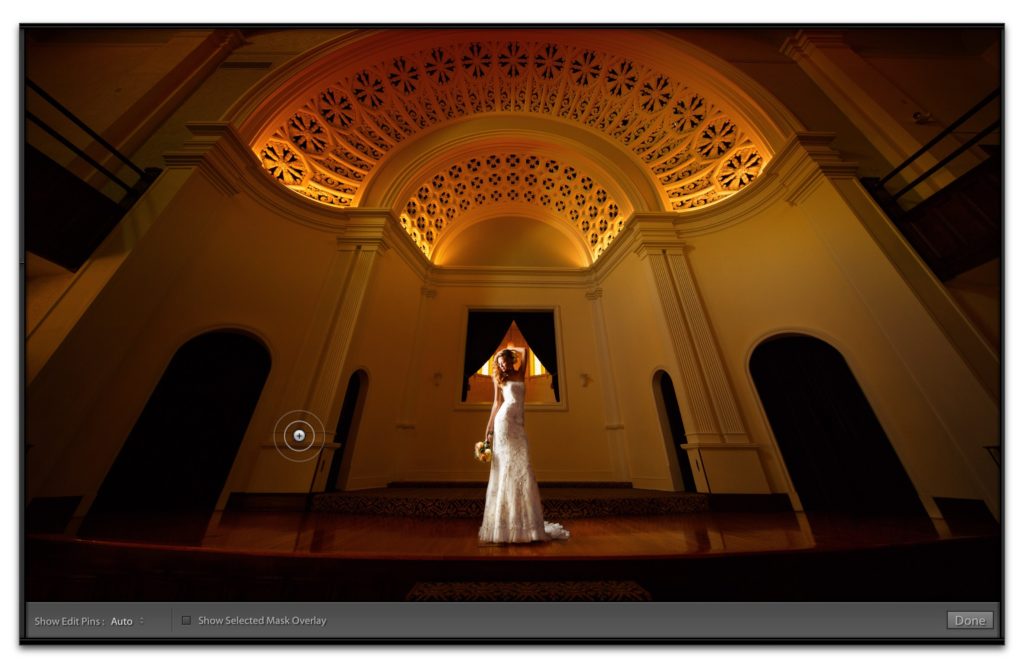
3. Want a Cleaner View Of Your Image?
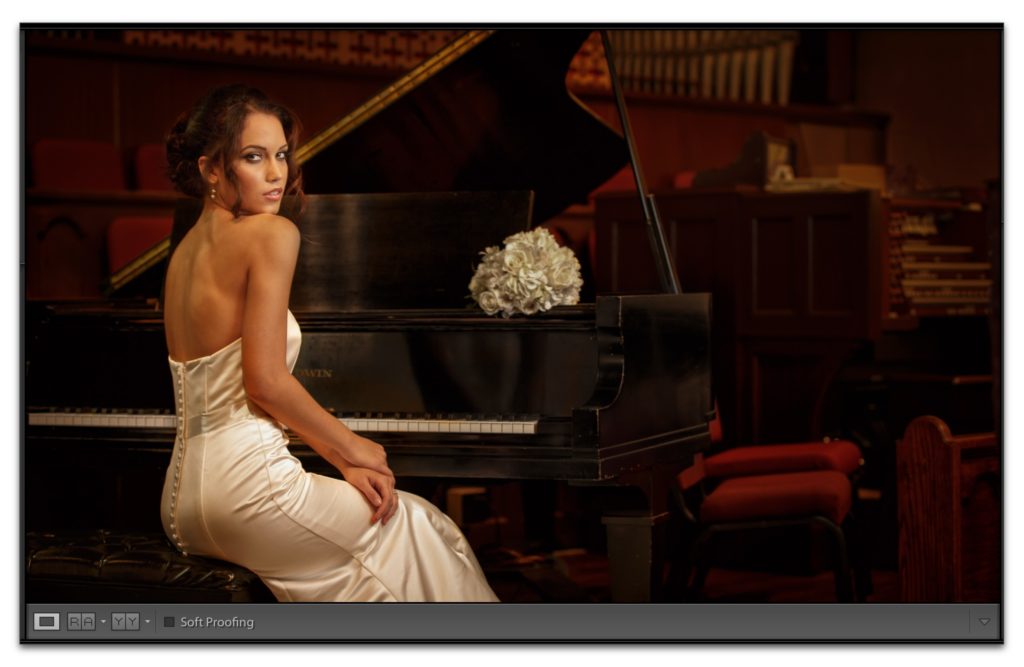

Press and hold “T” to temporarily hide the gray toolbar that appears below your image.
4. How to Quickly Reset All Your Adjustment Brush Sliders
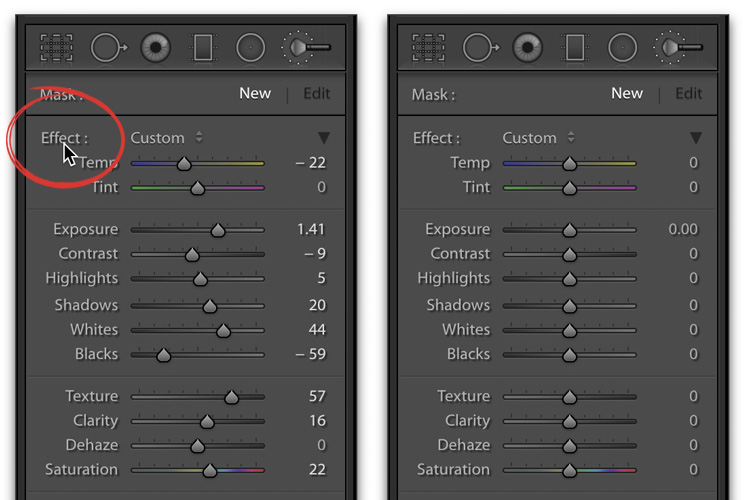
Double-click directly on the word “Effects” (shown circled here in red) to reset all the Adjustment Brush sliders to zero all at once.
5. You Can Paint Straight Lines

You can draw straight lines with the Adjustment Brush by clicking once with the brush where you want your line to start; now hold the Shift key, then click where you want your straight line to end, and it automatically draws a straight line between those places you clicked.
6. Another Quick Way to Change Your Settings
If you simply move your cursor over any slider, you can now adjust that slider using the up/down arrow keys on your keyboard. Want larger adjustment amounts with every click? Hold the Shift key, then use the Up/Down Arrow keys.
7. Change the Color of Your Adjustment Brush Mask
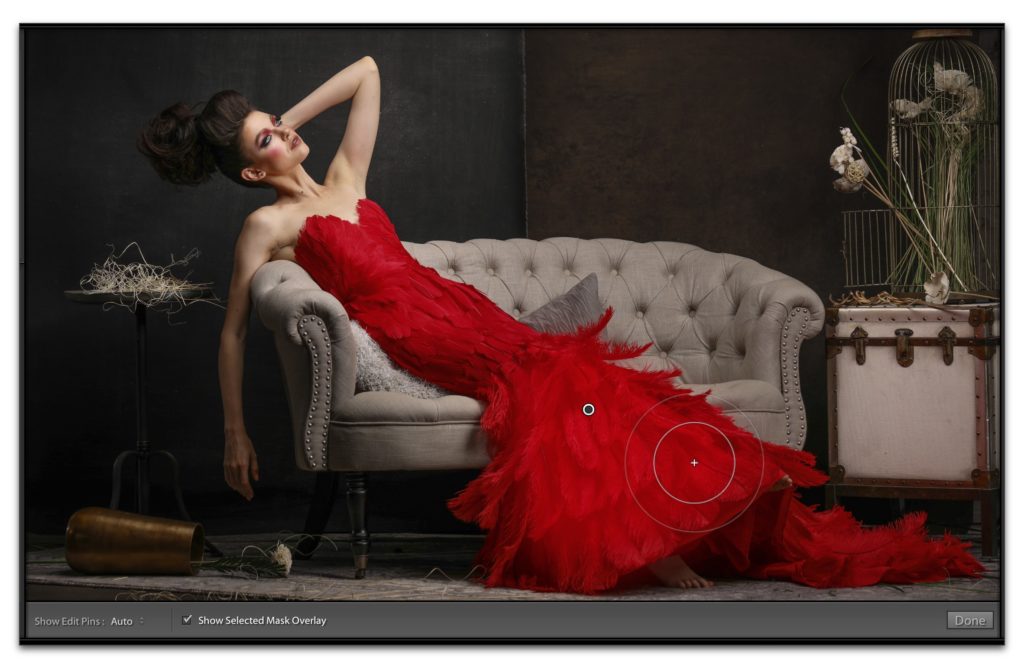
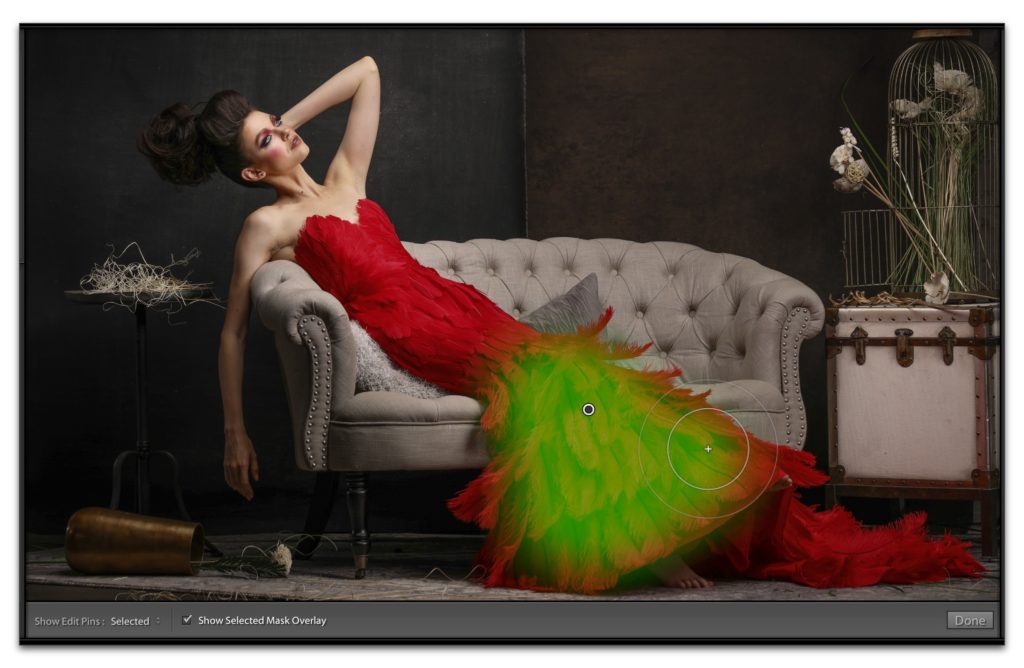
When you’re using one of the Brush tools, to see the mask you’re creating, press the letter O. To change the color of the mask, press Shift-O to toggle through the different color choices (white, green, red, and gray). This works for any of the brush-
Hope you found those helpful. 🙂
Here’s a $100 Off Code for Vegas Photoshop World (but it’s only good today)
Our Early-Bird $100-off special ended last night, but I’ve got a special code for $100 off, so you get the same deal, but it’s only good for today!
Check out this video below to get you hyped, then head over to this link right here for $100 off tickets to the biggest,
Here’s wishing you an awesome week!
–Scott


You Can Paint Straight Lines, something else.
If you keep the shift key dowm, anter licking on the second point to get a line, you can click in another sprot and get a new line from point 2 to 3, and so on. So you can paint polygons.
“dowm, anter licking” – down, after clicking”
doh!
“sprot” – “spot”. so many typos in just a few words, Tsk, tsk.
Thanks Scott, always nice to learn a few new shortcuts to speed up my workflow and simplify the editing process.
Good stuff. One good turn deserves another – when using the brush, you don’t have to click the AutoMask box – just hold CTRL while using it and it will behave in that mode. Another, pressing ALT will flip you to the erase option temporarily…
Oooohhhh, I didn’t know about that Ctrl key temporarily turning on Auto Mask. That’s a good one!!!! Thank you! 🙂
and off… you can toggle between them…
Just for completeness if someone comes along in the future reading this, the “A” key will do the same thing as the CTRL I mentioned.