Photoshop For Lightroom Users: Part 2. The Healing Brushes
Welcome to my new column, which debuted here last Tuesday, where we talked about how to move an image from Lightroom over to Photoshop, and then how to get it back (it’s a pretty smooth process since Lightroom was designed from the very start to work seamlessly with Photoshop). Now that we know how to get our images to Photoshop and back, in this issue we’ll begin looking at what to do once we get our images there. We’re going to start with one of the biggest reasons that I jump over to Photoshop in the first place: to remove unwanted “stuff” in my photo.
Now, I know there’s a tool called the Spot Removal tool in Lightroom Classic, and it’s aptly named: it’s okay for removing spots, but that’s about it. It’s fairly lame at anything other than that; however, in Photoshop there’s a tool called the “Healing Brush,” which is actually pretty incredible. Now, if you’re a Lightroom “cloud” user, you’re thinking, “Hey, wait! Lightroom cloud has a Healing Brush, too!” Although they borrowed the name from Photoshop’s brilliant tool, it’s absolutely not the same. It’s the same lame Spot Removal tool in Lightroom Classic, but with a different name. Don’t confuse the two: the one in Photoshop is awesome and the one in Lightroom is awful (no matter which version you’re using). That’s why when I need to remove stuff other than a spot or sensor dust, I jump over to Photoshop.
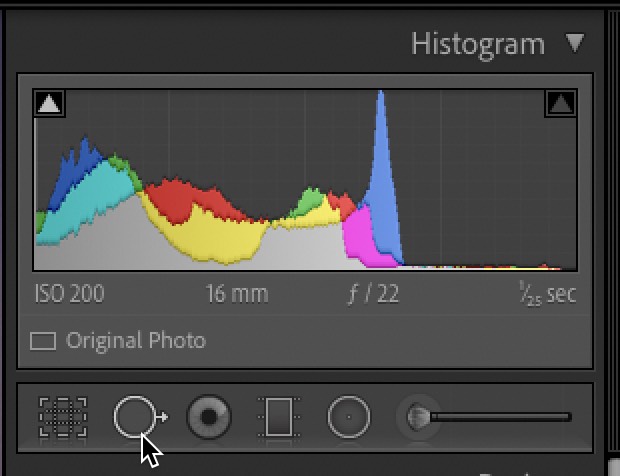
So, why is Lightroom’s tool so lame? One reason is how it picks the spot from which to sample. When you click in your image with the Spot Removal tool, it automatically picks a spot from within your image to do its repair. Occasionally, it picks a reasonable spot; but, most of the time, it does a pretty cruddy job (and “cruddy” isn’t the word I wanted to use) of choosing it. Sometimes, hilariously so. Yes, it’s true that you can move the sample spot to a different area in the image, but why doesn’t Lightroom pick the correct spot in the first place? (Don’t get me started).
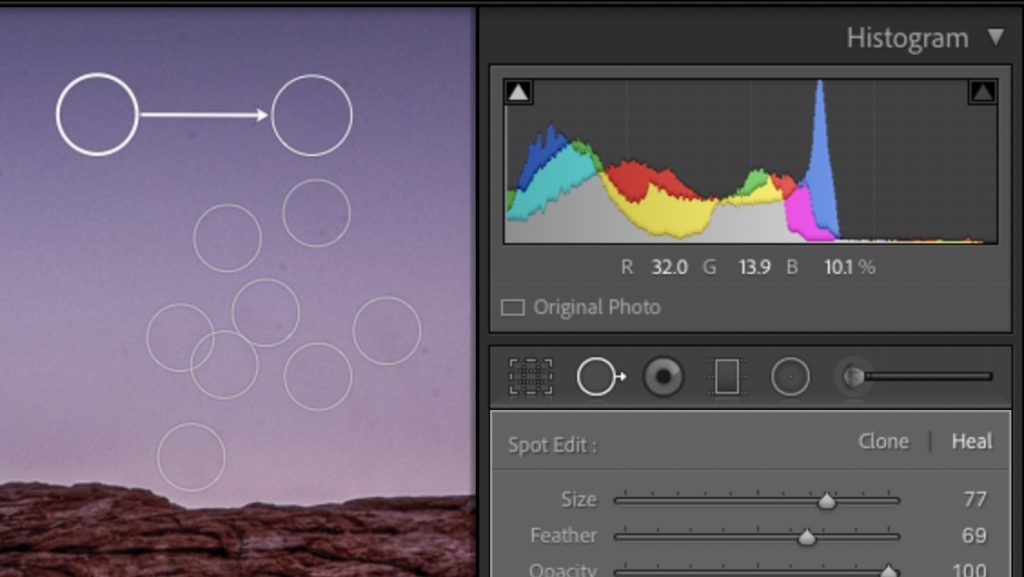
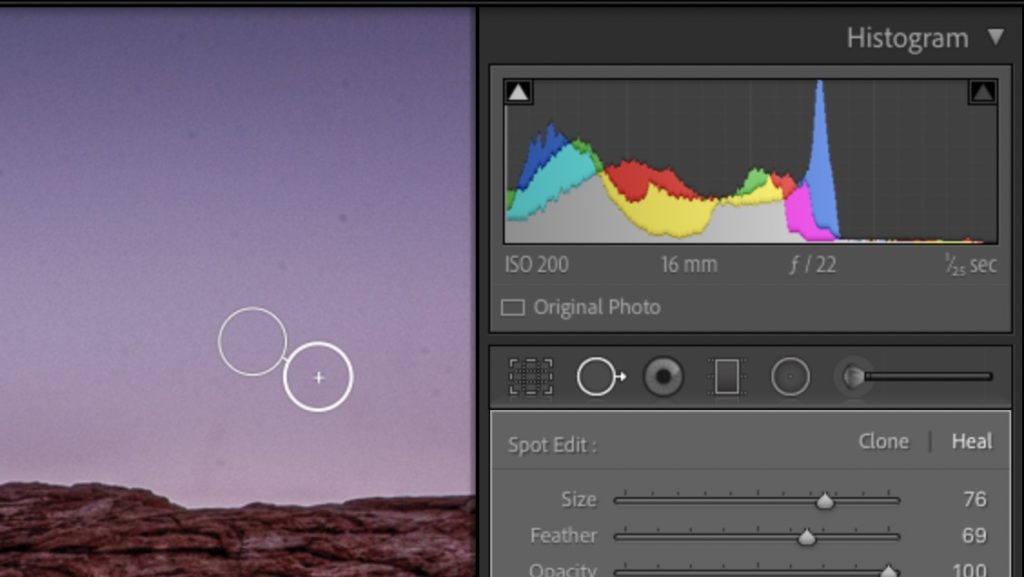
The other reason is that it shows you a circle onscreen where your spot was; then it has a line extending to another circle that shows the area Lightroom erroneously chose to make the repair. So, if you have to remove more than one or two spots, now you have these circles all over your screen, and if you have to remove two spots that are really close together, it’s either tricky or just about impossible. Note: If you decide to paint with the Spot Removal tool instead of just clicking like I do, you’ll get edit pins, as well, and you’ll see those pins all over your document instead of white circles (only the active pin will have a white outline).
Photoshop’s Healing Brush isn’t like that; you don’t see any circles, and previous fixes don’t mess with your next fix. It all just works, and it’s very intelligent about how it picks the areas from which to sample. Yes, it’s not 100%, but it’s probably 97% on the money. It’s pretty amazing. There are also two different Healing Brushes (well, three really) that each work slightly differently.
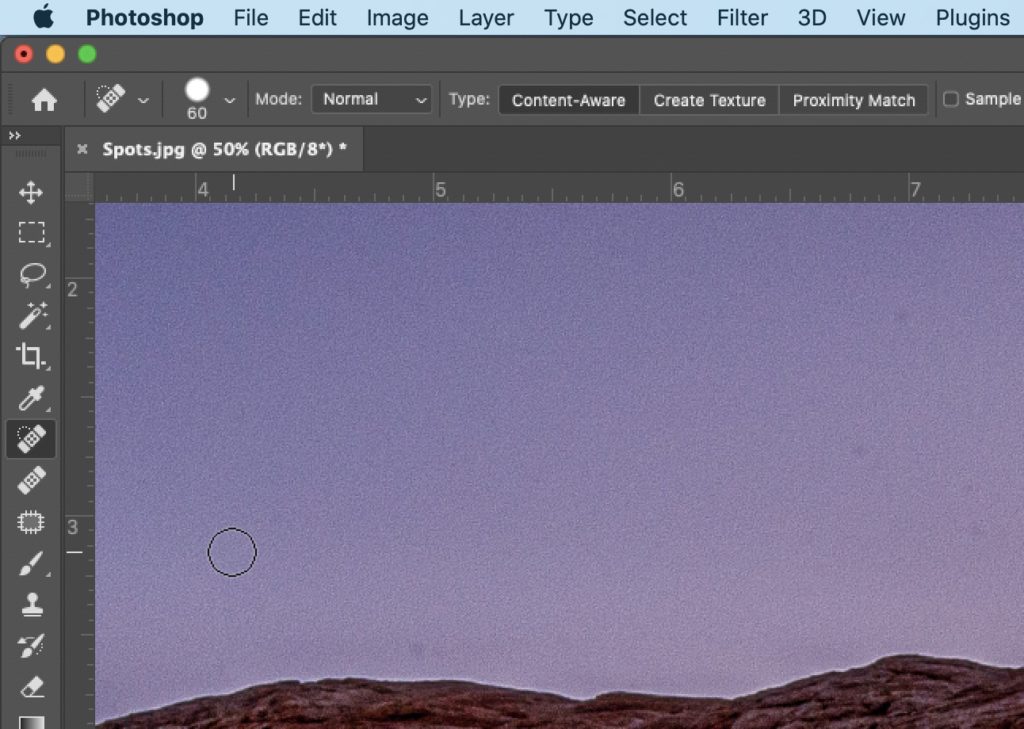
1. THE HEALING BRUSH
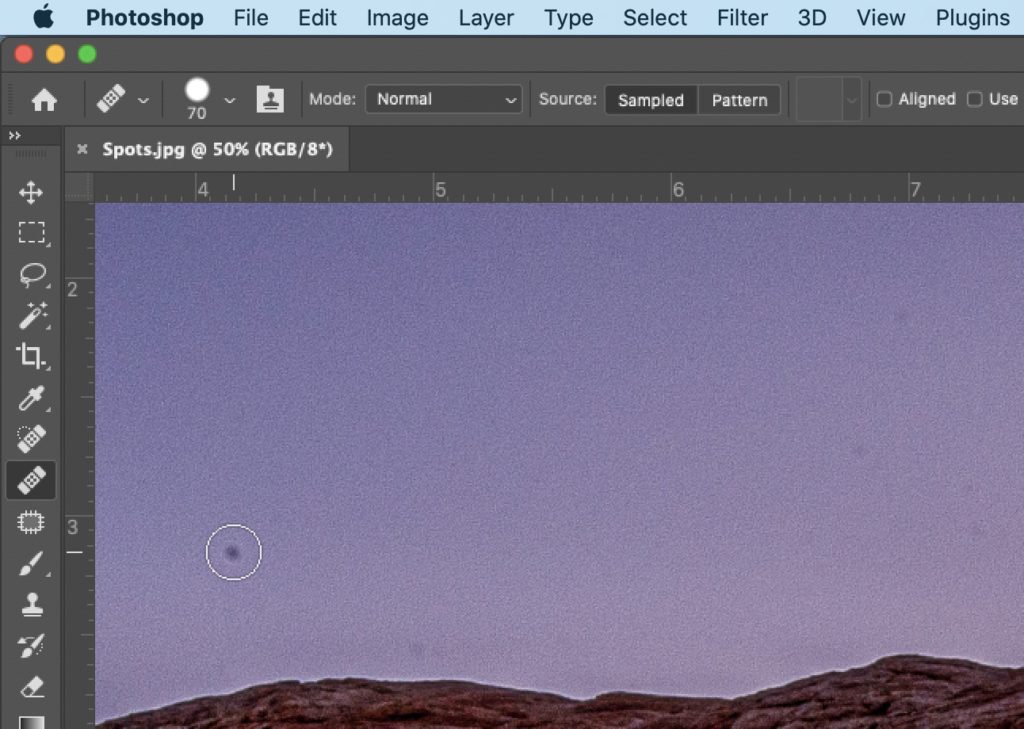
When you choose the Healing Brush – seen above (it’s nested below the Spot Healing Brush tool [J] in the Toolbar), you get to tell Photoshop exactly where it should sample. So, for example, if you were removing wrinkles on someone’s face, you’d hold the Option (PC: Alt) key, and click once right near the wrinkles. That tells Photoshop, “Use this skin right here as a sample area when I go to paint over the wrinkles to remove them” and since you chose an area nearby, the repair is just about flawless. This is the most accurate of the two Healing Brush tools simply because you choose the sample area with that Option-click (PC: Alt-click) move.
2. THE SPOT HEALING BRUSH
The Spot Healing Brush tool (J) seen above, is essentially the same tool, with the same math behind it, but you don’t have to choose that sample spot first by Option-clicking (PC: Alt-clicking). The Spot Healing brush automatically chooses the area from which to sample, invisibly, behind-the-scenes, and unlike Lightroom’s version, it does a really great job of picking a sample area. So you can just click over a blemish, or paint right over a power line, and boom! It’s gone. It’s a super-easy, yet super-effective tool to use.
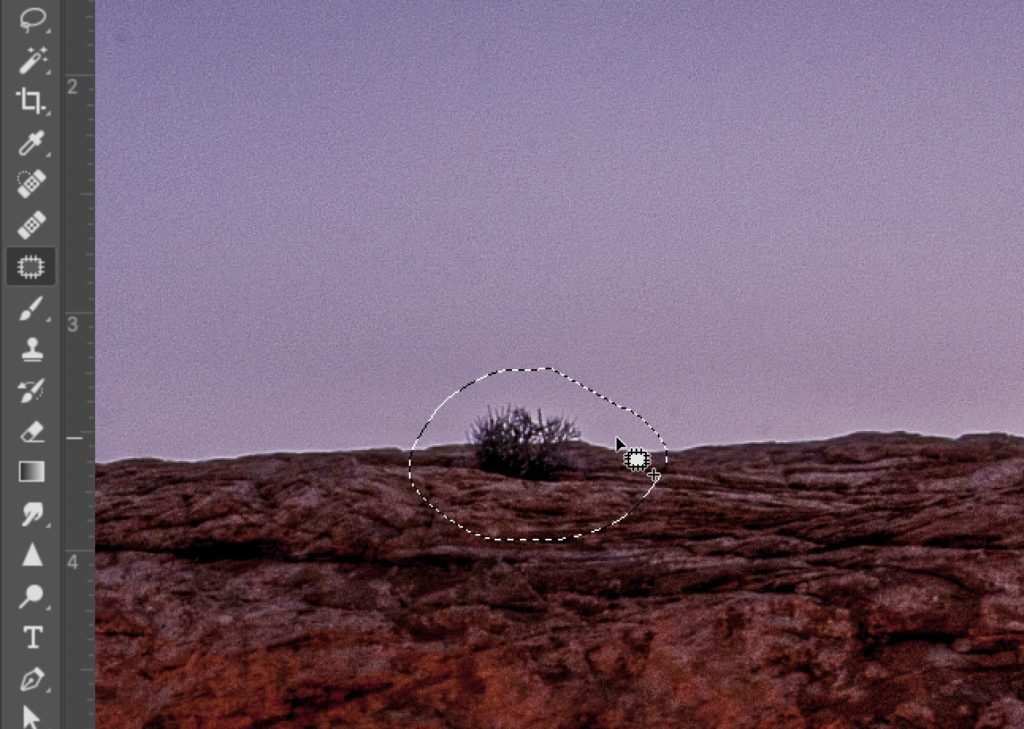
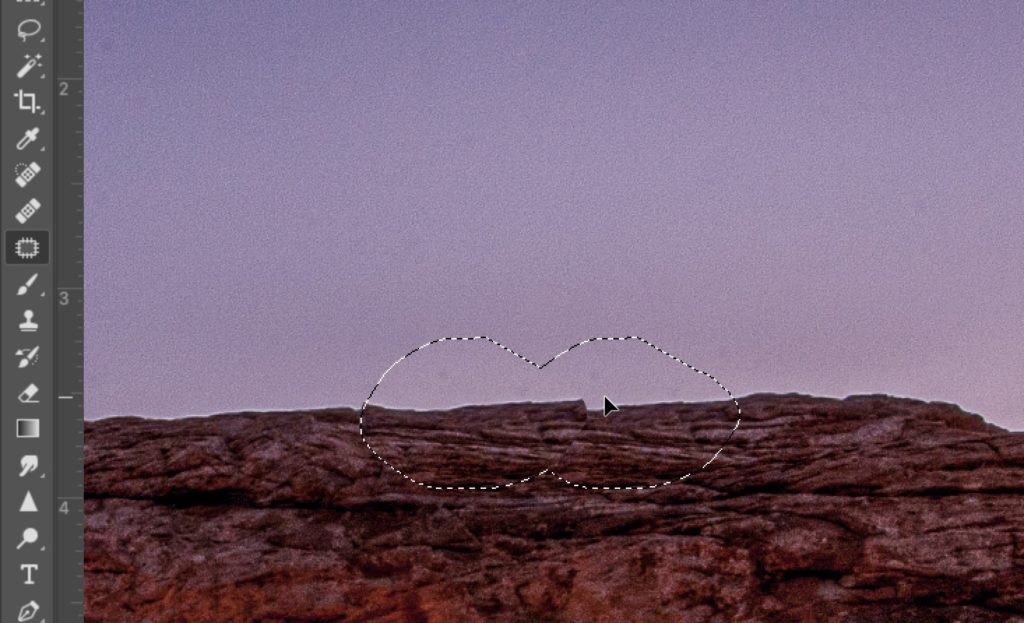
3. THE PATCH TOOL
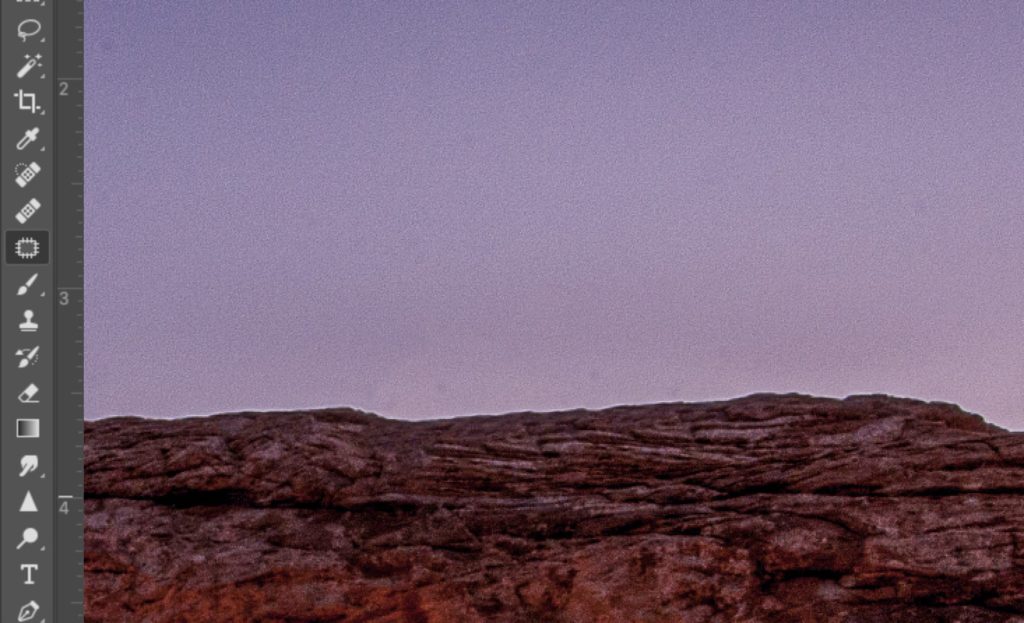
The Patch tool (also nested below the Spot Healing Brush tool [J] in the Toolbar) isn’t a brush, but it’s a very close cousin of the Healing Brushes. It’s ideal for when you want to remove something larger (like a fire hydrant, person, etc.) from a scene. You click-and-drag a loose area around the thing you want to remove, and it puts a selection border around that object (you’ll see movie-marquee-like lights running around the subject). Click anywhere inside that selected area and drag it to a nearby area from where you want Photoshop to sample. The original selection will remain in place, and you’ll see a preview of the sample area inside it as you drag the sample area around the image. When you release the mouse button, it will snap back into place, and that object will be gone. It’s really great for larger stuff but uses the same tech- nology as the Healing Brush, so it’s awesome.
Those three create a pow- erful set of tools that will let you remove almost anything. There are other features and options that we’ll explore as we get further into this series, but for this issue, I just wanted to introduce you to the tools. Once you give them a try, this will probably become a major reason for you to jump from Lightroom to Photoshop: just to use these incredibly powerful tools to remove unwanted junk from your images, and then send that image right back to Lightroom.
I hope you found this helpful, and we’ll catch you next Tuesday as we dig deeper into the stuff Lightroom users will want to do once their image is over in Photoshop.
Until then, here’s wishing you a kick-butt day, and don’t forget to stop back by tomorrow for Rob’s always excellent column. 🙂
-Scott