
Welcome back once again. This week we’re going to divert from our regular style tutorial and instead, we’re going to look at 10 things you should probably know about working with Layers before we dig in any deeper. There is a lot to Layers, but that’s a good thing, because they have a lot of power and depth, and if we learn these things now, it’ll pay off very soon, so here we go:
#1: How to rename a layer
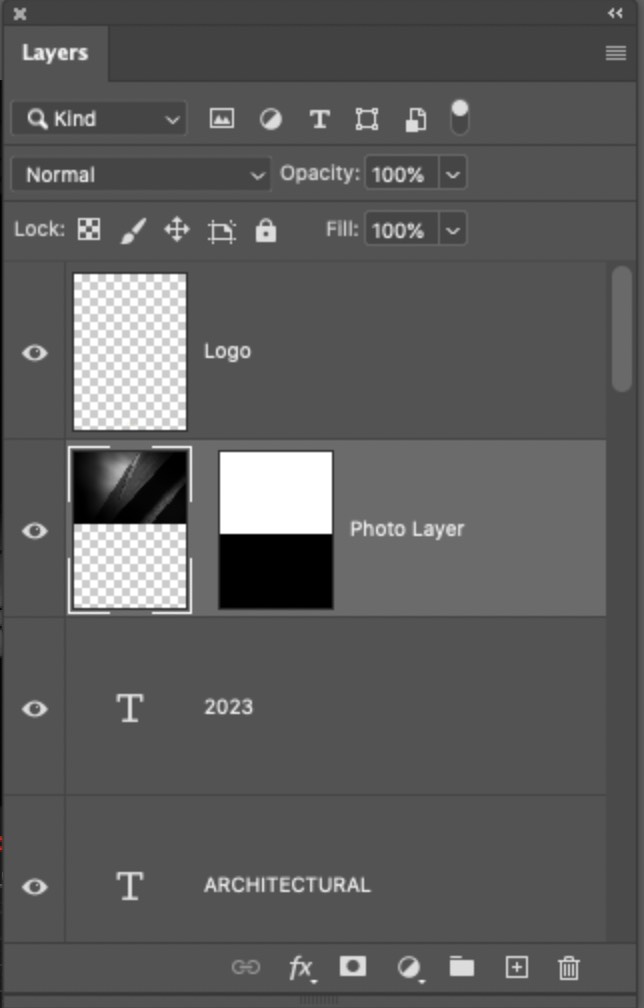
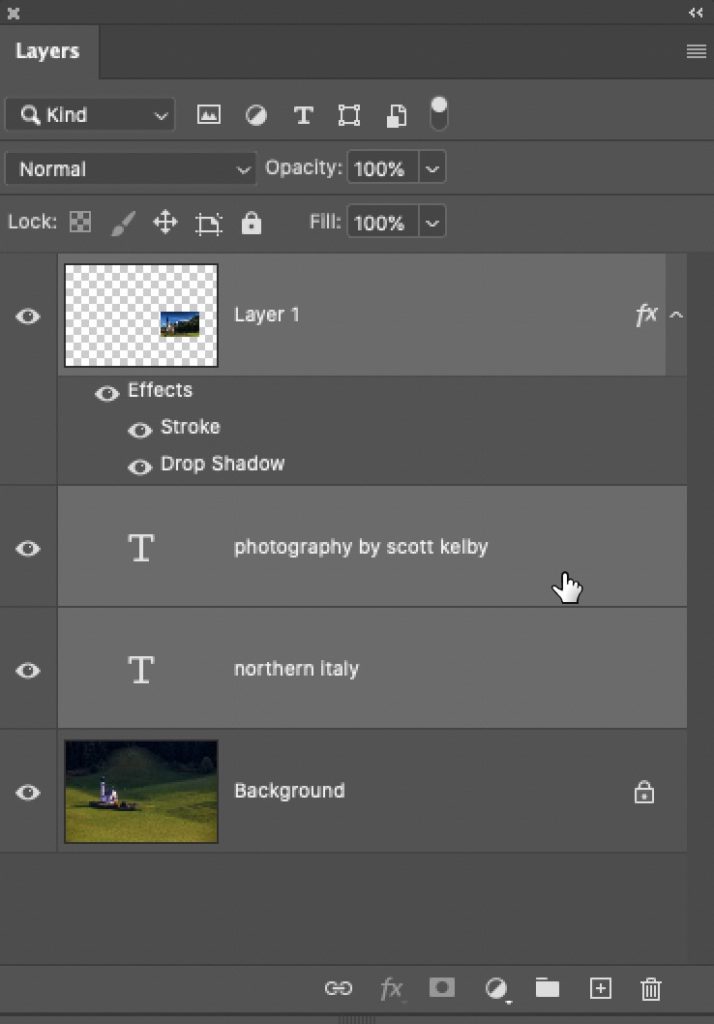
It’s fine working with the default names of Layer 1, Layer 2, etc., until you start to get a handful of layers and things start to get confusing, so after three or four layers it’s probably time to start getting organized and naming them (like you see below). To rename a layer, just double-click on the existing name and it highlights so you can type in the name you’d like. Hit the Return key (PC: Enter key) to lock in your changes.
#2: How to Organize Your Layers
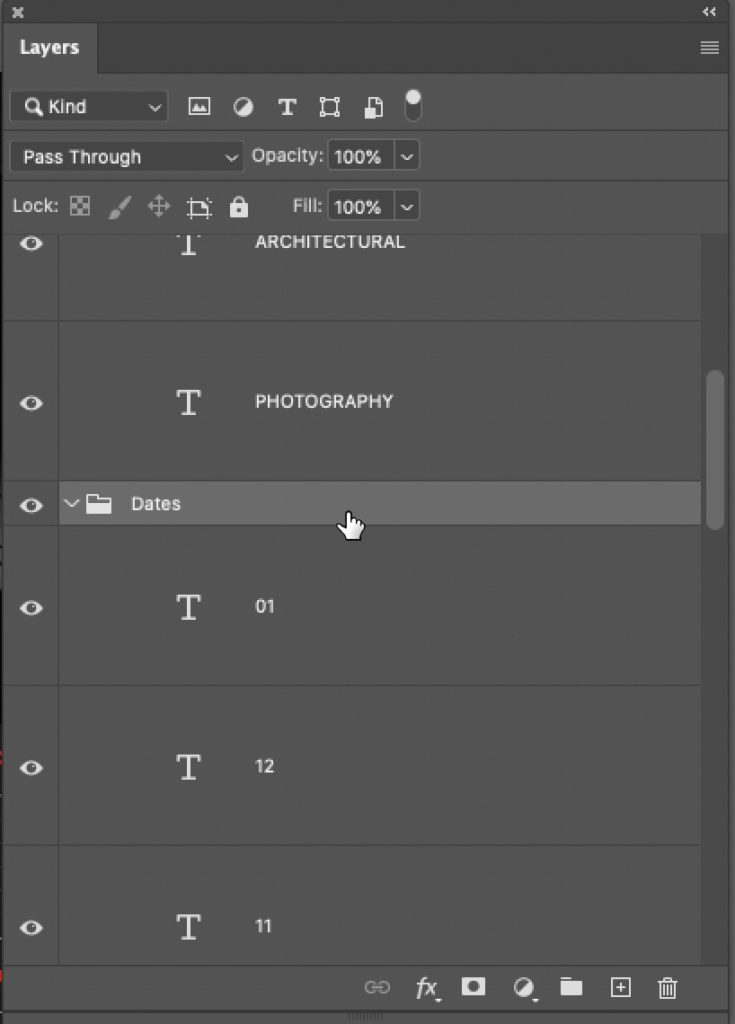
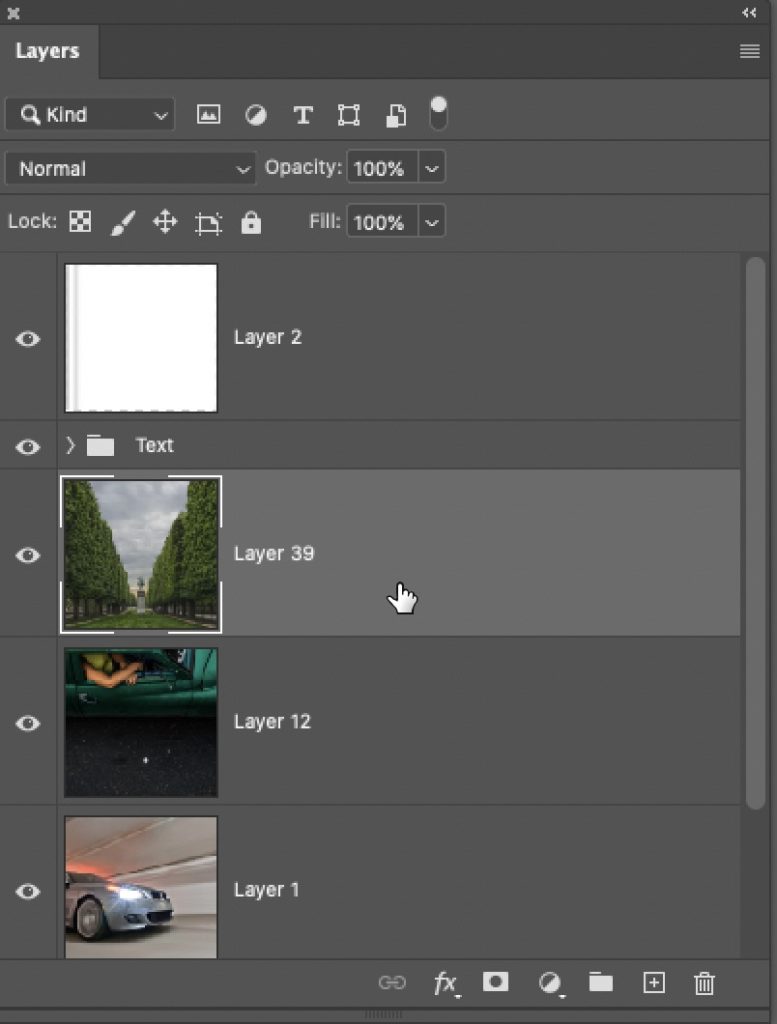
Let’s say you have a bunch of text layers on top of your original background image. After a while, your layers panel is going to get pretty long and you’ll do a lot of scrolling just to get around. If only we could put all those layers in a folder of some sort, and name it “Text Layers” and then you’d only see that one folder until you need to change one of those text layers. Then you could click on it to reveal all those layers inside it. Wouldn’t that be handy? Yeah, it’s a shame Photoshop doesn’t have that feature. OK, I’m kidding, of course, it does! Just select the layers you want in this new folder (called a “Layer Group”) and then click the Create Layer Set button at the bottom of the Layers panel (its icon looks like a folder), and now those layers will appear inside that folder. You can drag and drop other layers into this folder if you like, and to remove a layer from the folder, just click and drag it up and outside the folder.
#3: You Can Lock Layers To Keep Accidents From Happening
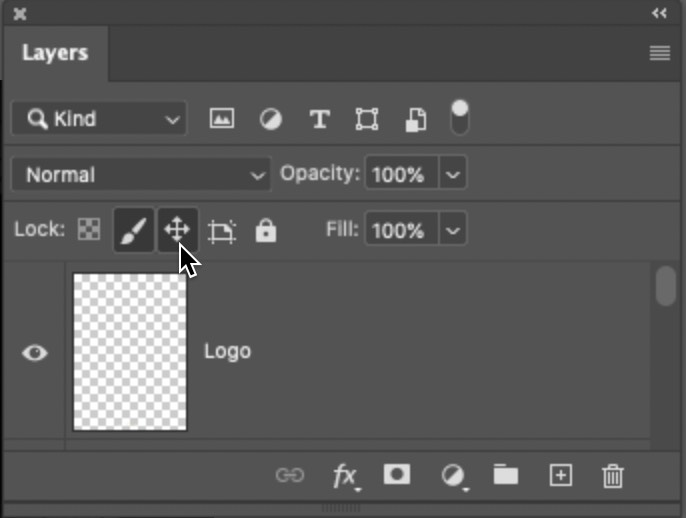
There are a set of locks you can apply to a layer to make sure, for example, you don’t accidentally move it (maybe it’s in a perfect position and you don’t want to mess it up?), or if you want to make sure you don’t accidentally paint on a layer, etc.. These locks appear near the top left corner of the Layers panel to the right of the word locks. At this point, you would only use the first three, from L to R: (1) locking the transparent areas of the photo (2) keep the image from being painted upon (3) keep the layer from moving.
#4: You Can Color Code Your Layers
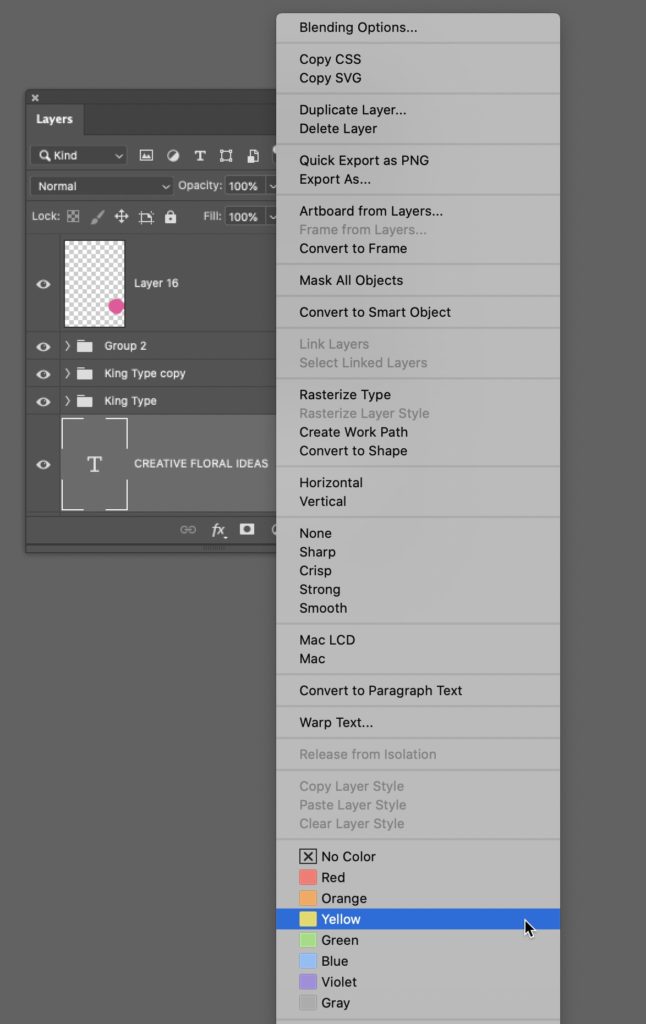
This is another organizational tool, but instead of folders, this is a visual cue. For example, to help you find all your text layers in a long scrolling Layers panel, you could make them all yellow, and maybe your image layers are called out in Red, and so on. To apply a color to a layer, right-click on the layer in the Layers panel from the pop-up menu that appears, choose the color you want.
#5: How to Duplicate a Layer (including the Background layer)
The slow way is to drag the layer down to the Create New Layer button at the bottom of the Layers panel (it looks like a square with a + sign inside it), but the quick way is to simply press Command-J on Mac (Ctrl-J on a Windows PC) and it duplicates whichever layer you currently have selected.
#6: Selecting Multiple Layers
There are lots of reasons why you might need to select multiple layers at once but a big one is: you want to move them as a group (but without putting them in a folder first). To do this, simply click on the first layer you want to be selected, then hold the Command-key (PC: Ctrl-key) and click on any other layers you want to move at the same time. Now switch to the move tool and when you move one layer all the other layers move with it as a single unit.
#7: How to Merge Two Layers Together
If you want to combine one layer, with the layer directly below it (so, you have two separate layers but you want to combine them into one single layer), it’s actually really easy. Click on the top-most layer, then press Command-E (PC: Ctrl-E), and it merges the layer on top with the layer directly below it to become a single layer.
#8: Filtering Down Your Layers
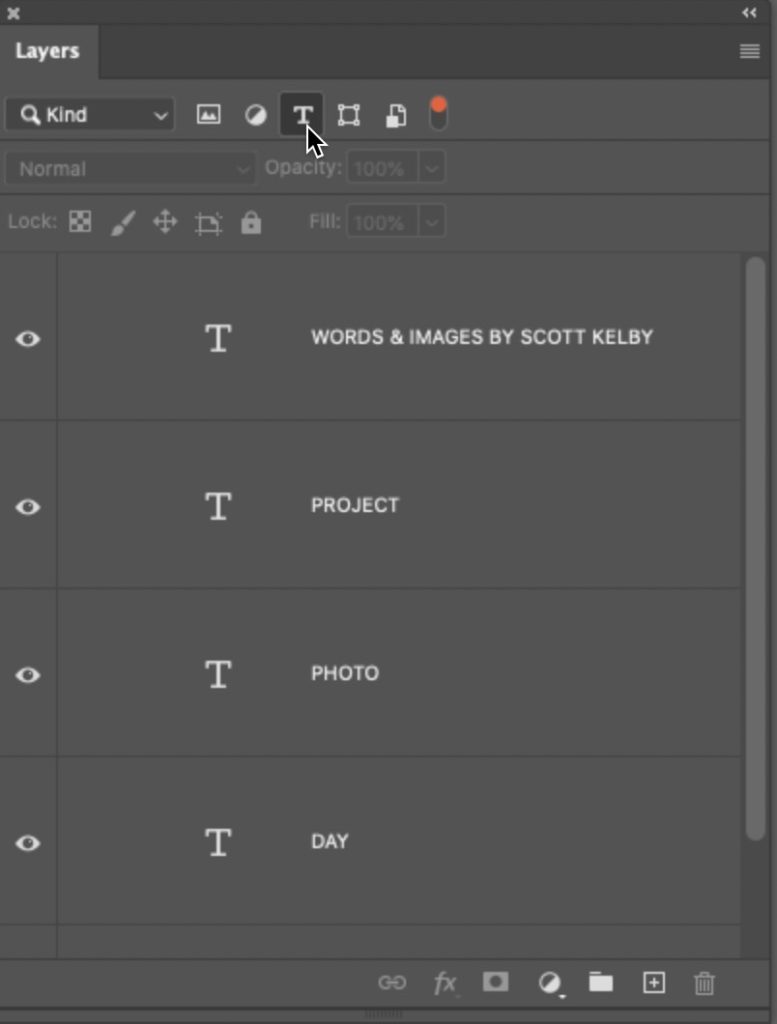
This one is really handy if you’ve got a document where you’ve got a lot of layers. You can have the Layers panel just show you all your Type layers, or all your image layers, or all your shape layer (more for graphic designers). You do this at the top of the Layers panel where you’ll see a pop-up menu that, by default, says “Kind.” To the right of that are one-click filter down button that let you see (from L to R): Just your image layers, just your Adjustment Layers (we haven’t covered those yet, but we will soon); just your type layers (like you see here where I clicked the Type filter and now only my type layers are displayed), shape layers and smart object layers (those last two are for a little further down our path together). If you click on the Kind pop-up menu, you can sort alphabetically by each layer’s name, or only show layers that have effects applied, and so on. To turn off these filters, and see all of your layers again, click the little red toggle switch to the right of the filter section. Two great, quick ways to bring some order to your panel.
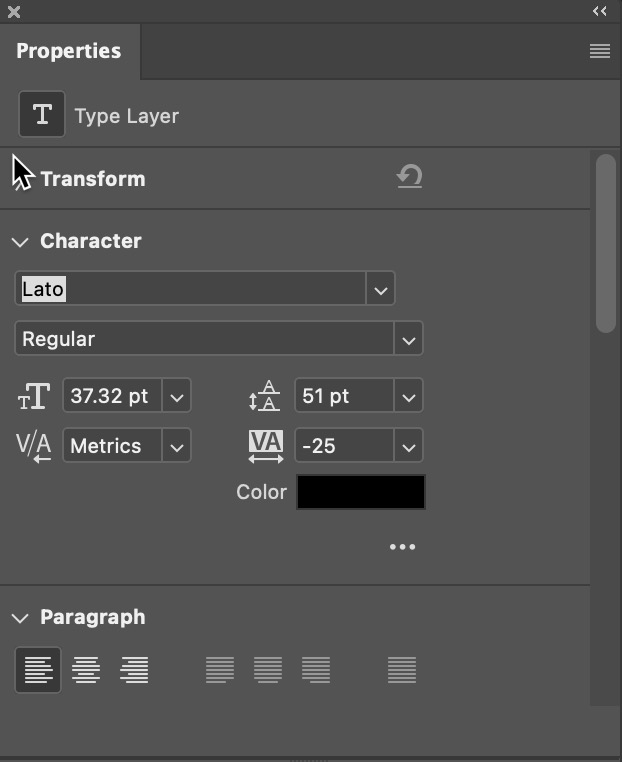
#9: There are related options in the Properties Panel
When you click on a layer, let’s say a Type layer, for example, a set of options appears in Photoshop’s Properties panel. (as shown below). These are there to save you time from digging in menus or heading to the top of the screen to the Options bar, so it’s more convenient, and there’s more room for adding options, so it’s really handy to start using this panel (you can nest it right with your Layers panel, or keep it right below it in the right side panels which is what I do). If you click on an image layer, a different set of options appears. Get used to using this panel now and it will save you lots of time in your workflow.
#10: How to Flatten your Layers
When you’re done working with your image, you have two choices: (1) To keep your layers intact, so if you reopen this image at a different time in the future, your layers will all still be there, still intact. You do this by saving the file in “Photoshop” format (which is Photoshop’s native file format and one that supports layers). Or (2) you can Flatten the image, which flattens them all down to just your one single background layer. Any layers that were visible will still be visible after you flatten, but you won’t be able to move them or change their order or their blend modes or opacity any longer. To flatten your image, go to the Panels pop-out menu (it’s the three horizontal lines in the top right corner of the Layers panel) and from the pop-up menu that appears, down by the bottom, choose Flatten Image.

Hope you found that helpful, and next Tuesday, we’ll continue on our Layers learnin’.
See you then. 🙂
–Scott

Many thanks. Useful stuff