Lightroom Tethering: What “Segmenting” Does (and how it makes your life easier)

PROGRAMMING UPDATE: I’m sharing a great strategy for backing up your photo library and LR catalog – another of our free live Webinars (normally just for Kelbyone members, but we’re opening it to all photographers) today at 11:00 AM ET. Taking your questions, too https://kelbyone.com/livewebcast
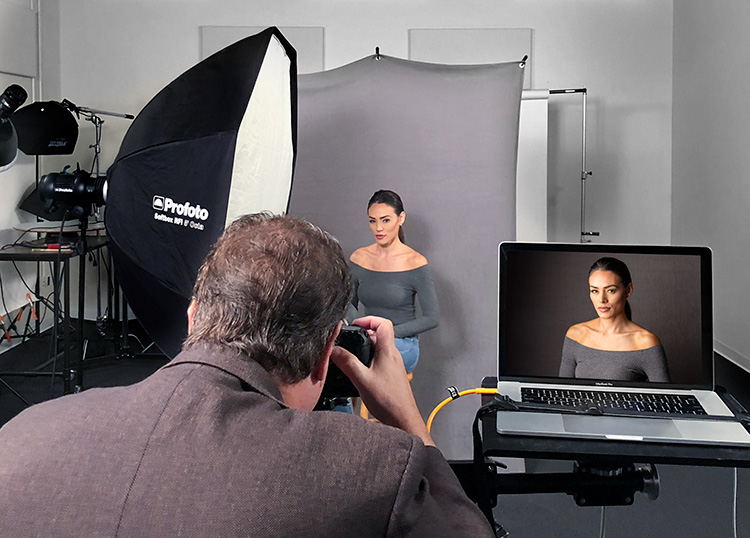
I hope you are tethering into Lightroom whenever you can — the tethering experience in Lightroom Classic is has been SO MUCH improved in the past year (high-five Adobe) it’s like a whole new world. Seeing your images come in full-screen size as you shoot (like you see in my tethered shoot above), you can really see if the image is tack sharp, and you can really see what’s going on with your lighting, will help you get better shots from the get-go!
Today, we’re looking at a feature that not a lot of folks use, because they’re not quite sure what it does, but it’s actually a very simple concept and very helpful, too. It’s the “Segment Photos by Shots” feature in the “Tethered Capture Settings” window, which is an organizational tool you can use during a tethered shoot. It lets you separate each part of your shoot into separate folders within the main folder all your images will be saved into from your tethered shoot. (this will make more sense in just a minute).

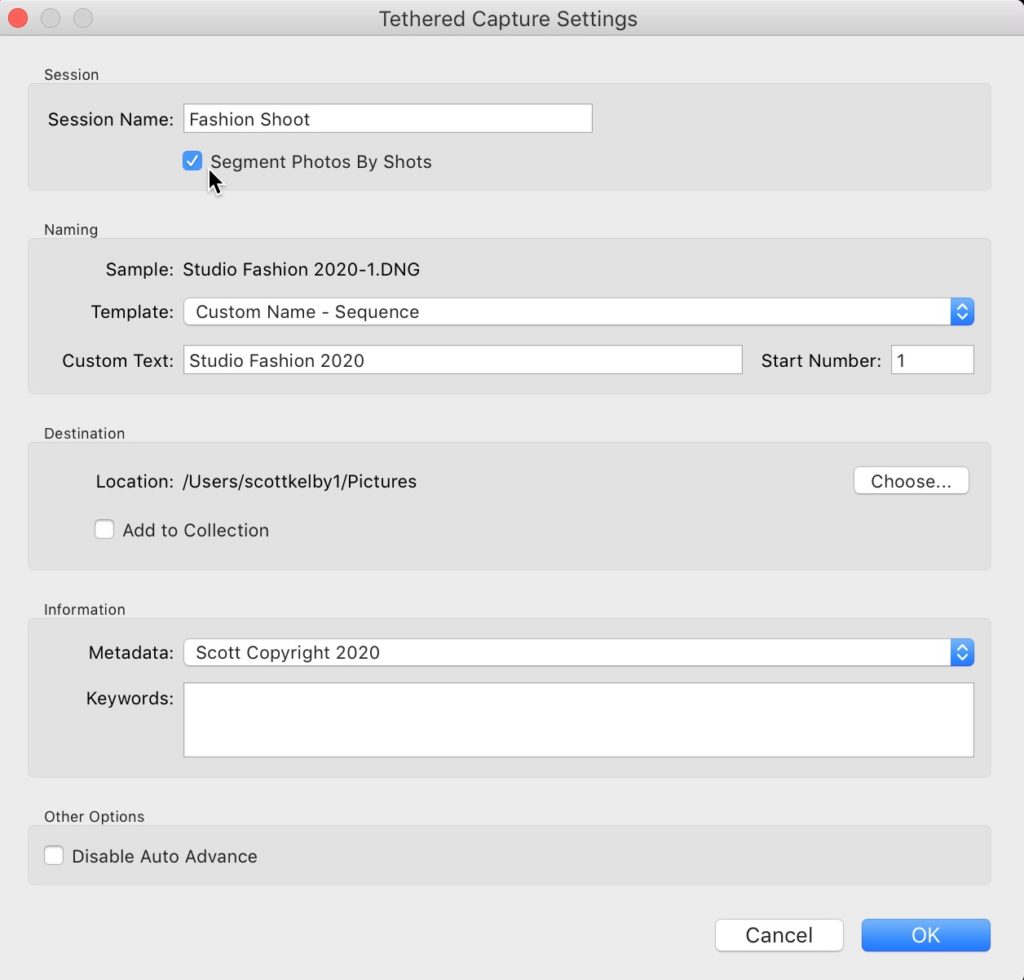
Let’s say you’re doing a fashion shoot, and you choose “Start Tethered Capture” from Lightroom’s File menu. When the dialog appears (shown above) you give you shoot a name (this names the folder your images will be stored within), in the “Session Name” field.

Now turn on the checkbox for “Segment Photos by Shots” right below it. When you do click OK, a dialog pops up (shown above) where you name the first part of this shoot.

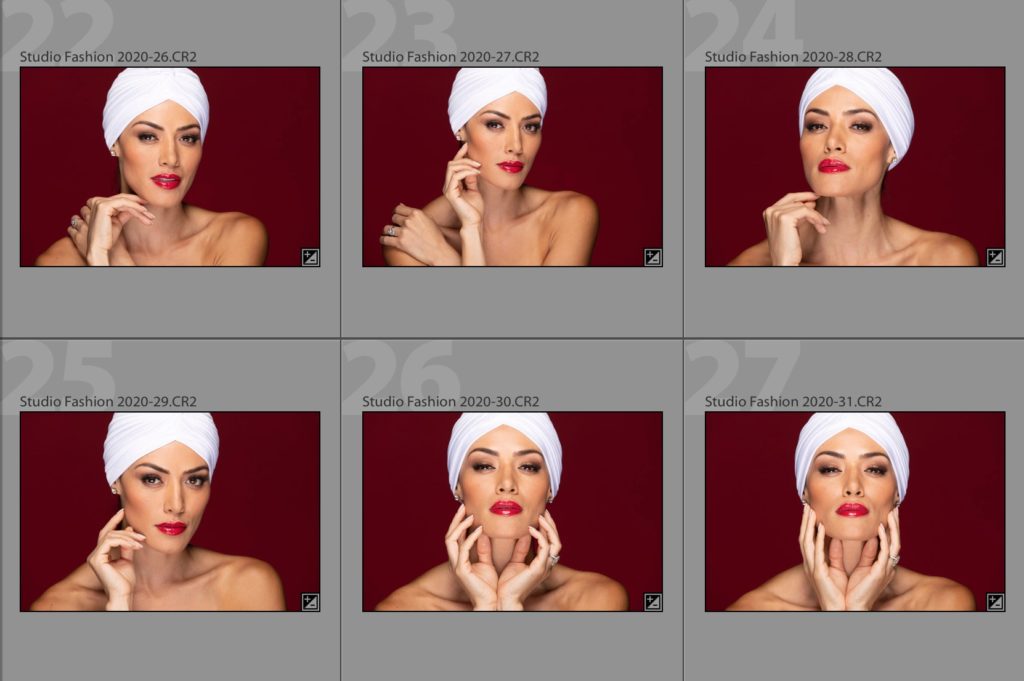
Let’s say you’re starting your fashion shoot with a shot where a white cap is a key part of that shoot, so you might name this Initial shoot “White Swim Cap” as seen above. That creates a subfolder inside your “Fashion Shoot” Folder just for these shots where your subject is wearing a white hat.

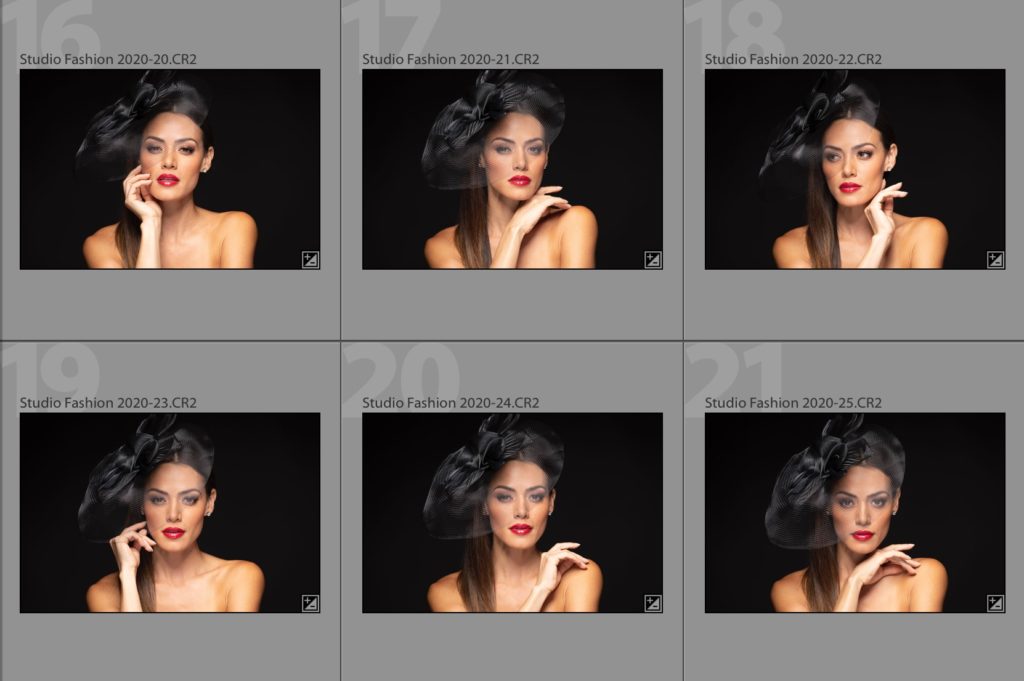
When you stop and your subject changes clothes (maybe she’s wearing a black fascinator for this next round, as seen above), you can press Command-Shift-T [PC: Ctrl-Shift-T] to bring up the Shot Name dialog again. Name this part of the shoot, “Sunglasses” and it creates a subfolder named Sunglasses.
Each time your subject changes clothes or you change backgrounds or style, you just hit that keyboard shortcut and name this new “session.”

TIP: You can also click on “Swim White Cap” in the Tethering Heads Up Display to bring up this renaming window.
So, that’s how it will go during your shoot. When you’re done with the shoot, you’ll have that one main folder and inside that folder, you’ll see all the different looks you did already organized into their own separate folders.
Hope you found that helpful. Check back tomorrow for Tuesday’s “Lightroom in 60-seconds” video tip. 🙂
Stay safe, stay indoors, and stay healthy everybody.
-Scott


Great Tip Scott
I still can’t decide between lightroom and photoshop. Can you help me?
Thanks for sharing this one Scott. This one can be useful in the studio.
Another daily nugget! – thanks