
Lightroom Portrait Retouching: Reducing Hotspots
Happy Christmas Week Monday, everybody!
Today we’re tackling a Lightroom retouching technique for reducing hot spots (bright specular highlights that look shiny and make your subject look like they’re sweating). Soft specular highlights are good — shiny sweaty is bad, but we’re not going remove the highlight — we want to keep that in place — we just want to reduce the shiny so the highlight remains in tact. Here’s how:
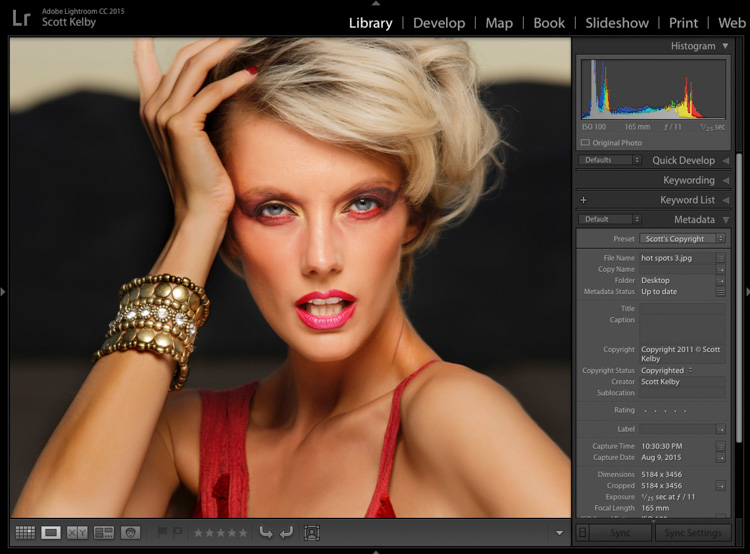
Here’s a close up of an image shot on location — you can see the shiny hot spot going right down her nose.
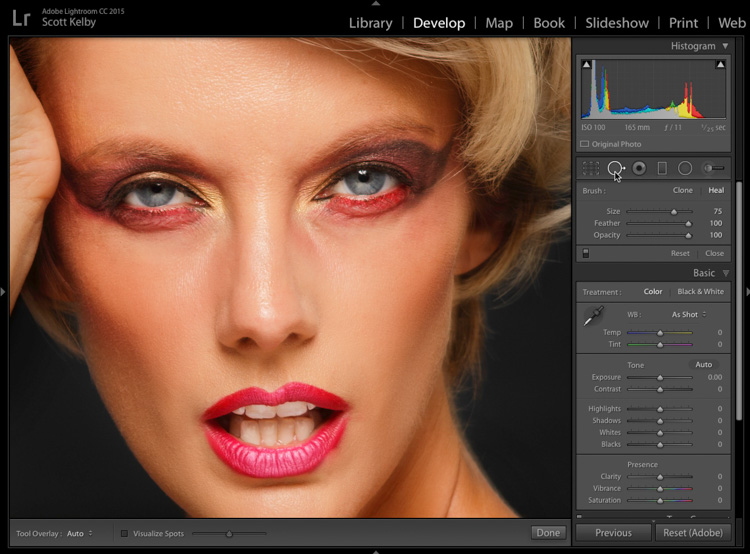
STEP ONE: Switch to the Develop module; zoom in tight, and get the Spot Removal tool (as shown here).
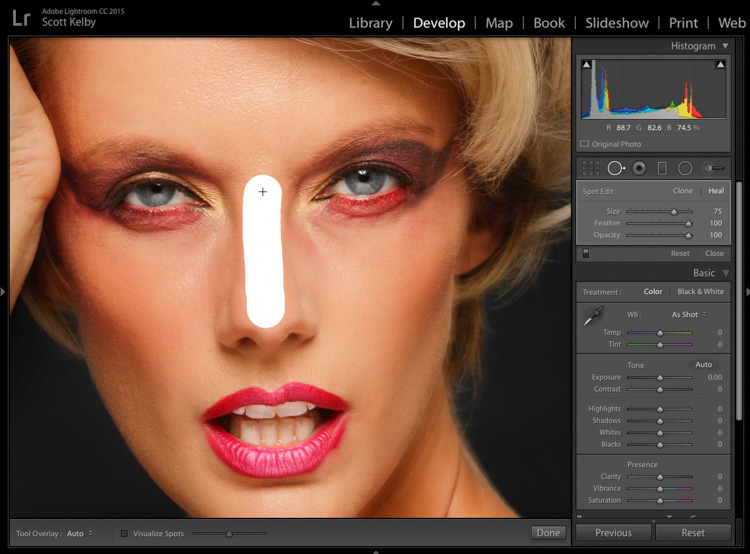
STEP TWO: Make the brush size just a little bit larger than the shiny area and paint over the shiny area (as shown here).

STEP THREE: When you release the mouse button it chooses a nearby area to sample from and removes the hot spot entirely (as shown here). By the way — if it picks a funky place to sample from, press the slash key [ / ] to give it automatically choose a different area. Press it again if it still looks weird, and it’ll pick yet a different spot.
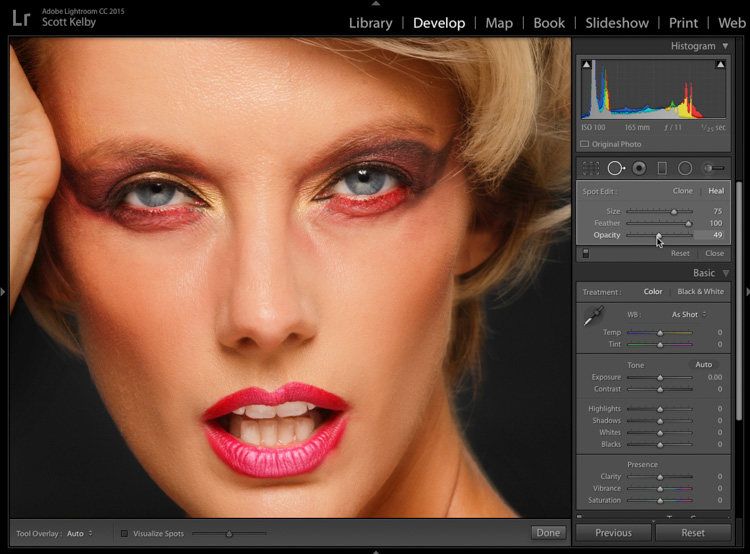
STEP FOUR: Now, over in the right side panels, right under the tools, drag the Opacity slider to the left until the highlight comes back (as seen here), but not so far the shininess comes back. In this case, I lowered the Opacity to 49% and the highlight comes back, but without it being too shiny.
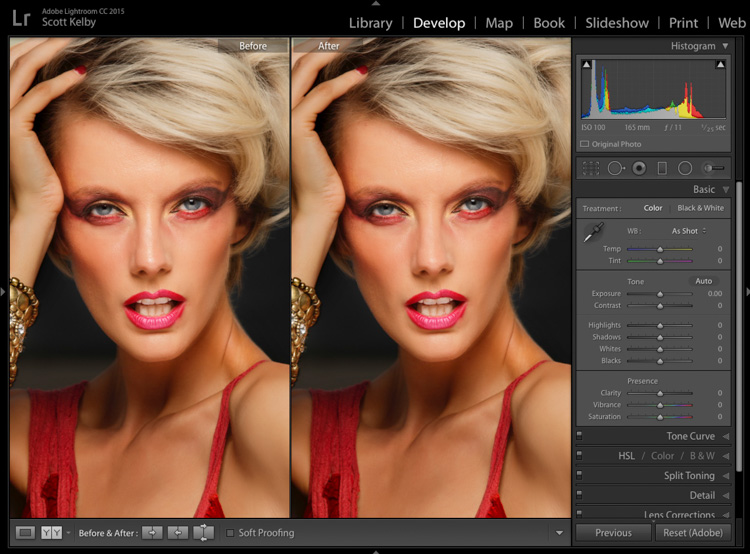
Above: Here’s a side-by-side before/after so you can see how much better the image looks without the shiny nose (see what I did there? She “had a very shiny nose?” OK, sorry, that was lame).
NOTE: This technique works great with moles or scars where you want to reduce the visibility of the mole or scar, but if you remove it all the way, it’s a dead giveaway it’s been retouched.
Hope that helps, and oh yeah — one more thing:
Merry Christmas! 🙂
-Scott


Everything is fine, am happy of your blog. Thanks admin for sharing the unique content, you have done a great job I appreciate your effort and I hope you will get more positive comments from the web users.
Great tip! I must remember to use the opacity slider more often. Like so much with Lightroom, the solution to any problem is really simple once it’s been pointed out!
That is a great tip Scott. Thank you for sharing this.
Thank you for the tip, trying it out now. Merry Christmas!
totally separate issue: can you do a tip on tone curve vs points on the curve next year?
Nice tip. Horrible eye makeup. 😉
Thank you, I use the spot removal brush all the time and forget that the opacity can be controlled. I don’t do a lot of portrait work right now but this “hidden in plain sight” feature looks very useful.
sorry, I was looking at the wrong screenshot (the one at the bottom).
The opacity slider is one of the Spot Removal sliders …
Can you please highlight the opacity slider you mention.
I don’t see it in your screenshots, nor in my Lightroom (5) Develop panel.
Is this a new feature or are you referring to Photoshop?
Thanks
The opacity control only shows up when you’re using the brush options.
The top photo has it just above the mid-line on the right side.
The bottom is regular Develop mode.