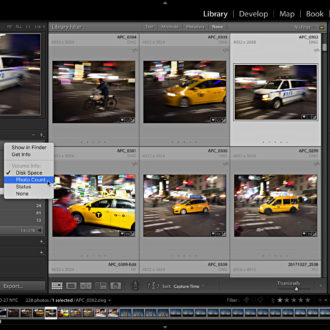
Lightroom Help Desk Roundup
I’ve pulled together some of the recent questions (and answers) on Lightroom Classic that people have sent into me recently in the hopes that it may help others in the future.
Change Size of Filmstrip
The height of the Filmstrip that appears along the bottom of the interface in Lightroom Classic can be resized to a limited degree, but it isn’t necessarily intuitive.

Just place your cursor over the line separating the top of the Filmstrip from the rest of the interface above (the cursor will change to a double-headed arrow), then click and drag upward until you reach your desired size or you hit the upper limit (which isn’t very far).

Missing Tool From Toolbar
Just above the Filmstrip in Lightroom Classic is the Toolbar. The first thing you have to remember is that the tools that appear on the Toolbar change depending on the module you are in and what view or tool you are using. For example, within the Library module the contents of the Toolbar changes when switching between Grid and Loupe views.


Assuming you are in the right module and view for the tool you need, and you still don’t see it, then click that disclosure triangle at the far-right end of the Toolbar and click on the tool you want to be visible on the Toolbar.

If the entire Toolbar is missing press the T key to show it (or hide it).
Adding Multiple Graduated Filters
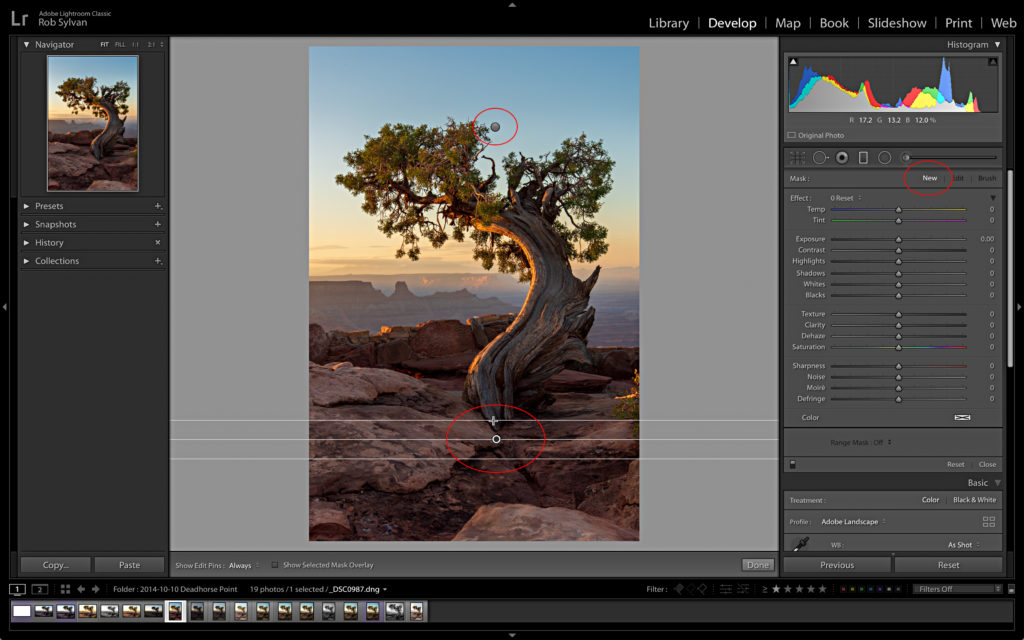
Next, switch over to the Develop module and selecting the Graduated Filter (pressing M while in Library will switch you to Develop with this tool active). You may not often have the need to add more than one Graduated Filter, but if you do, then all you need to do is press Enter/Return after adding the first filter to switch into New mode for adding an additional filter. Alternatively, clicking the New button at the top of the editing panel will do the same thing.
Adding Filenames to a Slideshow
Adding photo specific information to each slide in a slideshow isn’t terribly obvious. Once you switch to the Slideshow module you should see an ABC button in the middle of the Toolbar (remember, press T if the Toolbar is missing).
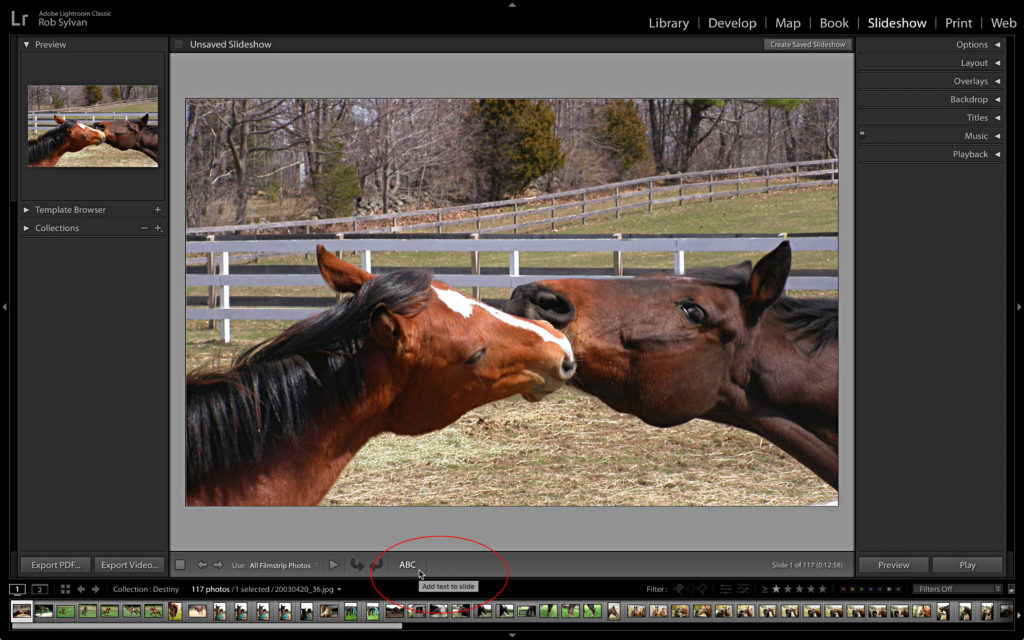
Clicking that ABC button engages the Custom Text field for input, and a reasonable person would think that is the place to add the text they want to show for the active/selected photo. However, what you are really doing is adding that custom text to every slide in the slideshow.

Instead of enter text in the Custom Text field, click the associated drop-down menu and choose the desired text template from the menu (for example, Filename in this case).
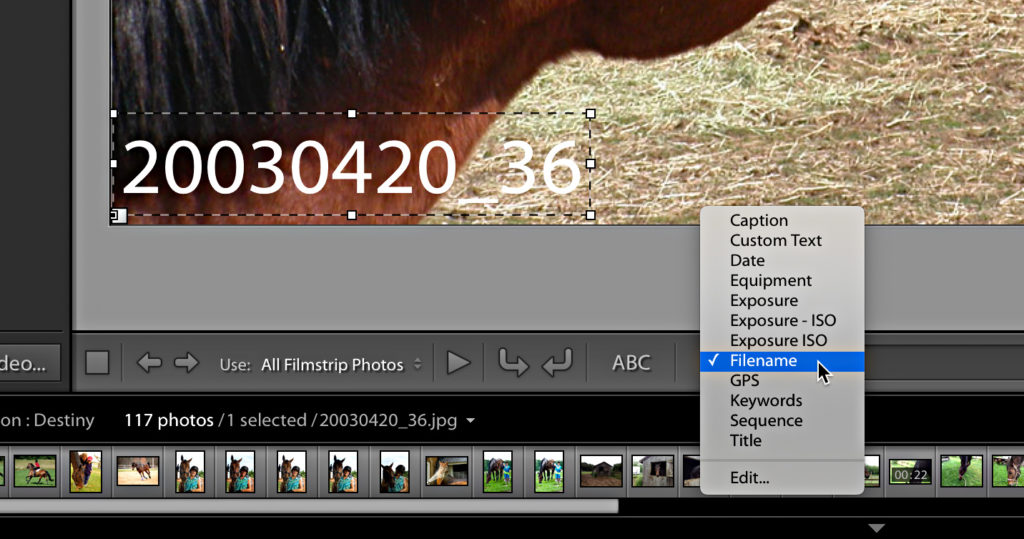
This will add the chosen text template to the slideshow. Text templates can pull filenames, captions, titles, and more from each photo as it appears in the show. Note, if you choose a metadata-based template (like caption or title) then you need to add that information to each photo via the Metadata panel in the Library module in order for it to appear. You can also edit and customize text templates to fit your needs.

