
Fun Auto Straightening Tip
Happy summer to all fellow northern hemisphere inhabitants. I hope you are finding fun ways to beat the heat and enjoy whatever summer has in store for you. I was grateful to get to spend some time in a lake up in Maine last week with friends and family, and editing some of the photos from that trip inspired this week’s Lightroom killer tip.
I brought my little waterproof point and shoot camera along to the lake, and it was great fun treading water while snapping photos of the kids and dogs playing. The only downside was the my horizon line was even more off than usual, which I guess can be somewhat forgivable under the circumstances.
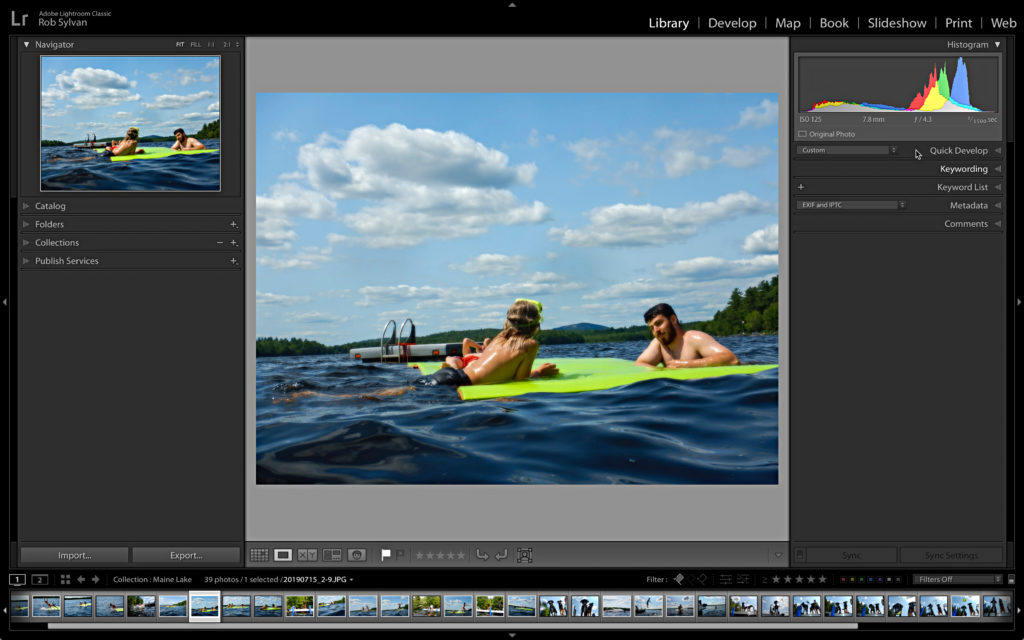
Lightroom Classic has a few ways to correct crooked photos, but I remembered I had made a preset for just this task awhile ago, so I thought I’d see how it worked in this situation. I selected all of the thumbnails in Grid view of the Library module (didn’t worry if I included some that were reasonably straight), expanded the Quick Develop panel, and selected my preset from the Saved Preset drop-down menu.

It wasn’t perfect, but it was fast, and for this batch of fun family photos it was good enough.

For the few that needed a little more help, I just selected them, pressed the R key to jump to the Crop tool, and manually nudged them to a better place.
Here’s How
It isn’t possible to save a crop or the Auto straighten function in the Crop tool as a preset, but it is possible to use the Level function (part of Upright) in the Transform panel and save that as a preset. Here’s how to create one of your own:
Step One: Select a photo that needs to be leveled and go to Develop.
Step Two: Expand the Transform panel and click the Level button.
Step Three: Click the + sign on the Presets panel and choose Create Preset (or Develop > New Preset) to open the New Develop Preset dialog.
Step Four: Click Check None to clear it, and then check just the box for Upright Mode under Transform. Choosing Upright Mode ensures a photo specific level function is applied to each photo.
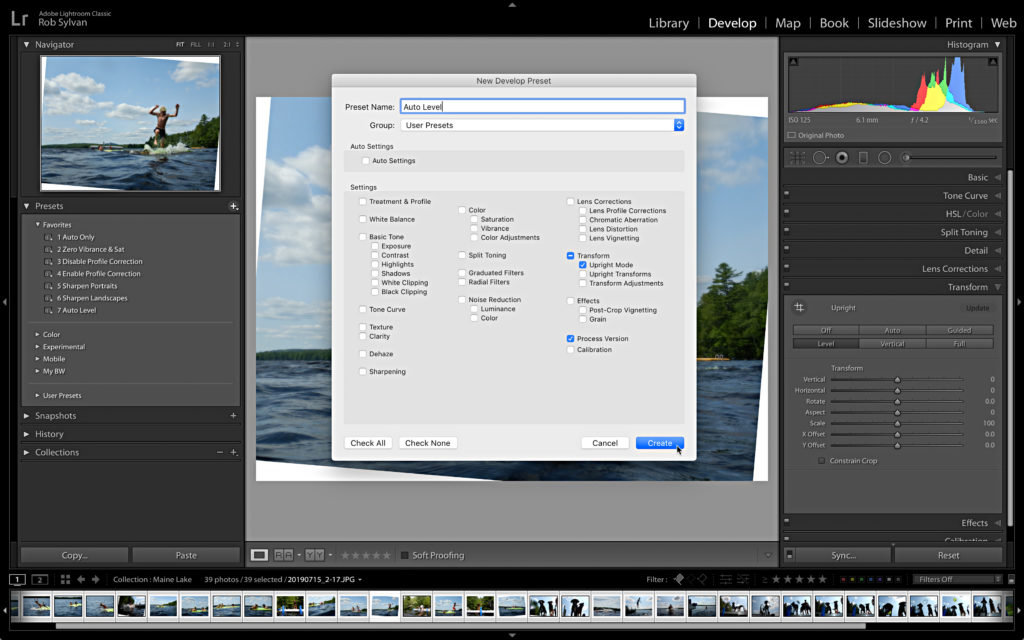
Step Five: Give the preset a meaningful name and add it to a preset group to keep your panel tidy.
Now you might be wondering about adding in the Constrain Crop check box, but in my experience that option doesn’t seem to be included in the preset. It may be a bug. So, if the correction on your photo needs cropping, you’ll need to do that manually by checking that Constrain Crop box (in either the Transform panel or in the Crop tool).
Final caveat, this doesn’t always work as well as you’d hope, so be sure to go through all the photos and fix any that were made worse by the auto level function. It isn’t something I use often, but I find it handy when I need it. Enjoy!

I LOVE THAT YOU FOUND THIS!!!!!!!!!!!!!!
One thing I wish that Adobe would do — If you adjust a photo(s) on import, there should be a little icon on the thumbnail that is different than one showing manual edits.
Thanks, this tip is really helpful. Unfortunately, I read it after just straightening 45 photos.