If your first question is “What’s a Chromatic Aberration?” here’s basically what it is: it’s when you see either a purple or green line around the edges of things in your image. It almost looks like someone took a thin magic marker and traced along the edges of objects (like mountains, buildings, etc.). In the image above, look on the edge of the steps (I’ve zoomed in really tight so you can see it). On the bottom step you see the purple-ish fringe and then where it meets the bottom of the next step, you see a lime green fringe.
This is generally a lens problem (which is why the fix for it appears under the Lens Correction panel), but it can be exacerbated by adding a lot of clarity. Luckily, fixing it it’s easier than you’d think, because in many cases just turning on a checkbox will do the trick.
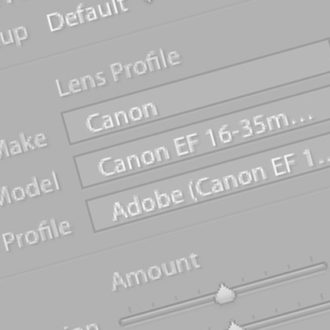
First, zoom in tight on an area of your image where the aberrations are really visible. Then go to the Lens Correction panel (in the Develop Module) and in either the Basic tab or the Color tab turn on the “Remove Chromatic Aberrations’ checkbox, and see how it looks now. If they look good (like it does here, where it’s pretty much gone, you’re done. If not, you’ll have to go a little farther:
If you look above (different photo here), this image has chromatic aberrations a-plenty but turning on the Remove Chromatic Aberration checkbox didn’t remove it all (in fact, there’s quite a bit left. In that case, you’re going to use the Defringe sliders to get rid of what’s left.
Click on the Color tab (in the Lens Correction panel), and if you’re seeing Purple fringe, under Defringe, increase the top Amount slider until the purple is gone (just go far enough until you see the purple disappear). If you see a Green fringe, drag the next Amount slider down to the right until it’s gone. I rarely have to do this next step, but if you increase the amount of either and the color isn’t affected, then you can drag the Purple Hue or Green Hue slider left (or right) until you see the fringe disappear. Again, rarely have to go that far, but at least now if you do, you know what to do. Here’s a before/after after increasing the Amount sliders for both the Purple Amount and the Green Amount, plus dragging the Purple Hue and the Green Hue sliders, to get rid all of it, but hey — it worked, and it was just a few sliders, right? Right!
Hope you find that helpful. 🙂
Best,
-Scott
P.S. This Saturday, Oct. 3rd, is my Worldwide Photo Walk, and I’d love for you to join us. It’s free, it’s fun, it’s photography – come join us in just 5 days from now (don’t miss out and wish you had). Here’s the link to join a walk near you.


