
Alternative Import Options
Last week I discussed the most common route for importing new photos via the Import window. Now that we understand that importing only means adding information about each photo to the catalog, we can step back and see that there are some additional routes our photos can take to be added to the catalog, though some are easier to see than others. Let’s take a closer look.
Shooting Tethered
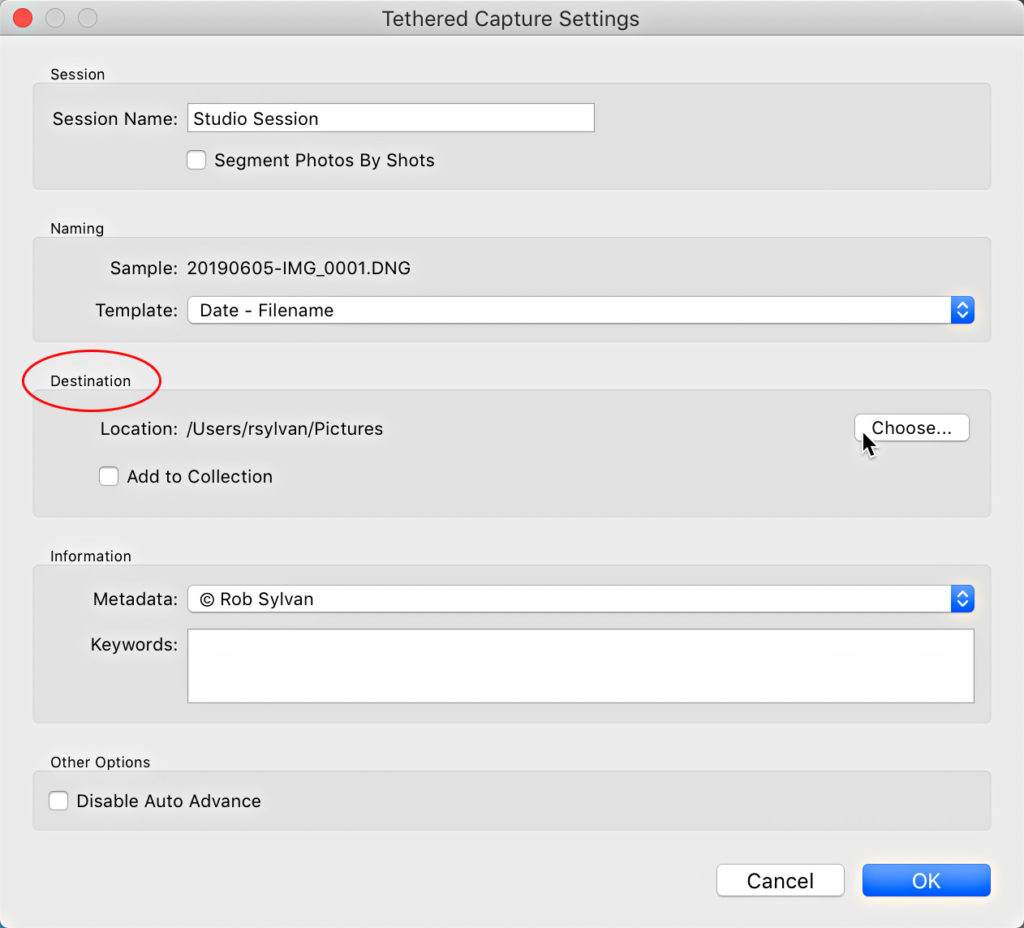
Shooting while tethered is one such route. If you go to File > Tethered Capture > Start Tethered Capture, you will be greeted with a very slimmed down version of the import window. The primary option to configure is the destination for where you want the newly captured photos to be saved, but you also have options to choose a file name template and apply metadata. As each photo is taken its information is ingested into the catalog and the copy is placed in the location you choose.
Auto Import
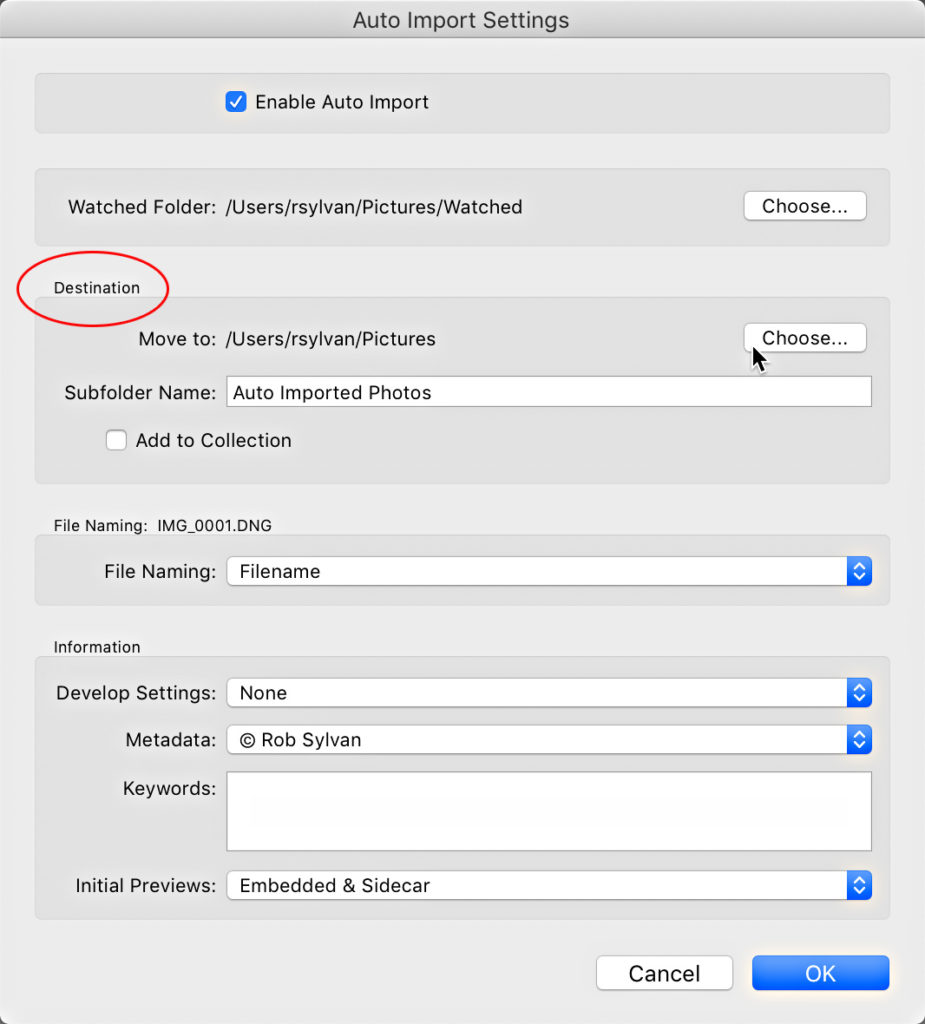
Auto Import is a very similar option to shooting tethered. Head to File > Auto Import > Auto Import Settings to open its configuration window, and you’ll see it looks very much like tethering. You once again get to choose a destination and can apply certain things to each ingested photo. I’ve written a more in-depth post on Auto Import before.
Synchronize Folder
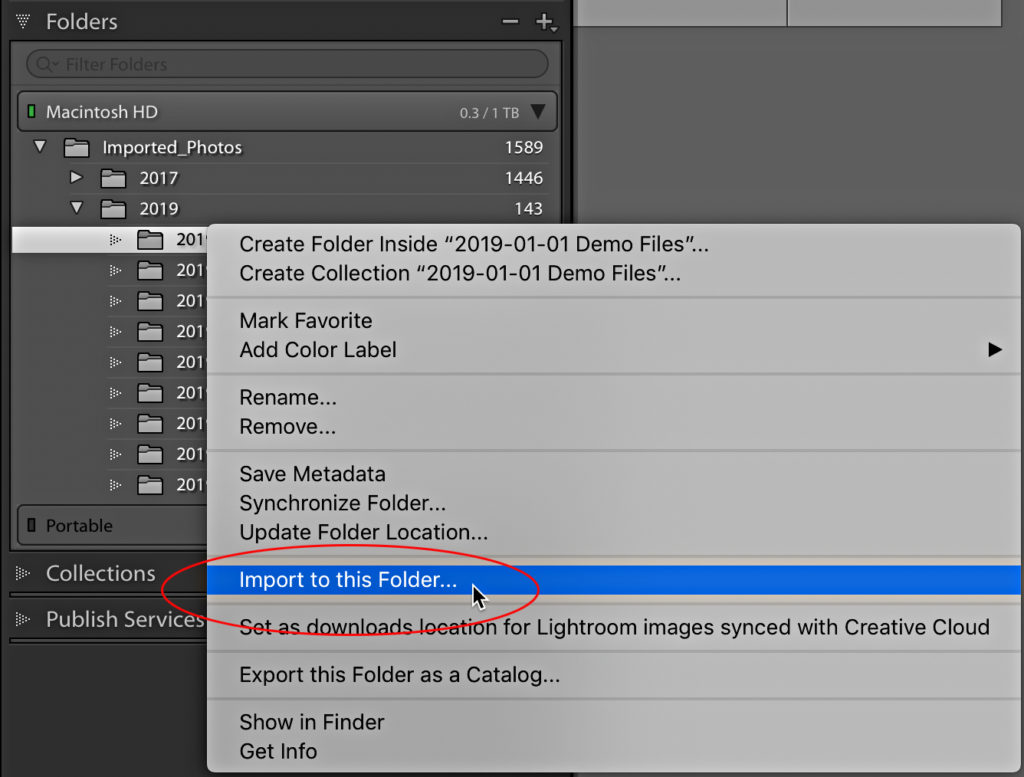
A less obvious import option, Synchronize Folder, can be found in the contextual menu when you right-click a folder in the Folders panel. When you choose to synchronize a folder you are telling Lightroom to scan that folder and see if there are any new photos in it, and if there are, give me the option to import them into the catalog. You can basically think of this as a shortcut to the Add option on the Import window.
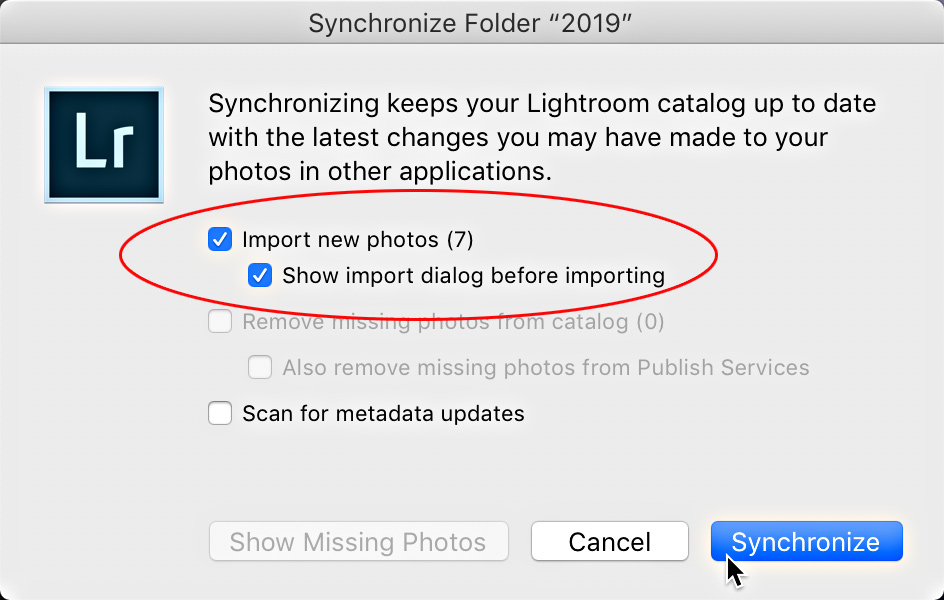
Imagine this scenario, you have a parent folder in the Folders panel that contains all the subfolders where your photos are located. Outside of Lightroom, you create a folder under that parent folder and copy photos into it. Then in Lightroom you right-click the parent folder and choose Synchronize Folder, then check the Import new photos box (and check or uncheck Show import dialog before importing depending on if you want to see it or not) and click Synchronize. All new photos are ingested and the folder you created appears in the Folders panel. Voila!
Import to this Folder
While you were busy opening the contextual menu when right-clicking that folder did you notice the Import to this folder command? Yeah, it’s there. Here’s how it works. Let’s say someone is giving you some photos on a thumb drive and you want to add those photos to a folder you already have showing in the Folders panel. You can use the Import to this folder command as a shortcut to open the Import window with the folder you right-clicked already selected in the Destination panel. Once the Import window opens you simply need to select the correct source and click Import to initiate the process.
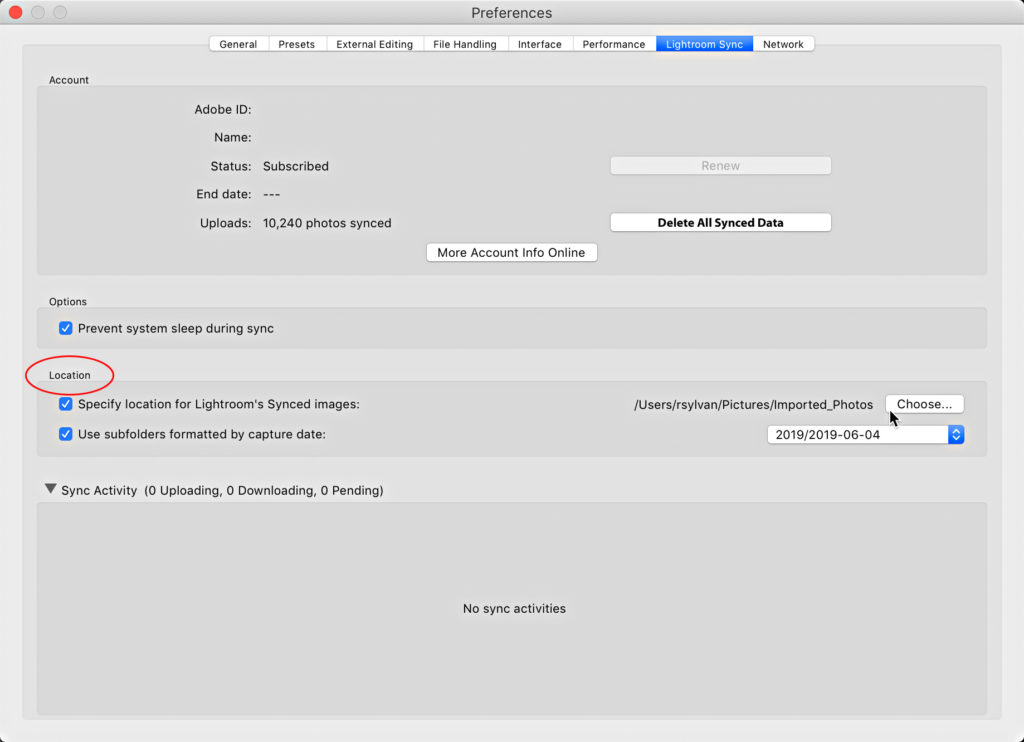
One final import method I can think of is if you sync your Lightroom Classic catalog to the cloud-based Lightroom, then any photo you import or capture in the Lightroom cloud is automatically added to your Lightroom Classic catalog. You can configure where you want those photos to be stored on the Lightroom > Preferences > Lightroom Sync (PC: Edit > Preferences > Lightroom Sync) tab, in the Location section of the panel. Just like any other import options discussed, the information about the photos is ingested into the catalog and the photos are placed in the chosen destination.
I hope this deeper dive into the import process alleviates any confusion you may have had about the options, and helps you stay in control of your Lightroom library moving forward.


Rob, Thanks for all of your killer tips. Perhaps you can help. I have an EOS R and I have just set up the auto upload to image.canon which sends it to a folder on my computer. This folder is set up for Lightroom auto import. However, the camera creates a new sub folder for the photos. Lightroom does not read the subfolder. Any suggestions to get auto import to function without manually moving photos?
You’d have to find a way to prevent the camera from creating a subfolder within the Watched folder. If you can set things up so that photos are simply saved directly to the root of the empty watched folder, it should work.
Another option I use often : drag and drop a file on LR open in library module
That’s a great one, Al! I may have to go back and add that in. Thanks!
Thank you once again Rob. I have a question on the Syncing. My LR shows that I have “Syncing 235 photos” constantly. It goes up and then back down, but it seems to be stuck. In Preferences,Syncing I discovered a list of missing linked files. Then by pressing the Alt key (Win) I have 2 choices – rebuild sync and create a log. What do these do and how do I clean it out?
(I guess this can also be filed under “Hidden Shortcuts”