Adobe Camera Raw for Lightroom Classic Users: Part 2
My post last week was intended to get Classic user’s up to speed with the ACR interface, and some scenarios for when you might encounter it in your workflow. This week I’ll wrap up with a look at some of ACR’s other functions, as well as the way it outputs to Photoshop.
Presets
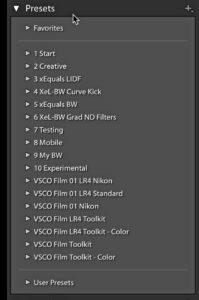
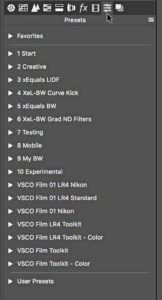
Both Classic and ACR support the saving and using of editing presets. In Classic, this panel is found on the left side of Develop, while it is found on the right side in ACR. Back in April Adobe released updates for Lightroom Classic (7.3) and Camera Raw (10.3) that changed where presets are stored so that both programs look to a shared location. Adobe also changed the format of Classic presets to .XMP so that they’d be compatible with ACR. With both programs sharing the same location for presets you should now see the same presets in both applications. Likewise any additions, removals, renaming, etc. you make to presets in one program will be reflected in the other (after a program restart).
Batch Editing
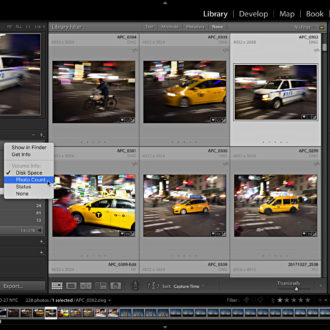
I do think Classic does make it easier to perform batch editing on photos as it is designed to be more efficient in this regard, but it is possible to batch edit in ACR. If you open multiple photos into ACR you will see a Filmstrip appear on the left side, while in Classic the Filmstrip appears along the bottom.
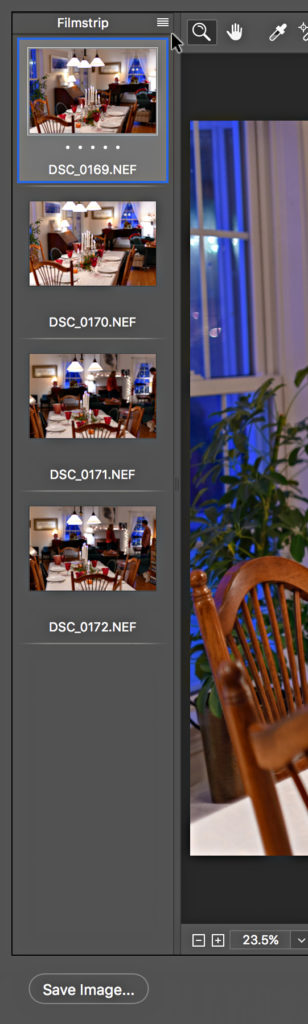
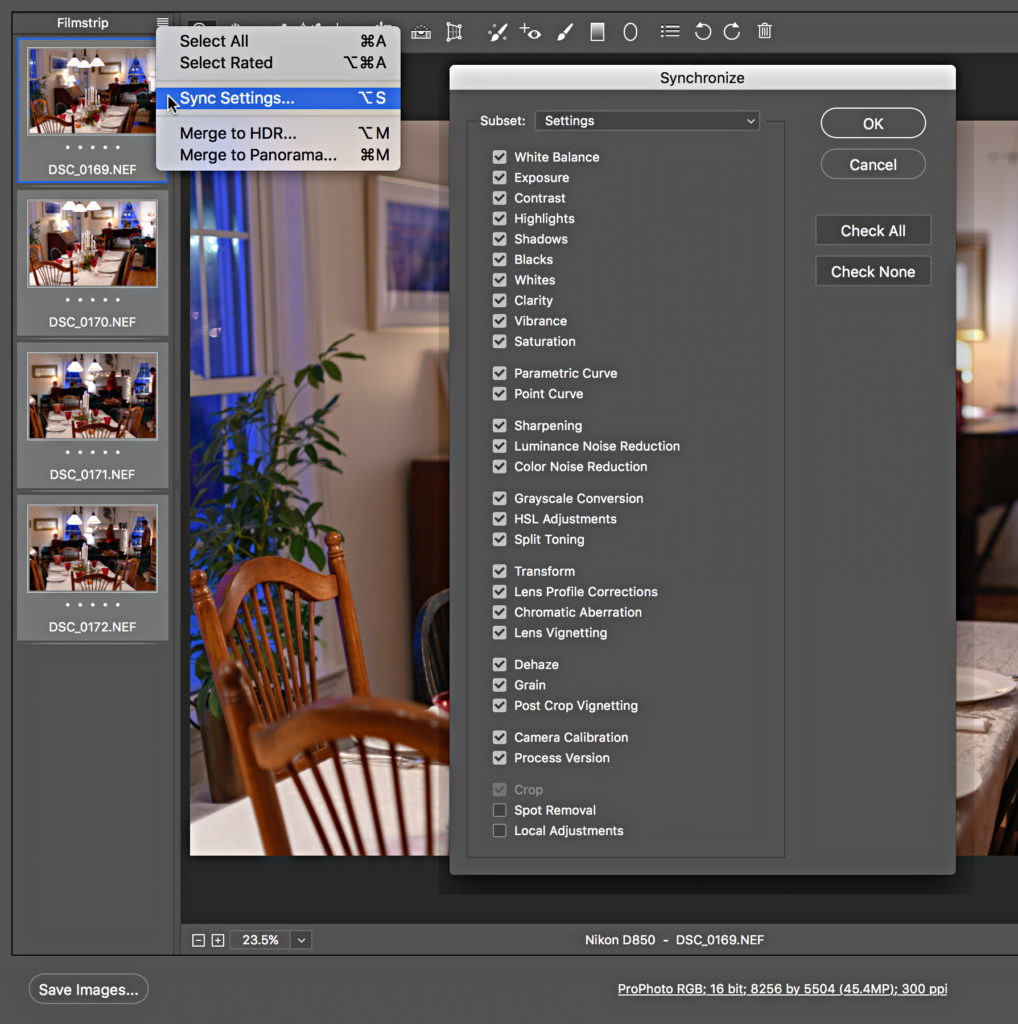
To sync settings across multiple photos in ACR you’d edit the selected photo, then select the other photos you want to sync in the Filmstrip. Click the pop-up menu at the top of the Filmstrip to access Sync Settings and open the Synchronize dialog box. Here you can check only the settings you want to sync and then click OK to perform the sync.
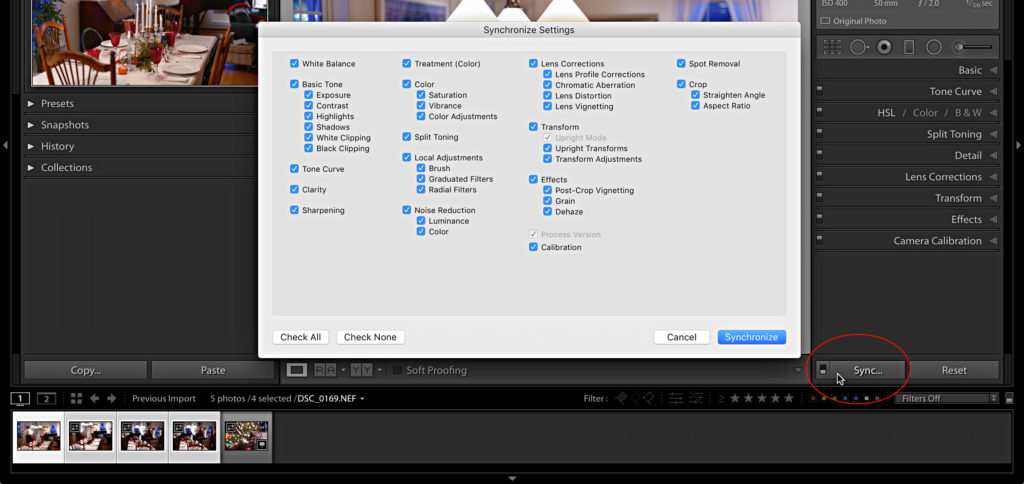
The parallel option in Lightroom works in a similar way, except the Sync button appears on the bottom of the right panel group.
Merge to HDR/Merge to Pano
In the pop-up menu at the top of ACR’s Filmstrip you may have noticed the options for Merge to HDR and Merge to Pano. This is a powerful way to select relevant raw photos (depending on how they were captured originally) and merge them into an HDR or Pano version that ends up as a fully editable DNG file. Lightroom has this same ability, but it is found by selecting the relevant photos and going to the Photo > Photo Merge menu. The results are the same, but the route to get there is not easily discovered to new users.
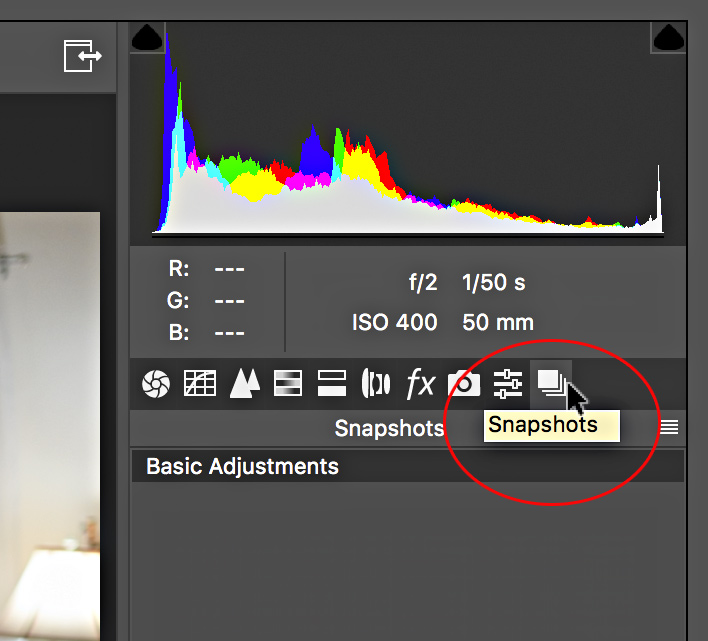
Virtual Copy and Snapshots
Due to Classic’s use of a catalog (database) to manage your photos it has the ability to create additional sets of editing instructions for photos, and these are called Virtual Copies. These only exist in the Lightroom Catalog but can prove to be a very useful way to create multiple different versions of your photos. ACR does not support virtual copies because it doesn’t use a catalog. However, both programs support the creation of Snapshots, which is a way to preserve different editing states right within the photo itself. In Classic, the Snapshot panel is found on the left side, while in ACR it is nested among the tabs on the right.
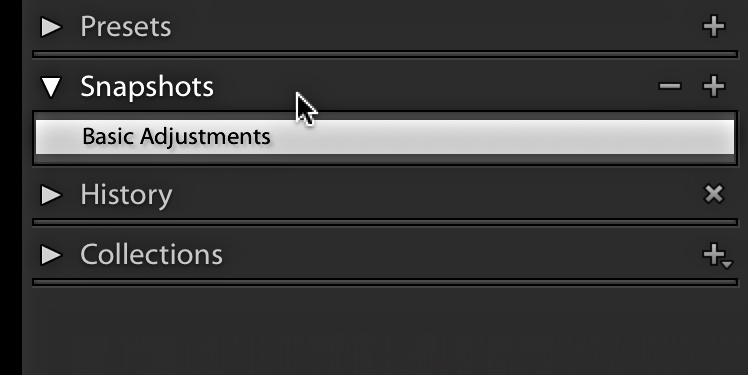
One thing to note is that snapshots can be written to XMP metadata, so it is possible to work in Classic, write to metadata, and then open that same photo in ACR and have access to all snapshots. This also works if you create a snapshot in Classic (among other things), then use the Photo > Edit In > Open in Photoshop as smart object menu, and then double-click the smart object layer to open it into ACR (more on that below).
Output to Photoshop
In ACR, when you are finished all of your edits you have a few options, you can click one of the buttons along the bottom of the interface to determine what happens next:
- Click Save Image(s) to access the Save Options dialog where you can configure the parameters for the copies that will be created at the location of your choosing. This is helpful if you have no need to go through Photoshop, and just want to save out a copy in a specific way.
- Click Open Image(s) to open a copy with ACR edits (including Workflow Options) into Photoshop for additional editing. This also saves the ACR edits to the source photo’s XMP metadata.
- Click Cancel to abandon edits and not save them to the source photo.
- Click Done to write changes to XMP and close the ACR window without going to Photoshop or creating new copies.
In Classic, all the edits you make are written to the catalog as you work, so there is no done or save button. If you need to abandon your edits completely, you can click the Reset button to go back to the default settings. If you wish to continue editing in Photoshop, you would go through the Photo > Edit In menu and choose the desired option. If you have no need to edit in Photoshop, but you want to save out edited copies, you would go to File > Export to access the Export dialog (very similar to the Save Options dialog in ACR) where you can configure your desired output parameters.
An important note for Classic users to keep in mind is that if you start with a raw photo and choose Photo > Edit in > Open as smart object in Photoshop, a copy of the raw photo with Lightroom settings is embedded in a smart object layer of the new TIF (or PSD based on External Editing settings) file. While in Photoshop, if you double-click the smart object to edit the embedded raw photo it will open in ACR, not Lightroom. Since this is a new copy, this won’t affect the original raw photo back in Lightroom. Just be prepared to continue your editing in this new interface.
While the editing and rendering ability of ACR and Classic is the same, and they contain a parallel set of editing tools, there are some key differences to be aware of before you jump into the one you are least familiar with.