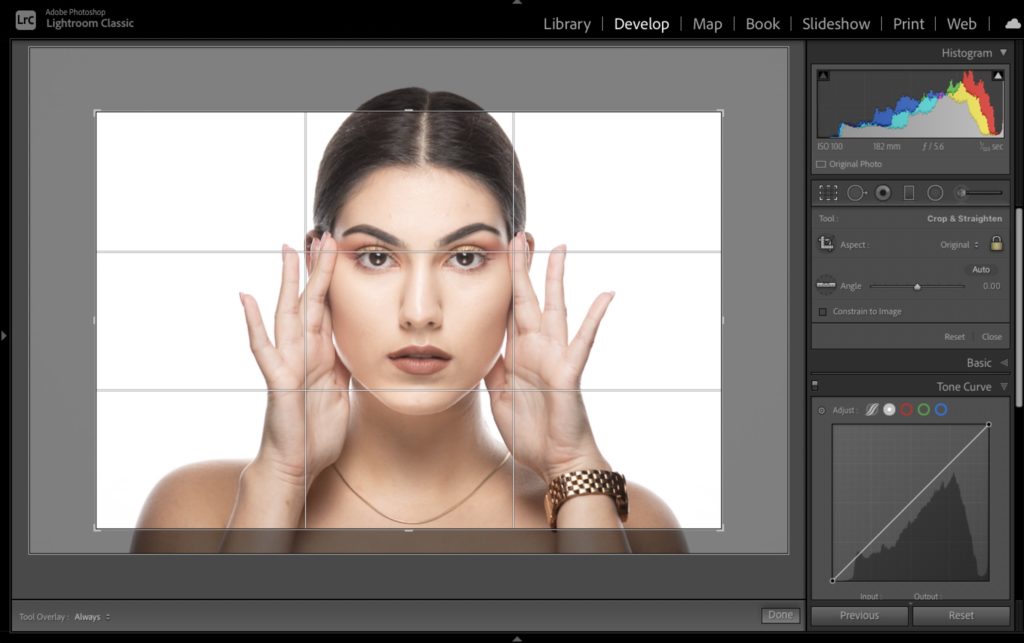
The first one is “super awesome,” the next nine are just awesome. Here we go:
- When you’re using the Crop Tool, if you apply an aspect ratio (like 8×10 for example), and then switch to another photo, Pressing Shift-A applies that aspect ratio to your new photo.
- Pressing x flips your crop from wide to tall (or vice versa)
- To unlock your aspect ratio (so you can do a free crop), press ‘A’. This toggles the lock icon on/off.
- Press ‘R’ any time to jump to the Develop Module and make the Crop tool active so you’re ready to crop.
- If you hold the Option key (on Mac) or the Alt key on Windows and grab a corner to start cropping, it crops in toward the center (instead of cropping in from just that corner).
- Press the letter ‘L’ twice to see your just your cropped image with everything else on screen blacked out (this is referred to as “Lights out” cropping and it’s pretty helpful).
- To cancel your crop anytime, just press the Esc key.
- Press the letter O to toggle through the six different cropping overlays that can appear over your cropped area.
- To reset your crop tool to its un-cropped version, press Option-Command-R on Mac (or Alt-Ctrl-R).
- Right-click on anywhere inside your cropping border and a bunch of crop options will appear right at the top of the pop-up menu.
Hope those send you off into Thanksgiving week with some handy new shortcuts to speed up your work.
-Scott


Wish there was a keyboard shortcut for straighten. I could just press R and then “?” and move on to the next photo.
I made a preset using just the Level function in the Transform panel. If it works, it works great. If it doesn’t, you’ll know right away. I can just hover over the preset and see how it works before applying.
thx. Hope to see you soon!
That would be great!
Someone will try this and fail to check the “Auto settings ” box when saving the preset parameters with the actual transform button for Leveling. It won’t display on rollover if you don’t have the “Auto…” indicated in my experience. Or am I doing something wonky that I don’t understand there…
That’s odd. Auto settings in the new preset is only for the Auto button in the Basic panel. My preset only checks the box for Upright Mode, and all I applied to the photo to create the preset was clicking the Level button in the Transform panel. Here’s a tutorial for auto Upright, but same concept: https://lightroomkillertips.com/create-an-auto-transform-preset/
I tried this Level and couldn’t get it to work until I did the Auto as I described… I wonder if the preferences file has something in it that’s confusing show the effect under loupe (which i had on…) – thanks for responding. I’ve just done the preset again and it works as you described, my prior experience feels like a bug somehow to me but I’ll just move past it. I’ll try on my other machine as well next time I have it up. thx
Don’t forget “Shift + O” to cycle through variations on a crop overlay, like the golden spiral.
Nice ones – thanks Scott – didn’t know about A, O or the Option key
All of these are helpful in dealing with individual and varied images. However the most important cropping tool I use is the “sync” command. For photographed slides (think SlideSnap Pro). I crop the first slide in a folder to remove the cardboard frame for my overscanned images and can apply this cropping “preset” to all slide images in the same folder. In the develop window crop your first image. Then hold down the shift key (mac) and select the last image in the bottom thumbnail view. All images in that folder are now selected. Then on the bottom right you will see the “sync” button. Select that and you can apply any number of edits you have done to that first image, in this case crop and rotation. Hit enter and the same crop is quickly applied across all selected images. Of course when editing any image after that you can always adjust this crop.
Took forever for me to figure out why the shortcut to get to the crop mode was “R”. RATIO… doh.
Hi Jens,
Well it is a preset in the crop panel. Open the Crop Panel and to the left of the Lock you’ll see a crop with double arrows. Click the the arrows and it will open a menu with a bunch of crop sizes. At the top of that menu, you’ll see Custom. Click on Custom and set up your Crop. The the next time you open the Crop Panel you’ll see your saved crop.
Hope that helps!
Dennis
Is there any way to save a crop as a preset?
I’ve requested that in the Adobe forums – e.g. R45 means crop in 4×5, R23 crop in 2×3 ratio etc.
Just set the values in Custom and it saves it for you with the dimension numbers.
The R is redundant, 2 numbers in a crop ratio is by definition a ratio.
A crop by definition is a ratio…