What’s the Difference Between Lightroom’s Texture and Clarity Sliders?
I get this question a lot, and so I thought I’d share how I think about the two; how they are different, and when to use them. Both of these sliders enhance or bring out detail in the image, but they do it in very different ways. One isn’t really better than the other, because depending on the image, Clarity might look better on one, and Texture might look better on the next. It’s great to have the flexibility of having both, but here’s a look at how using them can affect the overall tone of your image.
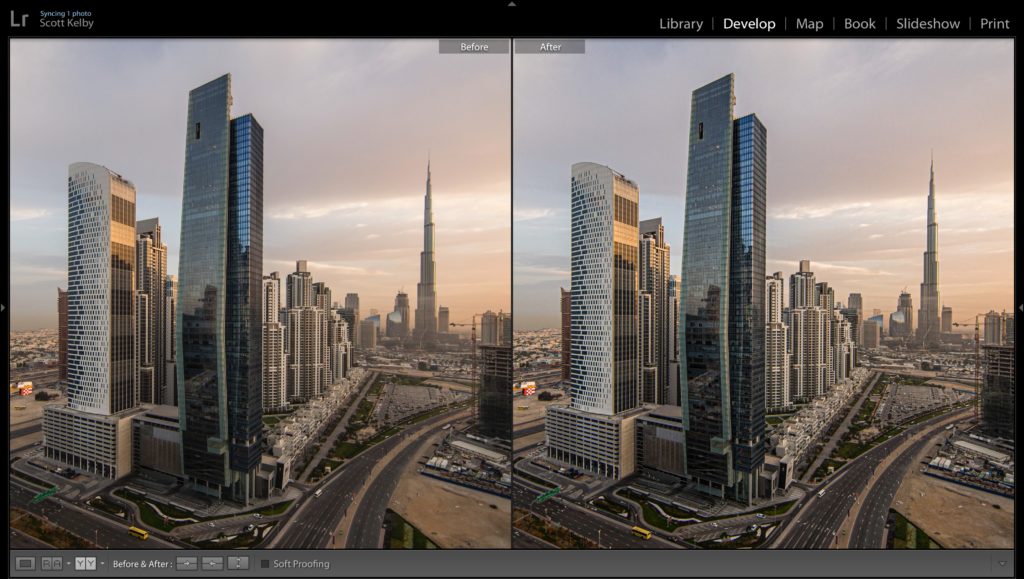
TEXTURE SLIDER
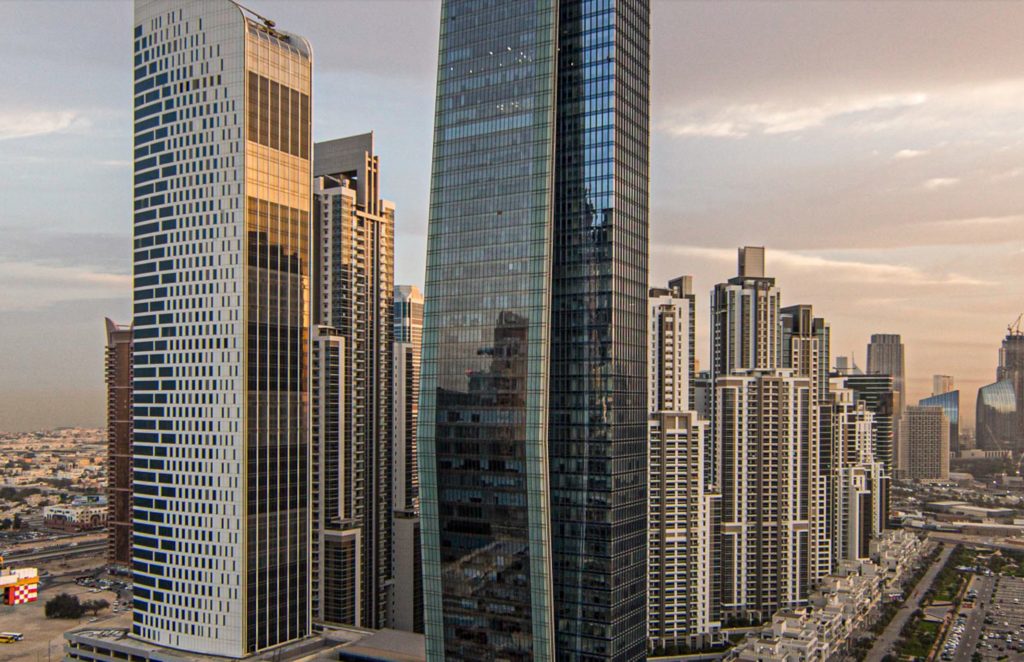
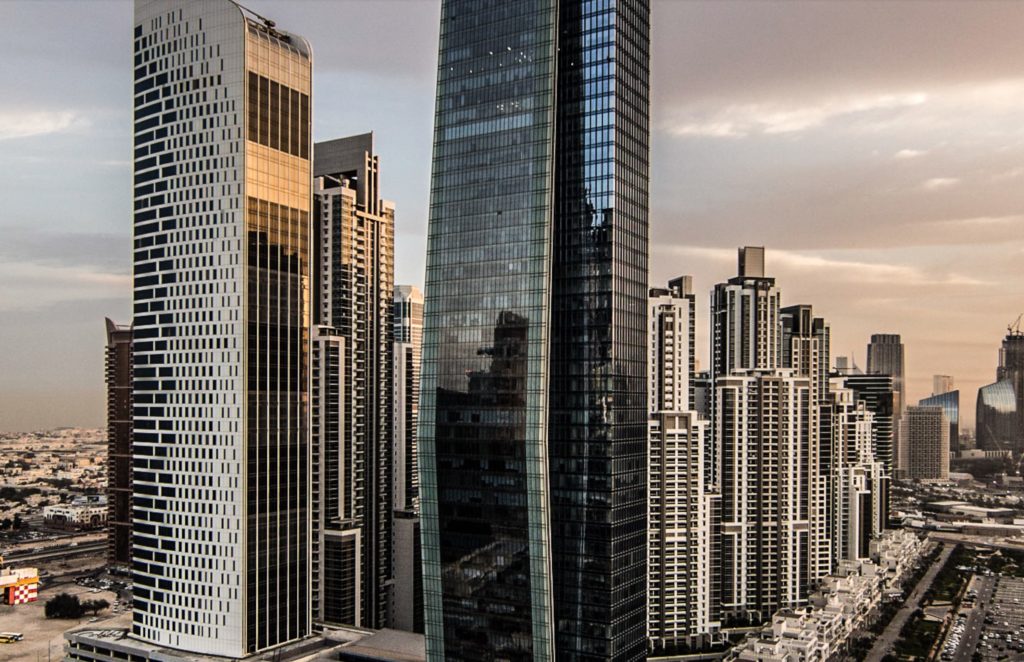
When I want to bring out the texture in my image, but I don’t want it to mess with the overall tone too much (or mess with the fine detail areas of the image), I reach for the Texture slider. For example purposes, here I’m cranking up the Texture amount up way higher than I normally would (to +100). In the image you see above, the ‘Before’ photo is on the left, and the ‘After’ photo on the right has the Texture cranked up to +100. You can see that even though I cranked the Texture all the way up, the overall tone of the image is fairly similar. The medium-sized detail has been enhanced throughout the image (a bit hard to see at this size, but very obvious when you see it full size on your own images). That enhanced detail is especially visible on the buildings in front. Everything has more definition and detail, but nothing looks too crazy.
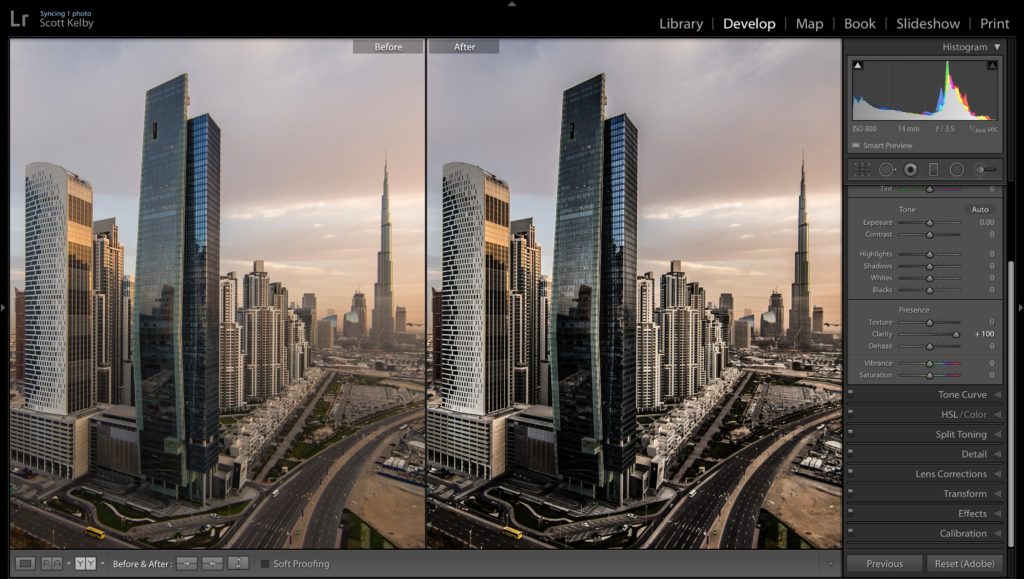
CLARITY SLIDER
When I want to bring out detail, and I want things like metal, glass or water to really “pop” I grab the Clarity slider. Here’s the Clarity slider cranked up to +100, and you can see how contrasty the image has become. The dark areas are much darker and the brighter midtones are brighter, too. The overall tone and color saturation of the image
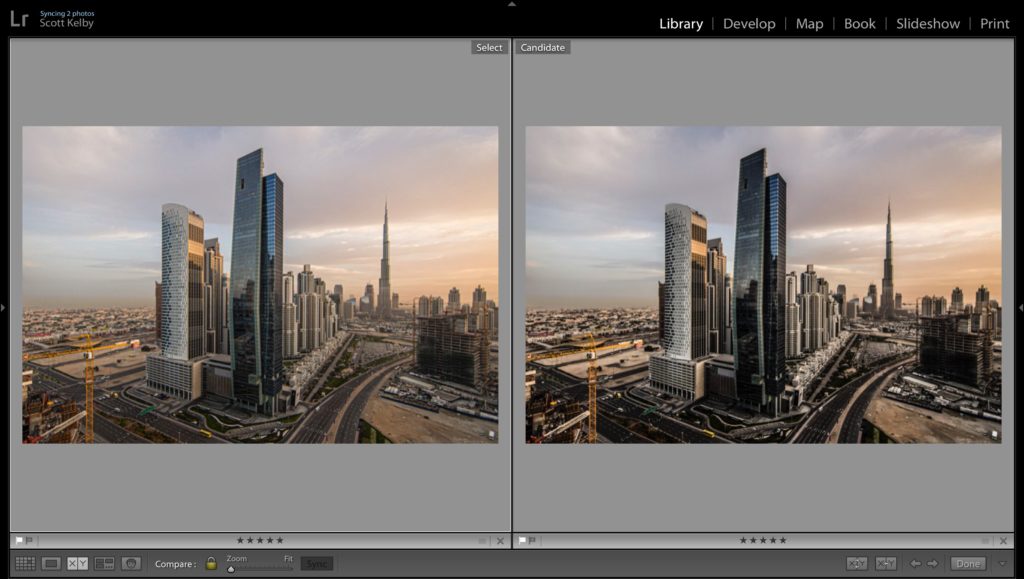
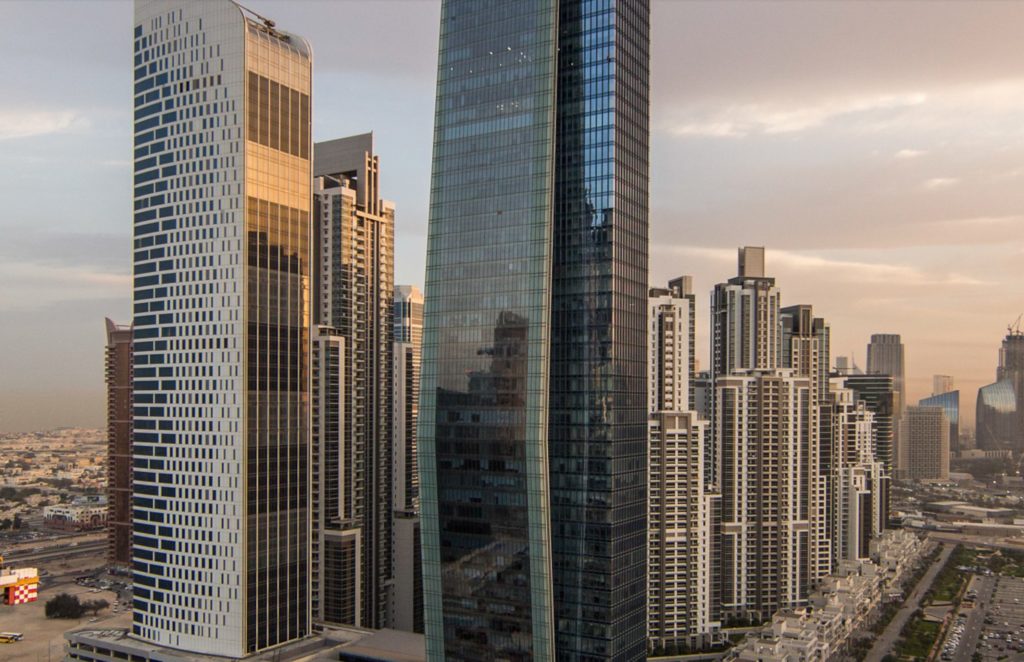
The Takea way
The big takeaway here is how much Clarity
I also find that I don’t need to add as much Texture amount to bring out detail as I would with the Clarity slider. I don’t want to say it’s more powerful — maybe it’s just more sensitive. I also often use the two together by dragging the Texture
Hope you found that helpful.
I’m streaming a LIVE tour of the Photo Plus Expo Show Floor at 11:00 am Today!
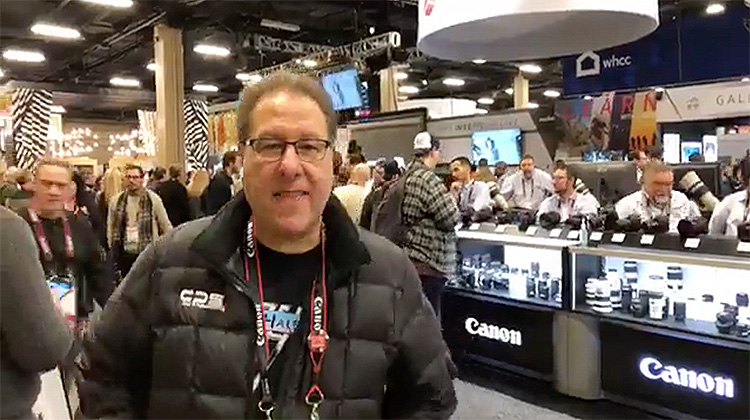
I’m up in New York City for the big photography show, Photo Plus Expo, and today at 11:00 am over on my Facebook page, we’ll be living streaming a tour of the expo floor, so you can see what all’s going on at the show firsthand. Join me and Erik Kuna (everybody’s invited); we’ll be taking your requests for booths to visit and gear to see, so make sure you join us (and please help us spread the word). That’s 11:00 AM New York Time (ET) on my Facebook page. See you then!
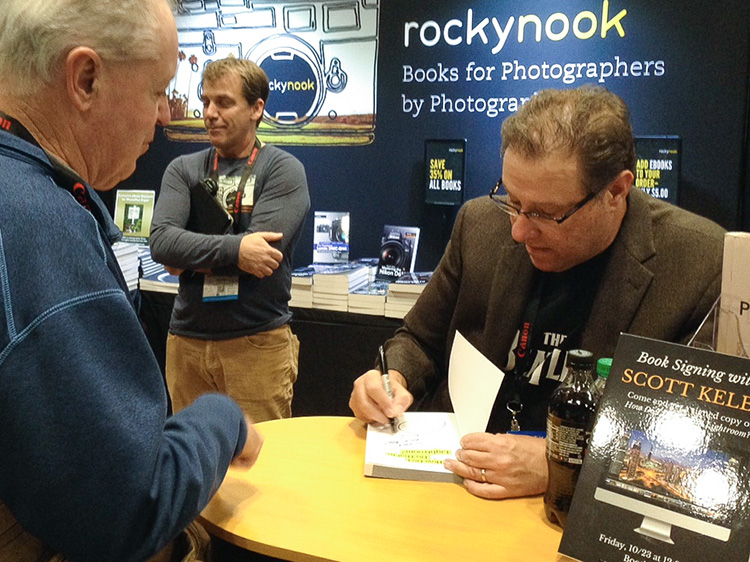
If you’re up there in New York for the Expo, come on by my book signing at 3:00 PM at the Rocky Nook booth — they are in booth 572 — at the back of the 500 Aisle on the left side. I’d love to meet you (you don’t have to buy a book), just come on by and say hi either way. 🙂
Have a great weekend, everybody!
-Scott


I would love an article on the dehaze slider 🙂
Since there is a dehaze tool I use much less clarity, could you compare the 3 tools ?
Thanks as always for the tip Scott.
good examples, I’m getting so much nicer detail of of images with this tool available. I used to push things to the Nik stuff for microstructure improvement – done with that now.
developer view of things at : https://theblog.adobe.com/from-the-acr-team-introducing-the-texture-control/