
This One Button Has The Power To Supercharge Your Lightroom Workflow
I remember Matt Kloskowski writing a post here on the blog where he called it “The most powerful button in Lightroom.” (By the way: I had a great lunch with Matt on Wednesday – he says “hi” to everybody).
The button itself doesn’t have a very ‘sexy’ name, but what it does makes it a workflow superhero. It’s the ‘Previous’ button. Here’s how it works:
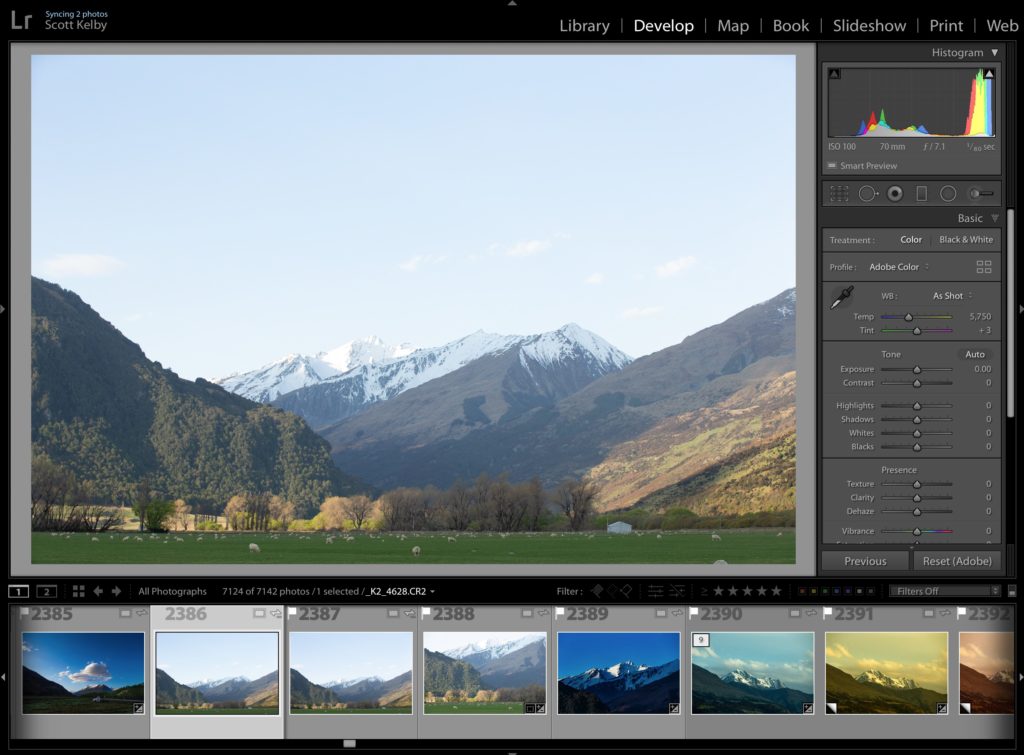
STEP ONE: Here’s our original image. Kind of washed out and “meh” looking.
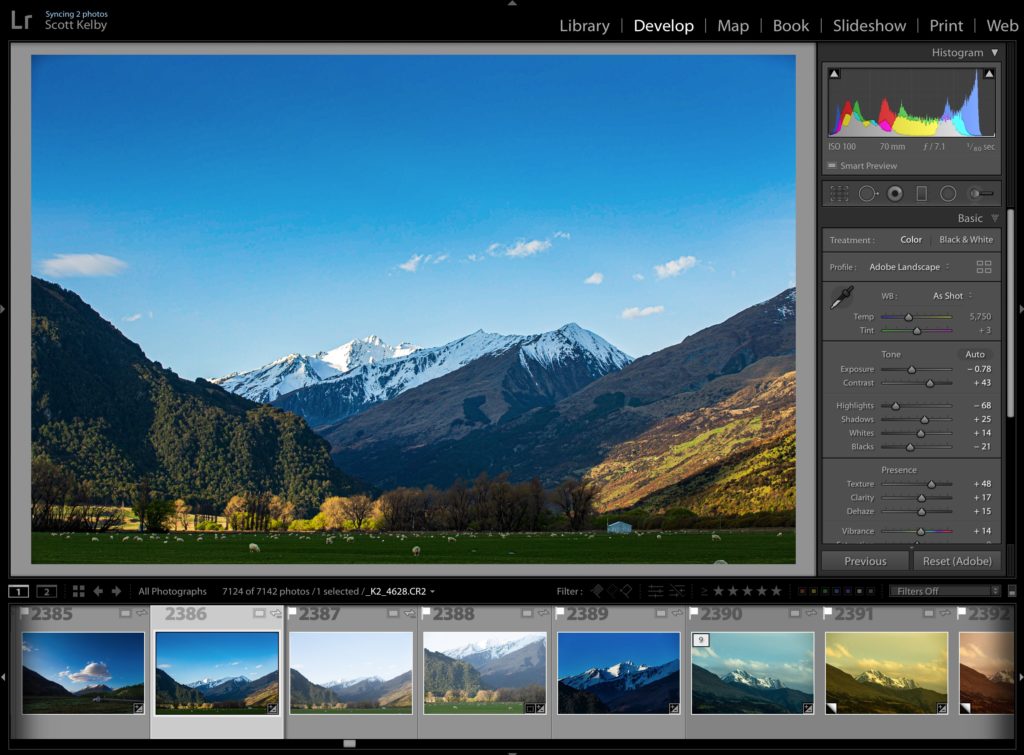
STEP TWO: So we tweak the settings in the Develop Module to make it less “meh.” Lots of contrast, some Dehaze to cut the haze; some Texture to bring out detail; a graduated filter to darken the sky — the standard stuff.
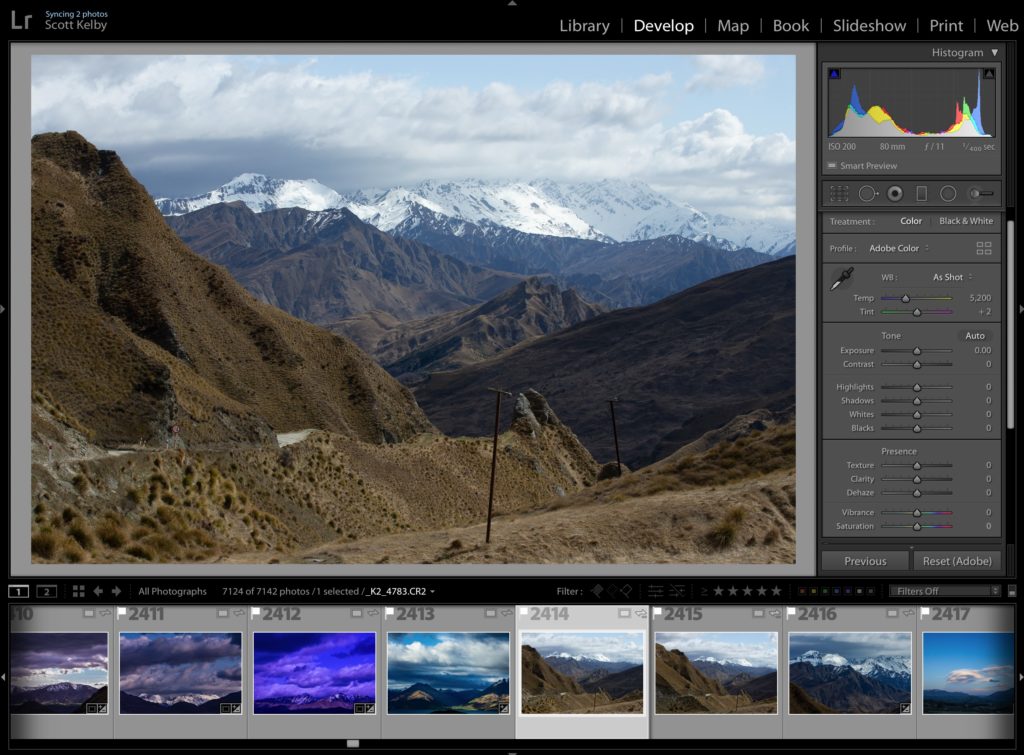
STEP THREE: Here comes the fun part. Now that you’ve got that image done, you can scroll through your entire shoot and when you see an image where you want to apply that same look, you just click the Previous button, and it applies the edits you did to the previous photo to this photo. Take a look at the image above. Kind of ‘meh’ right? Go to the next step.
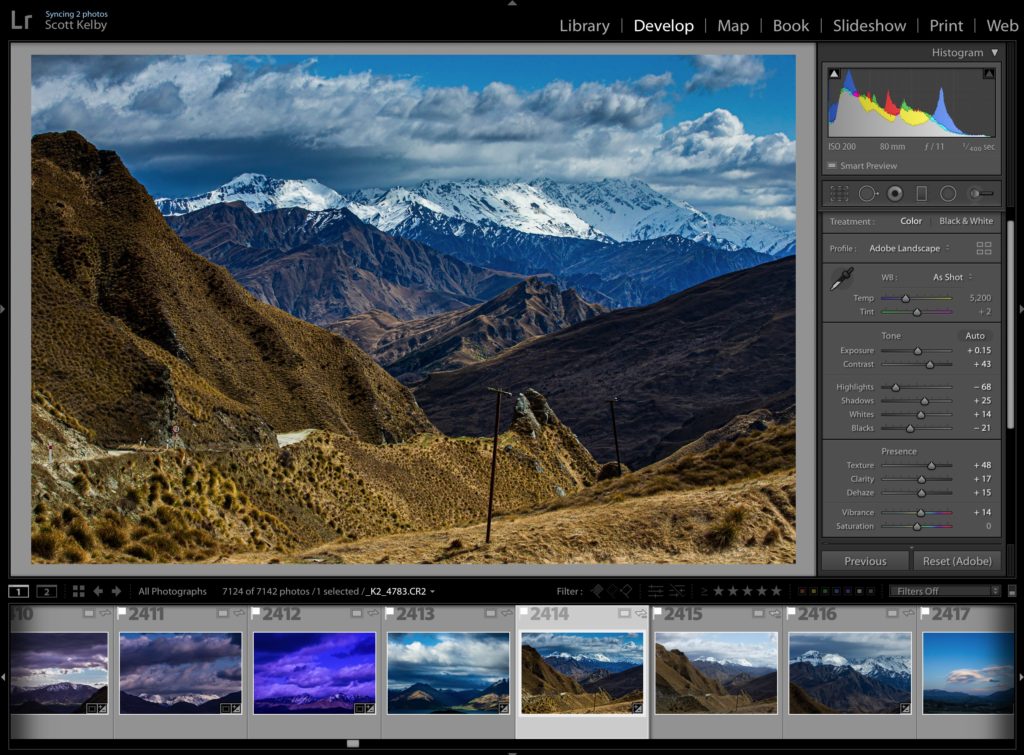
STEP FOUR: Hit the Previous button and it applies those exact same set of edits to this image. In this case, after hitting the Previous button I thought it was a little too dark, so I just dragged the Exposure slider a tiny bit to the right. Boom. Done. Huge time saver.
Now anytime you see an image that you want to have this set of edits (including the little exposure boost I just gave this one), just click the Previous button, and whatever you did to the previous image gets applied to this image.
Come With Me to Prague In May
I’m doing a hands-on travel photography workshop in beautiful Prague this May — there are only two spots left (it’s limited to just 12 participants), and if you’re interested, I have more details over on my blog today. Hope you can grab one of those two last spots. 🙂
Have a great weekend, everybody!
–Scott


Where are these buttons??
Develop module of Lightroom Classic
I do a lot of a lot of studio shots with Pro models for my front row and bentbox pages. In those shots I have pottery week the same lighting set for the same parts of a shoot. I find the sync button is the best fit me. I adjust the exposure, contrast, sharpness. Vibrance etc for the first shot in a set and then have the control from the pop-box to select the adjustments I want to carry over to reach shot. Then all I have to do is crop, if needed, the individual shots. This gives the needed consistency to the set of photos when I put them up for sale.
how do I down load this
Modification to STEP THREE:
Here comes the fun part. Now that you’ve got that image done, you can scroll through your entire shoot BUT DON’T CLICK ON ANY IMAGES UNTIL you see an image where you want to apply that same look, you just click the Previous button.
Bolded text is important. If, while you are browsing, you click on any other image first, then when you click Previous it will copy the settings from THAT image (the last one you clicked on) rather than the one you most recently changed.
Hi Scott
please tell us your lunch with Matt K was to ask him to contribute some more classes to Kelbyone. I used to love his teaching style. He seemed to make everything easy and clear. Sorely missed
Matt has his own online training site (http://mattk.com), so sadly I don’t think he’ll be contributing to ours anymore, but I love the way Matt teaches (and I love Matt as a person), and of course, we would love to have him teach for us, too and I know he knows that door is always open to him. 🙂
Also, the sync button. That and Previous are staples when editing.
Very helpful indeed. You should have mentioned that it does not apply the most recent develop-settings you just dialed in but the develop-settings of the previous selected image. That was something that confused me in the beginning.
Very helpful. They are the copy adjustments / paste adjustements buttons like in Capture One. Not sure, if I am allowed to say this here. But yes, those save a lot of time.
There are copy/paste buttons in Lightroom as well, but when you click Copy it brings up a window asking you which attributes you want to copy, so this is quicker if you just want the settings of the previous photo applied to the currently selected photo. It doesn’t bring up a window or anything, it just applies those settings. So quick and easy 🙂
slick having both options !