
“Seven Clicks To Done” (Lightroom Before and After Step-by-Step)
This is just a quickie, but it shows how a little AI goes a long way.
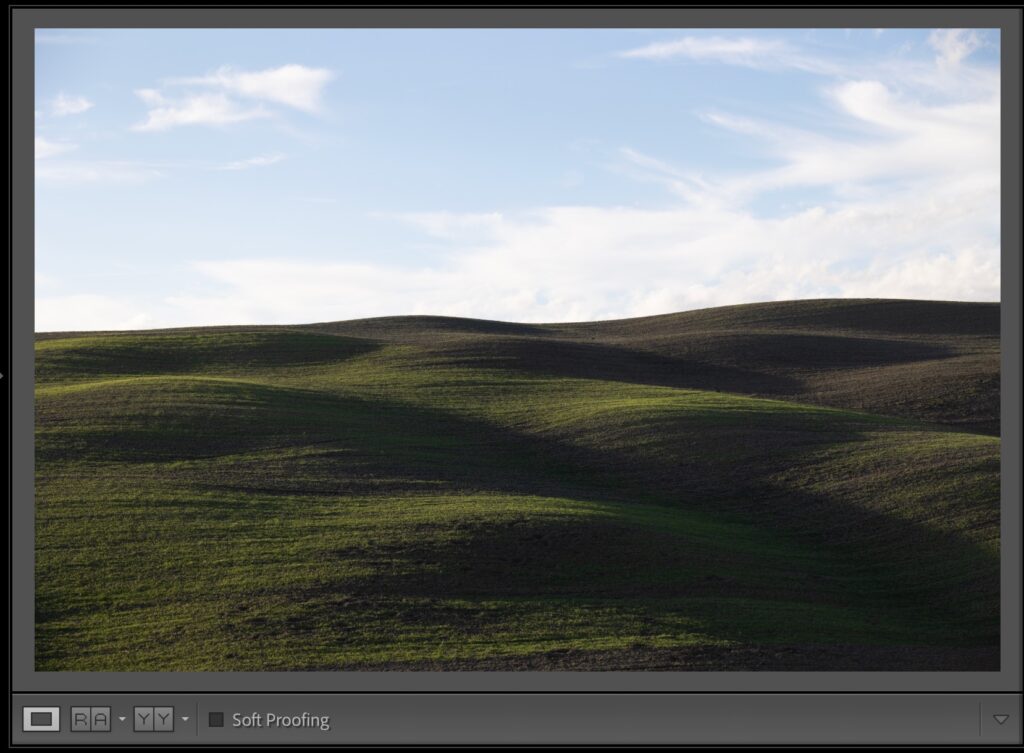
Above: Here’s the raw image out of the camera. Here’s a link to download the Raw image if you want to follow along:
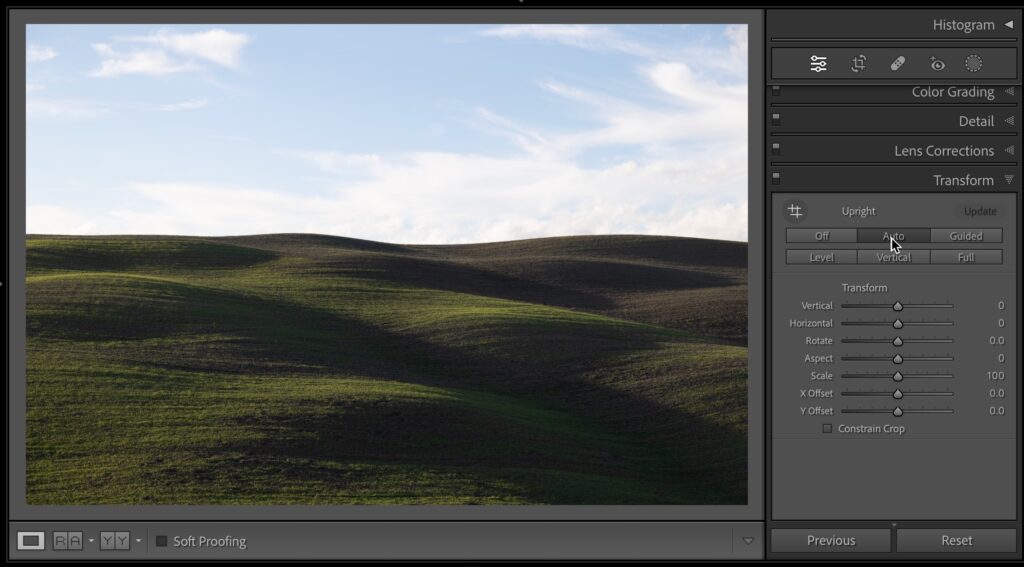
STEP ONE: The image is a little crooked, so head to the Transform panel (called the Geometry panel in the cloud version of Lightroom), and under ‘Unright,’ click on Auto (as seen here). By the way – you generally get better results from Upright if you first apply a Lens Profile in the Lens Correction panel (called the ‘Optics’ panel in LR cloud), but since the photo was taken with a mirrorless camera, it assigns the proper lens profile automatically for you).
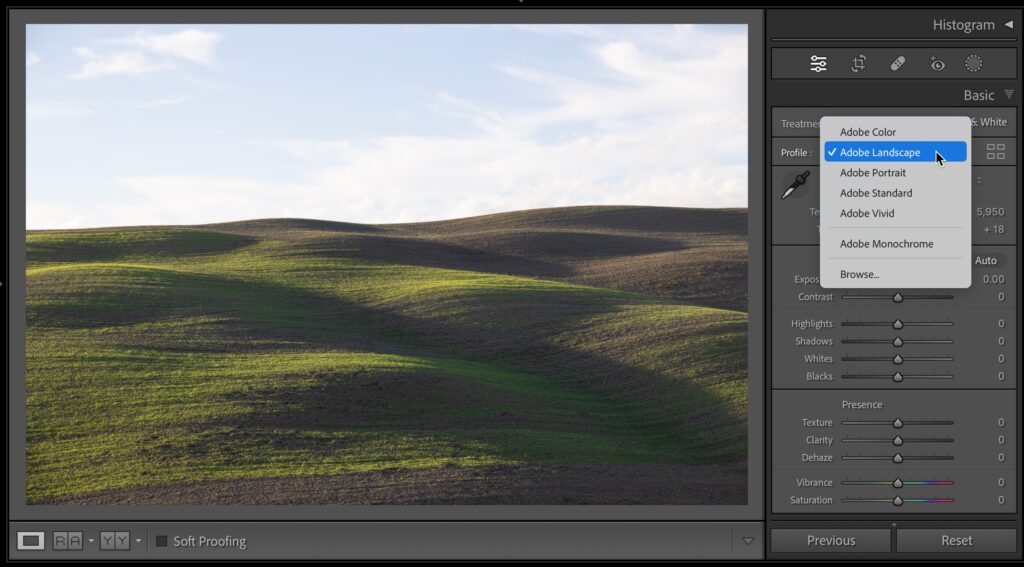
STEP TWO: To get a better starting place, I generally choose the ‘Adobe Landscape’ Raw profile from the Profile pop-up menu at the top of the Basic panel (as shown here).
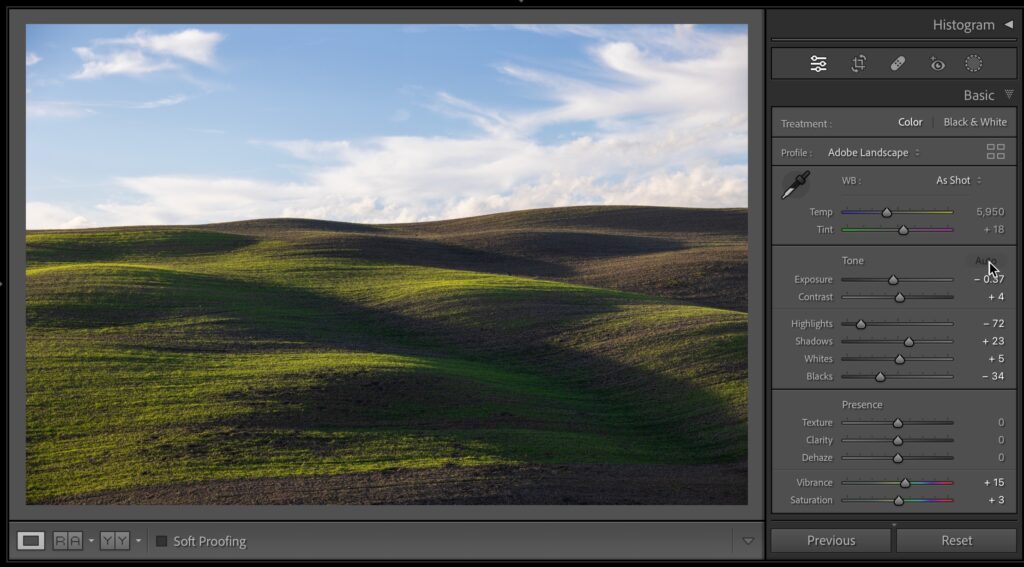
STEP THREE: Hit the ‘Auto’ button at the top right of the Tone section and it analyzes the photo and tones the image, and it generally does a pretty decent job of at least giving you a decent starting place.
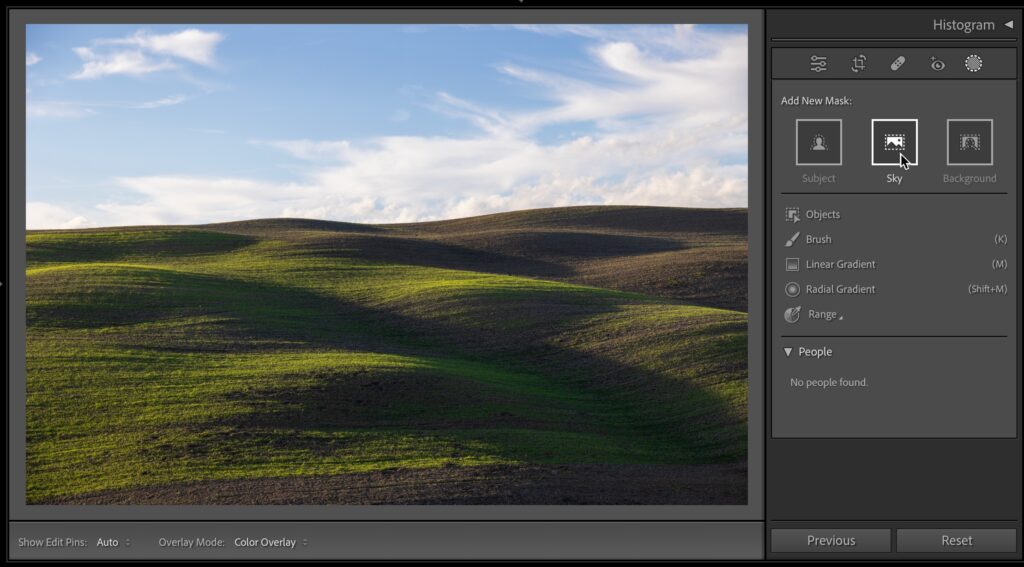
STEP FOUR: The Foreground looks okay, but the sky is kind of washed out. Click on the Mask icon (it’s the gray circle with the white dashed line around it), and when the Add New Mask panel appears, click on the ‘Sky’ button (as shown here) to select just the sky. The sky will appear in a red tint so you can see what it masked.
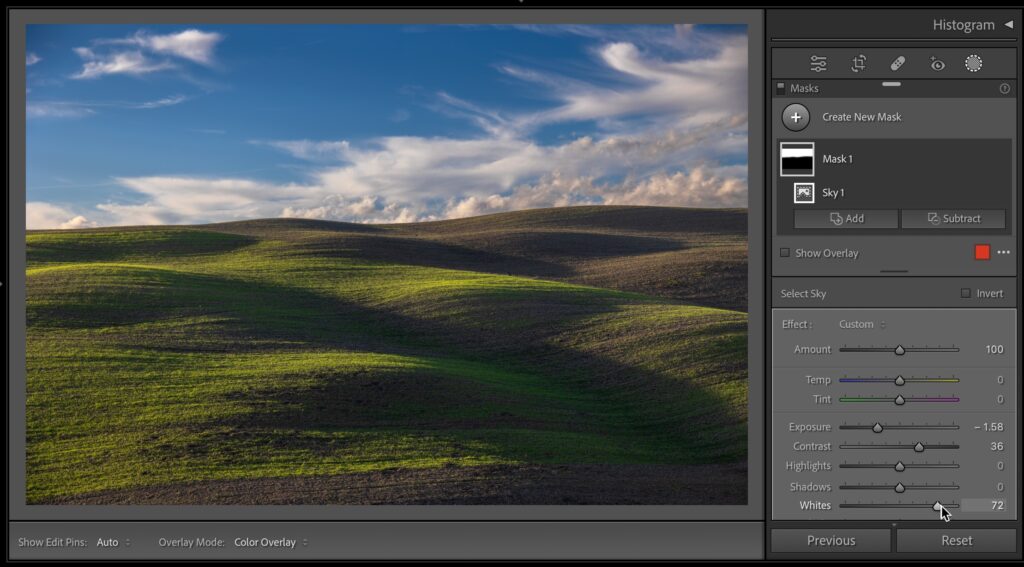
STEP FIVE: Now that the sky is selected, my go-to sky fix is to (a) lower the Exposure until the sky looks good, (b) Increase the Contrast so the dark parts of the sky get darker and bright parts get brighter, which makes the color looks more saturated, and (c) I increase the Whites amount quite a bit, so the clouds don’t look gray from the exposure being lowered so much.
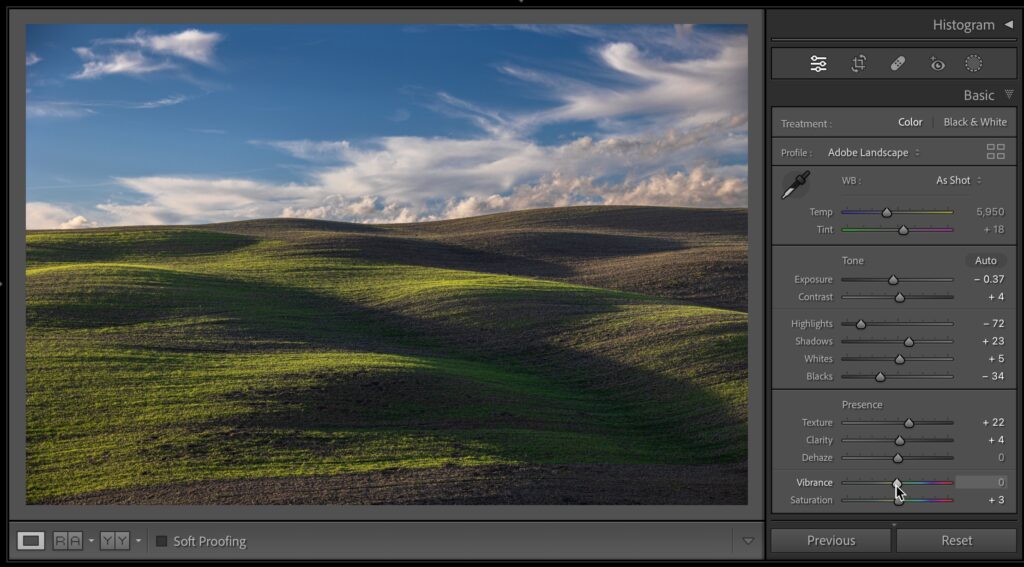
STEP SIX: I finish things off by raising the Texture to bring out some detail in the foreground and a bump up the Clarity just a hair (more detail), and lastly, I lower the Vibrance amount added by the ‘Auto’ button earlier so the colors don’t look too bright (it’s mostly a problem with greens – they start to look neon-ish, so you could go to the HSR / Color panel and lower the Saturation of the yellows and greens, but this is just quicker and easier – as long as the sky still looks good after you lower the overall Vibrance.
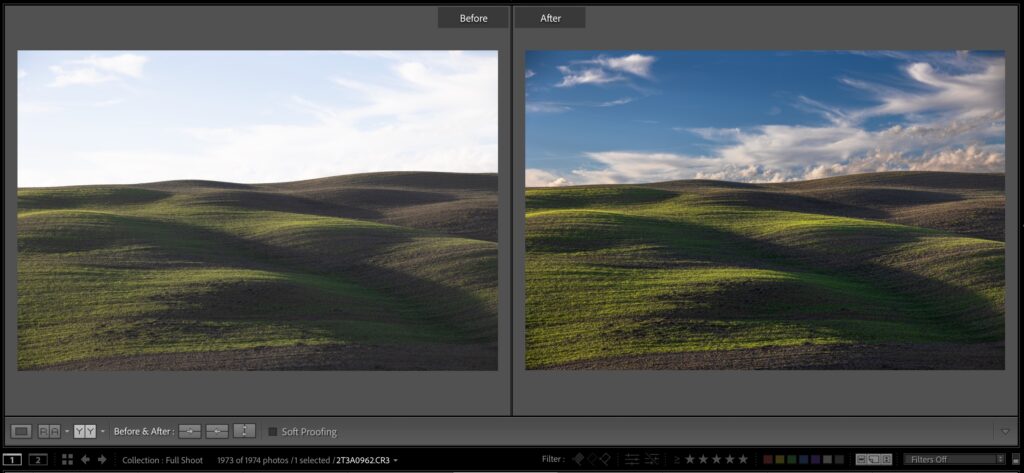
Above: Here’s a before/after (you just press the letter ‘y’ to see this side-by-side view. Press ‘y’ again to return to the normal view.
Well, there you have it. Hope you found that helpful. Have a great weekend, everybody! I’m cringing when I write this, but #GoBucs! (We’re not going to win, but ya know…I still have to say it).
-Scott
P.S. Mark your calendars: October 30-Nov 3, 2023 for the Masters of Nature & Landscape Photography Symposium. I’m honored to be one of the speakers, along with an all-star crew of instructors. Here’s how they describe it: “Jack Graham and Bill Fortney invite you to join them for a memorable experience in the Saguaro National Park and Tucson area. Their immense experience throughout the photographic industry, leading workshops and helping people “see” more creatively, all go in to creating this amazing symposium.” Here’s a link with more details and to grab your ticket. Hope I see you there.
Just discovering the magic and practicality of Scott Kelby! Love the speed and instant verification of the results of this tutorial.
Thanks Scott
Hey Scott, might be nice to add an update showing how to remove the halo.
Nice, easy but for step 6 I would rather use dehaze slider.
Nice, although those specific settings seem to have left a very small (but noticeable) thin white halo along the hill’s horizon.
Easy enough to get rid of. 30-seconds tops.