Saving Virtual Copies as Snapshots
A cool and useful feature of Lightroom Classic (LrC) is the ability to create virtual copies of your photos to allow for exploring different editing possibilities and seeing them side-by-side with the original photos. A virtual copy (VC) is simply an additional set of editing instructions that is represented by its own separate thumbnail that appears in your catalog and displays a page curl icon on the thumbnail to indicate it is a VC.

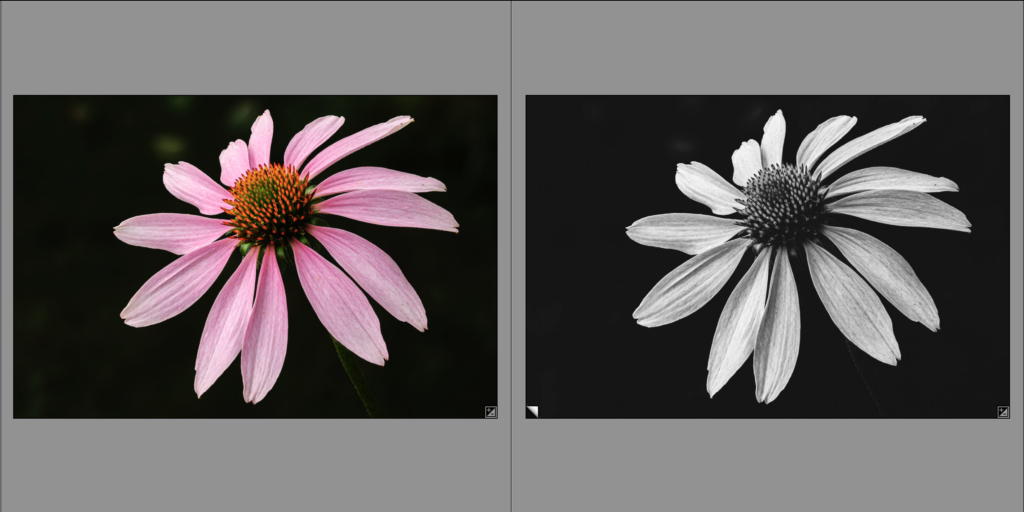
Every photo you import starts with a single set of editing instructions (starting with the default settings), and that set of instructions is updated every time you make any adjustment, which also updates the preview, so you see the results of your edits in real time without ever actually changing the pixels of the source photo managed by LrC. Virtual copies give us the ability to make more than one set of instructions, and each set of instructions refers to the same source photo. A simple example would be having a color version original and a B&W virtual copy, with each represented by its own thumbnail in the catalog. However, no actual copy of the source photo is made on your drive, so you are having minimal impact on drive storage (just the amount of the preview stored in the preview cache for each VC).
Virtual copies can also be helpful for batch exports of different versions of the same source photo or grouping different versions into different collections for sharing online, or whatever makes practical sense to your workflow.
Virtual copies only exist in the catalog file, so you won’t see any evidence of them if you look in the folder containing the source photo outside of LrC. Additionally, it is not possible to store virtual copy information in the XMP metadata of the source photos. This just adds one more reason for the importance of continually backing up your catalog file.
Snapshots to the Rescue
A Snapshot is like a virtual copy in that you can use them to store a specific set of editing instructions. However, snapshots are only visible in the Snapshots panel of the Develop panel, so they are not useful for side-by-side comparisons or dividing into separate collections. You can switch the look of a photo between snapshots by clicking the desired snapshot, which updates the preview representing that photo.

Snapshots allow you to store multiple looks or various states of an edit journey in the catalog record for a given source photo. Once a snapshot is created it is also shared among all virtual copies and the original, and unlike virtual copies, snapshot information can be written to XMP metadata, which can be useful for sharing photos with others, as a form of backing up edits to the source photo or making them available when opening the source photo in Camera Raw.
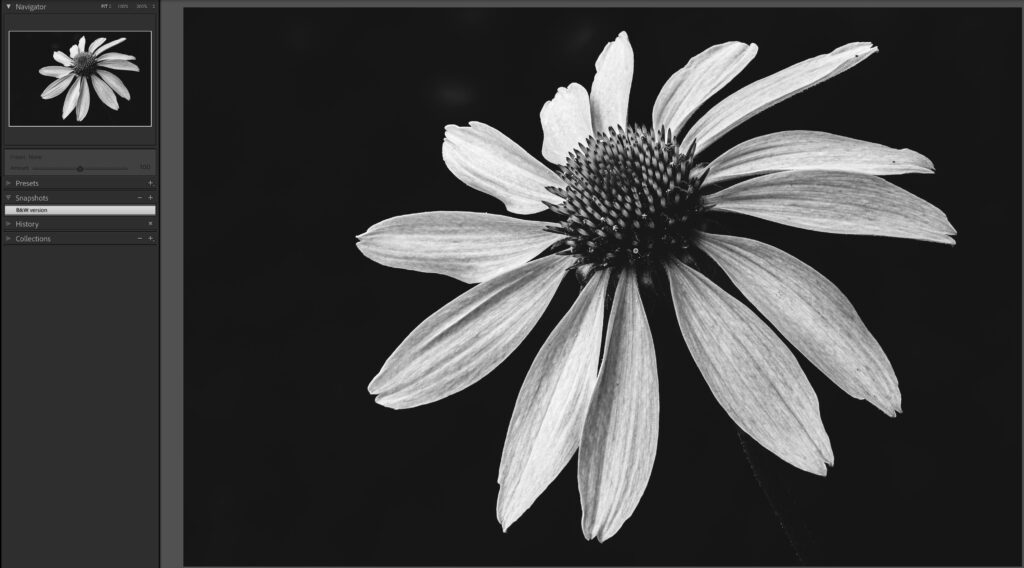
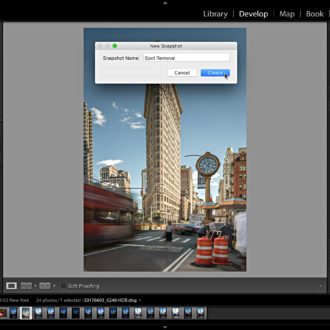
So, if you tend to use virtual copies and you want to take another step to preserve them, simply take one into Develop, expand the Snapshots panel, and create a snapshot to represent the editing state of the VC. In fact, once you’ve saved the snapshot, if you don’t need/want the VC you can delete it because the snapshot will preserve the edits. If at some point in the future you want to have a VC with those settings just create a new VC, expand the Snapshots panel, and select the desired snapshot to restore those settings to the VC.


