Painting with Negative Defringe
A few weeks back Scott posted a helpful video on how to remove chromatic aberration from your photographs, and there was a comment on there from Elliott that inspired me for this week’s post. Elliott was commenting on how sometimes removing the purple or green fringe from your photo can reduce saturation in parts of your photo where you actually want the color to remain. Well, there’s a fix for that (spoiler alert: it’s in the post title).
Here’s how it works. This photo has some serious CA issues with both green and purple fringing. Luckily we can address those issues with the tools in the Manual tab of the Lens Corrections panel as Scott demonstrated in the above linked video (go check it out and come back). However, you may also notice that in my photo, the musician’s tie is a very similar color to the fringe we need to remove. Here’s the before photo.
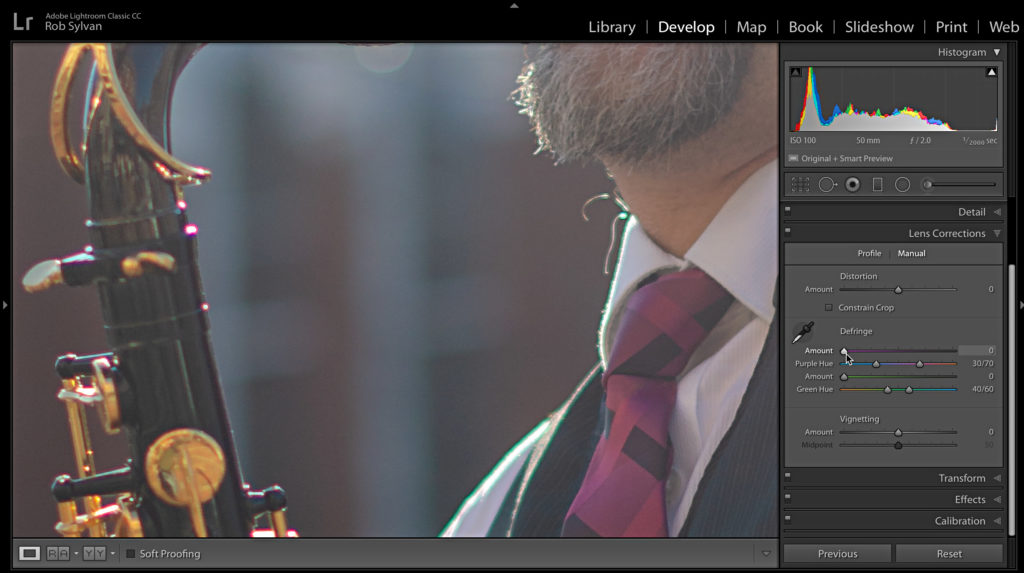
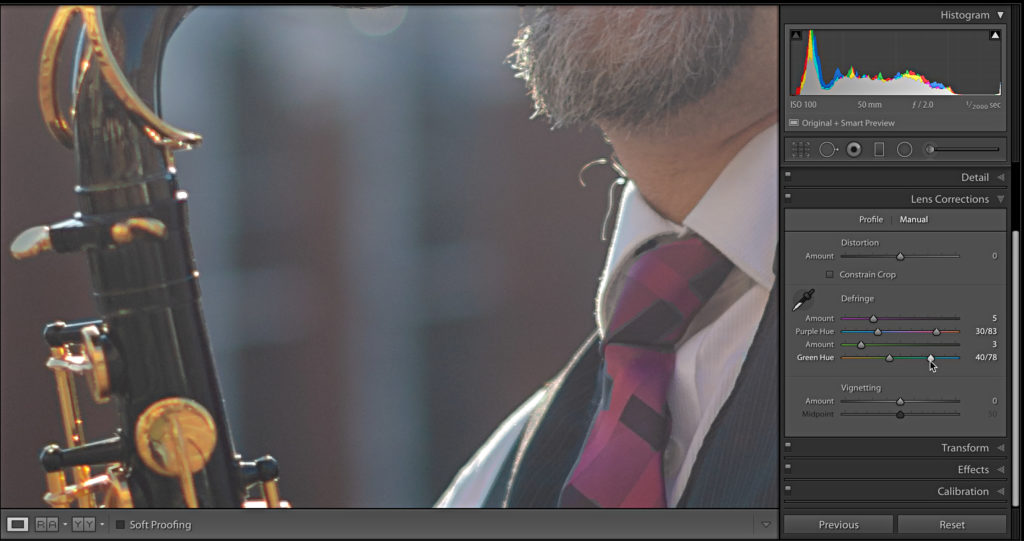
After making the necessary adjustments to the Defringe sliders I’ve vastly improved the CA problem. However, his tie paid the price (notice the especially desaturated edges). That is an unintended casualty.
Luckily there’s an easy fix. Grab the Adjustment Brush and zero out all sliders to start. Then dial in -100 Defringe, and paint over the area of the photo where you want to remove the Defringe adjustment we just made.
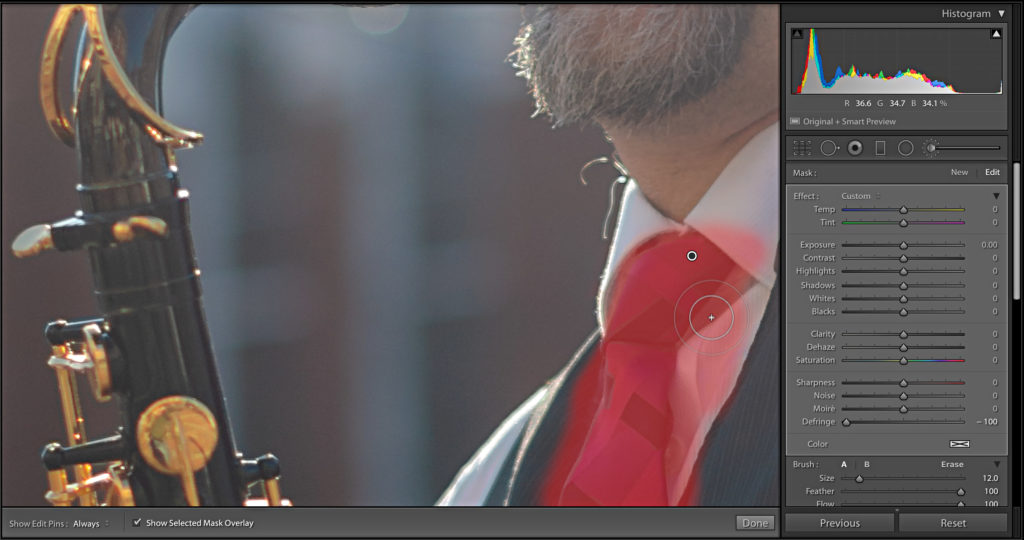
All that matters is that you don’t paint over the problem edges where the CA was, so feel free to use the Graduated or Radial filters if they work better in a given photo. This way we can erase that Defringe adjustment from similar colors to our fringe.
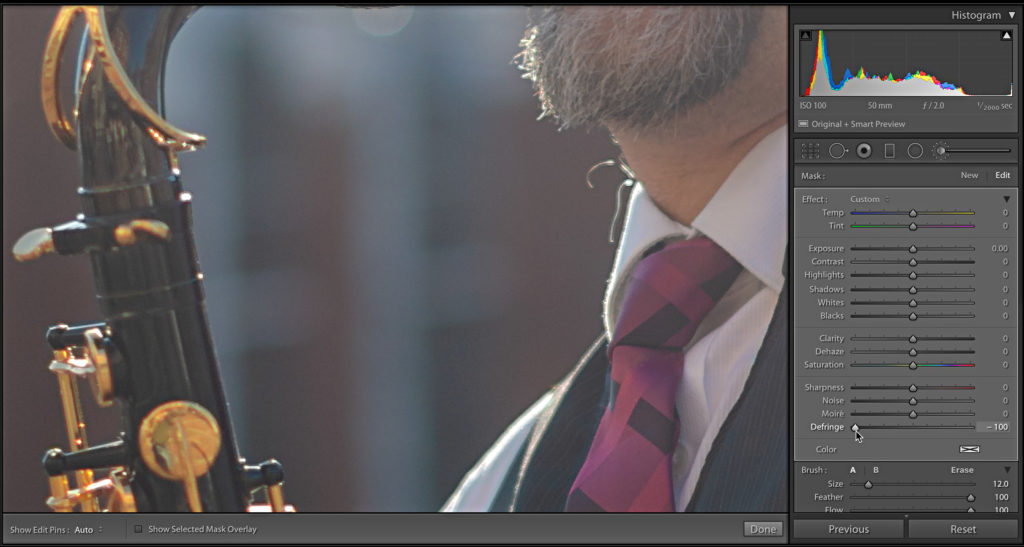
Here’s a bonus tip. Hold down the Option (PC: Alt) key while you are moving the Amount sliders in the Defringe section to see a special preview of the area being affected. This will help you find the problem areas as well as alert you to other areas of the photo that are being affected by your Defringe correction so that you can fix it later.
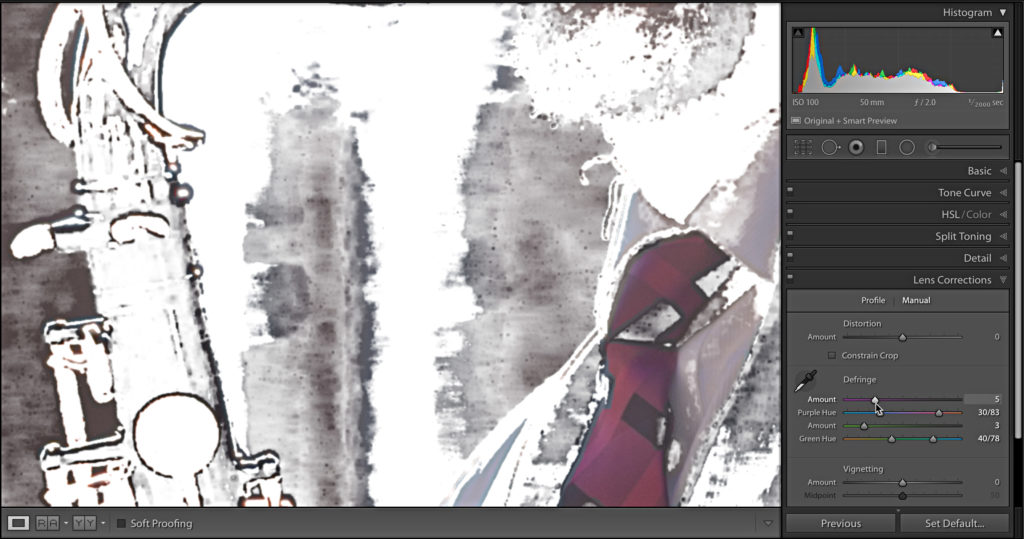
That trick also works with the Hue sliders too to help you hone in on the color you are trying to remove.
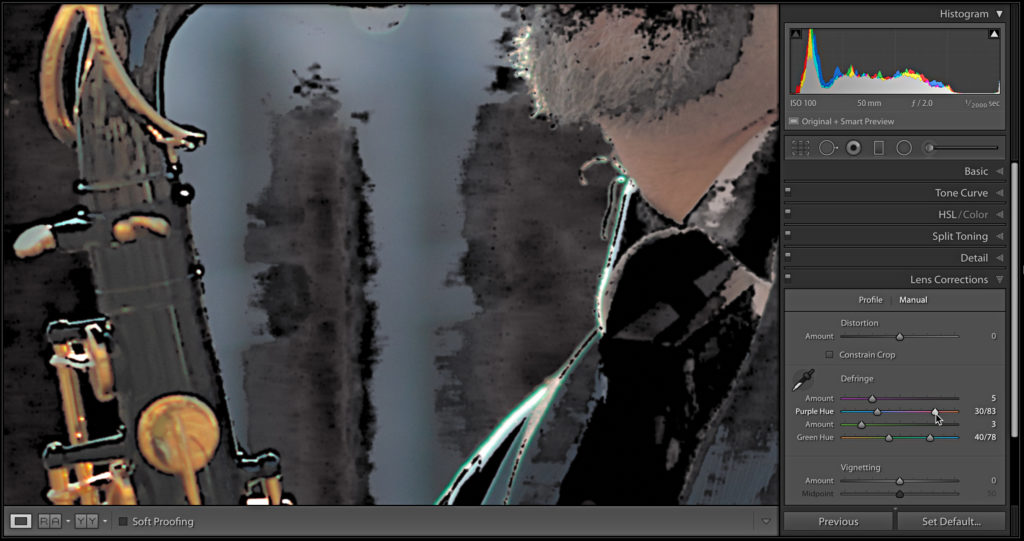
So used in combination you can correct the CA and preserve saturation in important areas of the photo. Hey Elliott, in this case there is a free lunch. Thanks for the post inspiration! 🙂


you’re a magician !
Hey Rob,
Excellent information!!! Wow, never knew you could hold down the option Key in this panel. So, here’s a question for you. Can you give us a list of panels and sliders that can help us with the Option/Alt key? I use it all the time in the Detail and Basic panels, but what about the other panels?
Again, thanks for this awesome info!
Dennis
Glad you found it helpful! I don’t have such a list, but all you need to do is hold the Alt key for every slider and see what happens. That’s usually how I find out. 🙂
Thanks Rob. I just thought you’d have a list! Appreciate the info you supply us on Lightroom Killer Tips!
Thanks,
Dennis
You bet!
Thanks for this tip. I didn’t have any idea holding down the alt key did that in those tools. Sharpening, yes. But defringe? Now to go see what other tools it works with. One small question/nit. My defringe control goes from zero to 20. Not sure how to set it to -100. But I get the idea of minimizing it. Thanks again for the useful tip!
I’m referring to the Defringe slider in the Adjustment Brush. All but one of the sliders goes down to -100.