How to Change Lightroom’s Adjustment Brush Mask Color
Hi, Gang. First a shoutout and thanks to all the folks who came out to see my Lightroom seminars in Raleigh (an awesome sold-out crowd of 250+ photographers), and in Lansing last week. I had such a great time – met so many great people — it was a treat. Next stop: Washington DC on Friday, August 17th. Come out and spend the day with me.
OK, on to today’s tip, and it’s a pretty handy one — it’s how to change the mask color when you’re using the Adjustment Brush. Here’s why you might want to do that, and how:
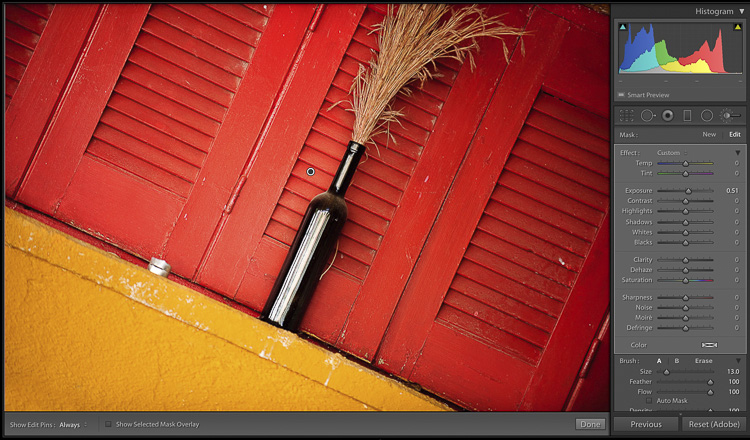
Above: Here’s the original image, and I used the Adjustment Brush here to the left of the black bottle to brighten that area.
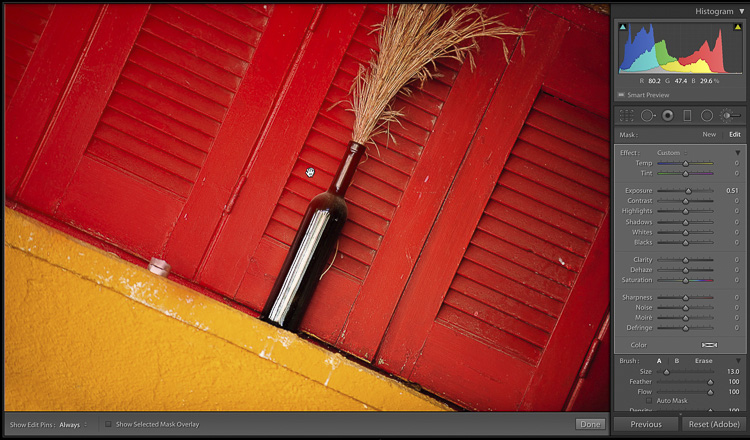
Above: To see the masked area, I move my cursor over the pin, and those areas now appear in a red tint (as seen here). Unfortunately, you can barely see it because the area I painted over with the brush is red. (also, this red tint color is an issue for folks who are color blind).
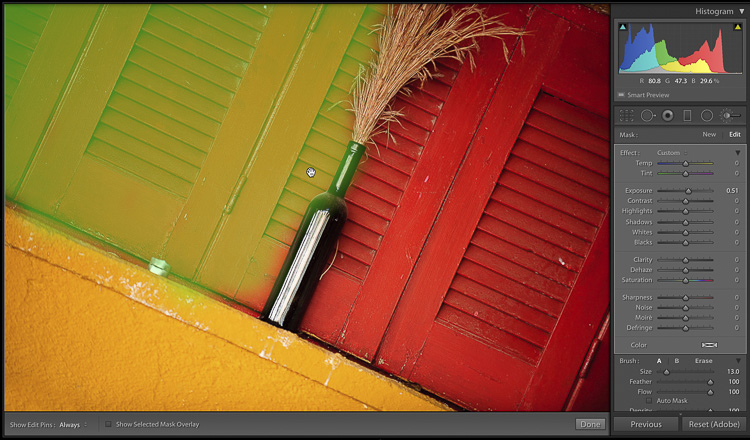
Above: To change the color of the mask, just press Shift-O (that’s the letter O — not a zero). The first time you press it, it changes to a green tint (as seen here).
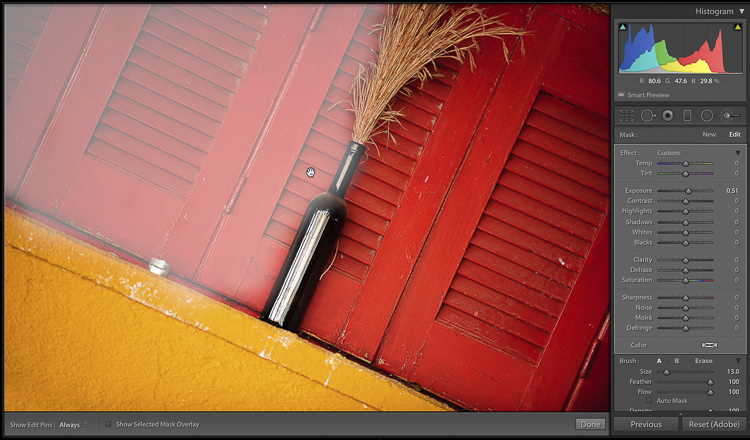
Above: Press Shift-O again, it changes the mask color to white.
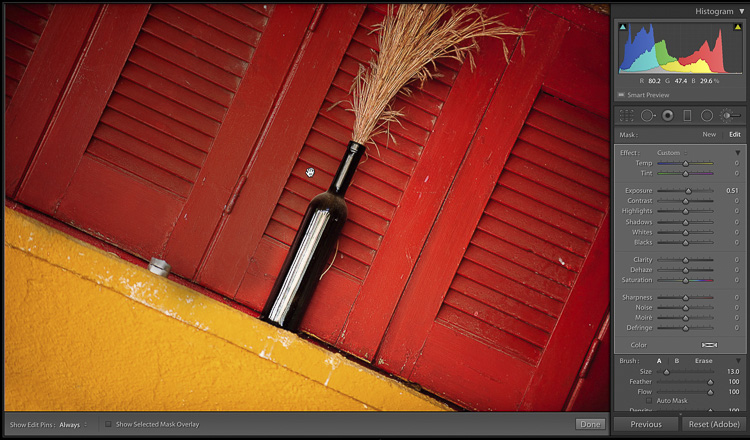
Above: Press Shift-O again and you get a Black tint (well, a dark grayish tint anyway).
There ya go. Hope you found that helpful.
Here’s wishing you a great start to your week – one filled with possibilities and opportunity. 🙂
Best,
-Scott


Thank you for this. I ran into an issue. My mask color is red. The brush has been working well, up until just now when that red mask no longer marks as intensely where I brush. On a different picture, the red is very dark, and I used to be able to see the results very well, but now, where I paint with the brush, the red mask color is light pink. Help! Thanks in advance, Kat
Check the brush settings and make sure Flow and Density are where you want them to be (sounds like they might be low).
Very helpful, Scott, as always. Love Lightroom Killer Tips!
I knew tere was a green color but forgot how to get there. Thanks, Scott!
Aha, never knew that one. Thanks Scott!