
Behind the Scenes: New York City Long Exposure
I’m in New York this week for the annual PDN PhotoPlus Conference and brought my camera along in case I got the chance to shoot. Well, if you didn’t know already, I’m a sucker for a good long exposure scene. For me, anything with a strong (and not moving) foreground and a cool background, along with some moving water, makes a great long exposure photo.
Finding a Location
After doing some research on 500px.com, I stumbled across a location at the Brooklyn Bridge Park. Not really knowing much about it, I hopped on the subway to the High St. stop, and figured I’d see what I could find.
The Setup
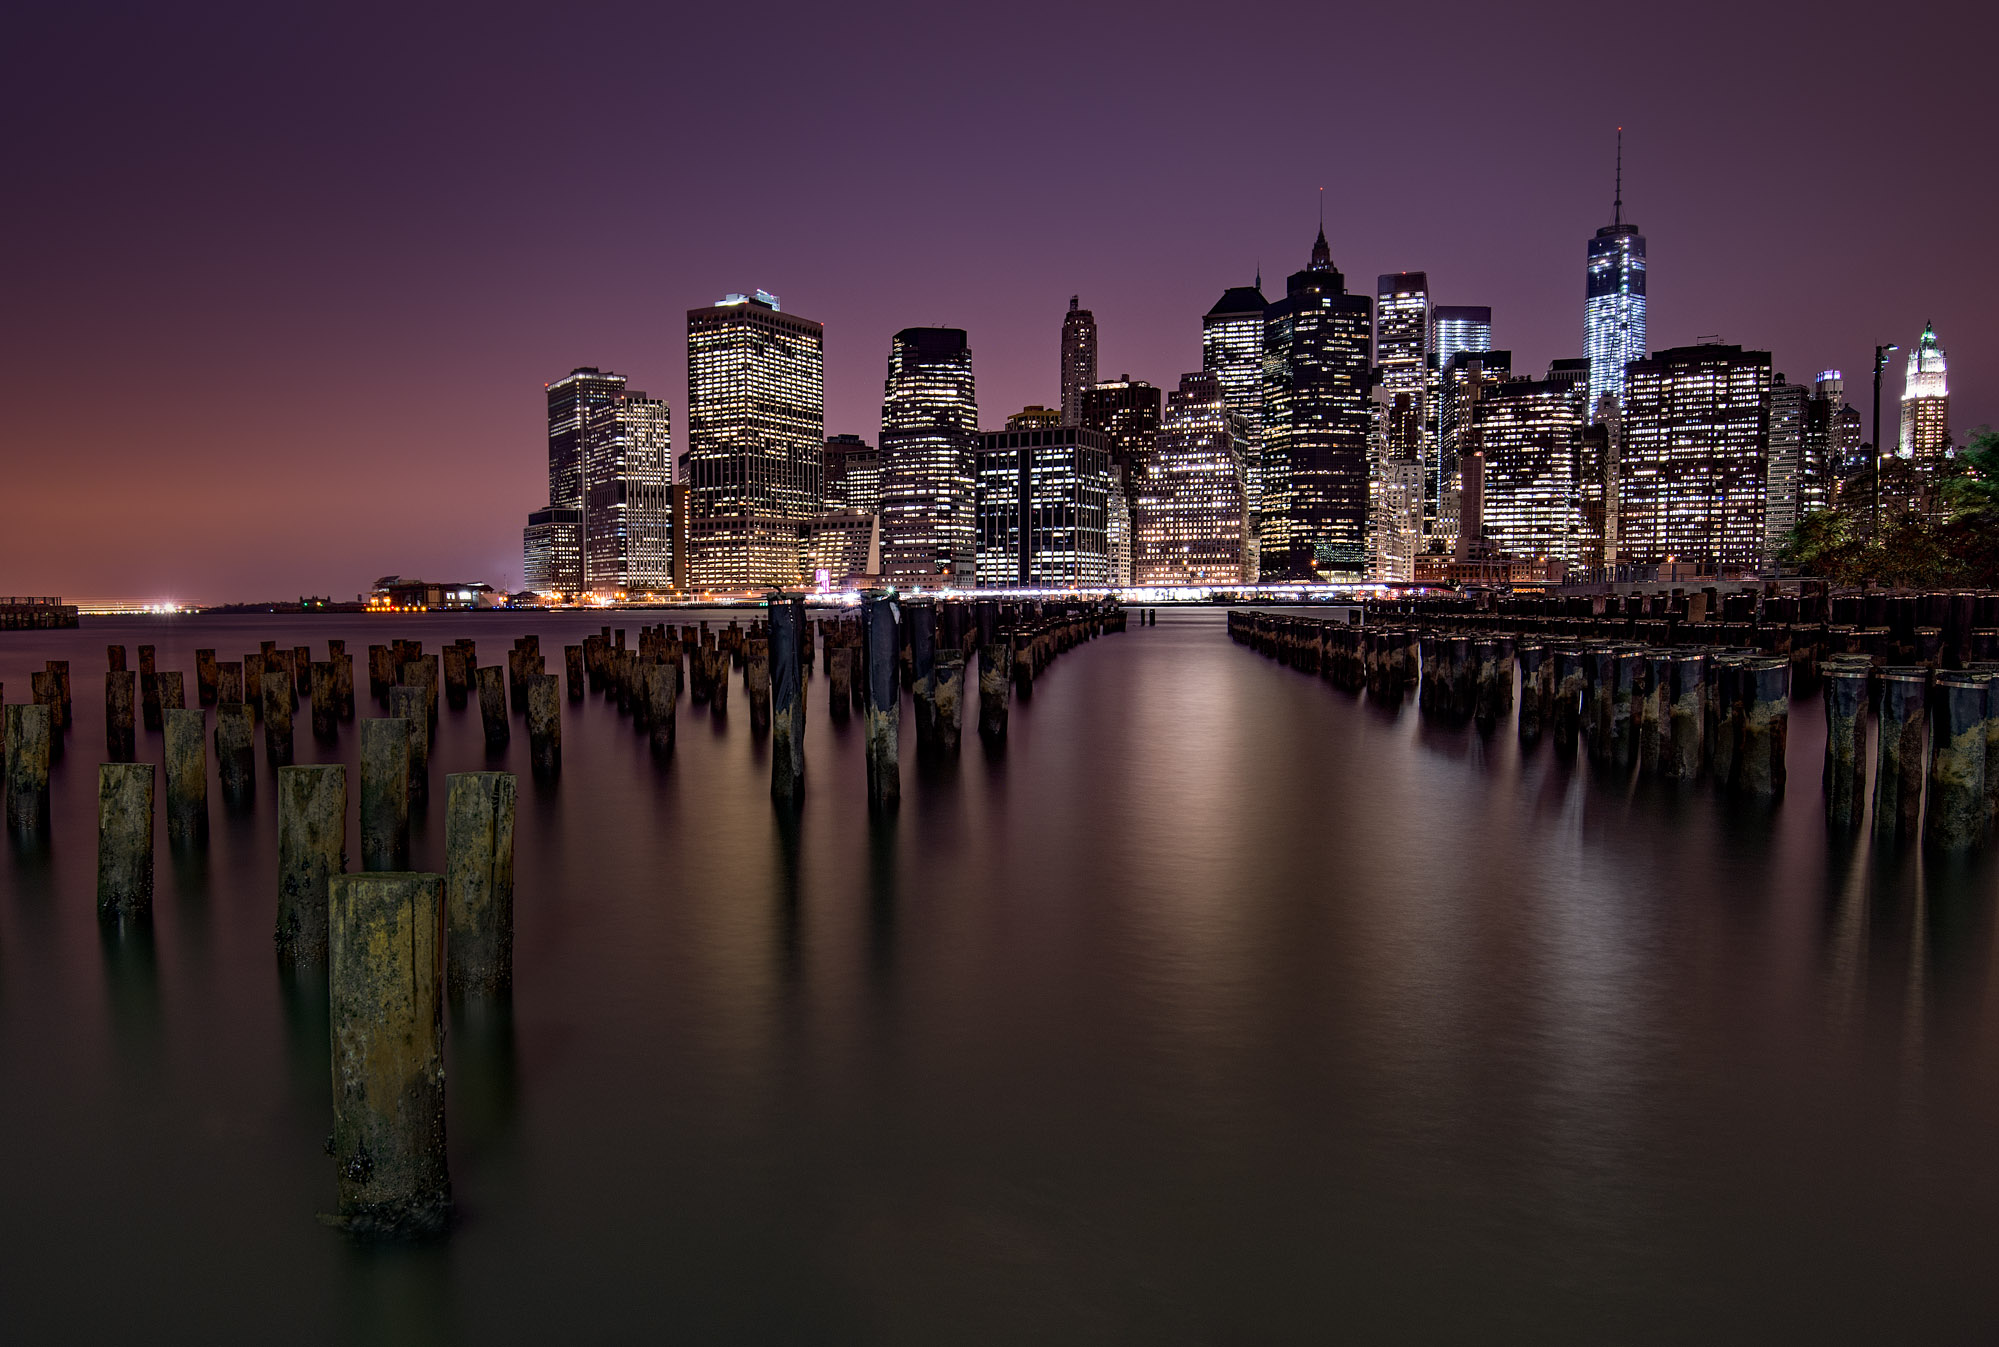
After walking along the waterside about 30 minutes before sunset, I found these pilings that I’d seen in some other photos on 500px. I set up my tripod, my D800, and my 18-35mm lens. The first photos were kinda blah. For starters, if you’re shooting a skyline you really need to wait until well after sunset so you can see all of the lights on. And hopefully it’s a weekday, because you don’t tend to have as many lights on during the weekends. Oh, and sunset is best because you typically have more people that work late, rather than having a lot of lights on at sunrise when most people aren’t in the office yet.
Long Exposure
I used a Tiffen 3-stop ND filter to slow the shutter speed and really smooth out the water. I originally tried a 30 second exposure, with no ND filter once it got dark, but the water still wasn’t smooth enough. So I put the 3-stop ND filter on and ended up with a 90 second exposure. Oh, and I used the ND Timer app to help out with shutter speed times and it worked perfectly.
Once it got dark, it was hard to focus, so I used Live View, zoomed in on the skyline since it’s the most critical to the photo, and manually focussed.
(click to see the photo larger)
Post Processing
The post-work was pretty simple. I used Lightroom to adjust the overall exposure and tone (shadows, highlights, whites, blacks). I also used the Radial filter on the buildings (with negative exposure), so that they appear brighter and everything else is darker. From there, used onOne’s Perfect Effects 8 beta and the Dynamic Contrast settings to get that detailed/sharpened look to the photo.
That’s about it. If you’re at PhotoPlus make sure you check out my Photoshop Compositing Secrets class from 4pm-6pm today. And I’ll be speaking at the Sony booth on a panel from 11-12pm tomorrow (Friday). Have a good one!
Hi Matt, very nice exposure. I am wondering how you got the nice purple-orange-brownish colour in the sky, post processing or just the natural light? Thank!
Thanks! 🙂
It was just after sunset so the sky had a blue-ish/purple color to it. I usually adjust the white balance sliders to enhance it as well.
Fantastic shot and some great tips. I especially like your idea of using the zoom in Live View to focus – that’s a tip that I hope to try out soon.
I just tried some long exposure shots in Philadelphia last weekend. I don’t have any ND filters, nor do I have a shutter-release trigger. So I ended up shooting for the 30 seconds that I could. Is there any other way that I can utilize the 2 second timer (standing in for remote trigger) any better? In other words, how else can I juice the most out of a camera before purchasing an ND filter and a remote shutter release?
I think your work is great! I’m looking forwards to following you on Twitter-love your posts.
Thanks Jack! You’re pretty much doing it Jack. 30 seconds is the max on shutter speed. If your photo is overexposed and you’re shooting at f/8 or f/11, you can also try to increase your Aperture (to f/16 or f/22) to force the shutter speed to go longer. I also have a Long Exposure class coming up on Kelby Training soon, so keep an out. Good luck!
Hey mate love the photo, got a great timelapse from the same location that you can see in my old showreel if you like
https://vimeo.com/39121600
Interesting that Adobe did not have an exhibit this year for the first time ever. Wonder why that was?
I don’t think they were there the last few years actually. Adobe doesn’t typically do many tradeshows anymore.
Great LE shot of NYC Matt and a nice post on the technique. Thanks for the mention of our App, we appreciate it.
It’s my go to app for LE. So I should be thanking you 🙂
I’ll take it 😉
Love the idea for doing this type of long exposure. It seems to me that most of the filters are in the hundreds of dollar range. Seems a bit steep if one doesn’t use it a heck of a lot
Hey Peter – Sadly, there’s not many worthwhile things in photography that don’t cost a couple hundred bucks. Hopefully you didn’t get in to this profession/hobby because you thought it was cheap 😉
That said, lots of Tiffen filters here for under $100: http://www.bhphotovideo.com/c/search?Ntt=tiffen+ND+filters&N=0&InitialSearch=yes&sts=ma&Top+Nav-Search=
I agree that the cost of expanding one’s photographic landscape is not inexpensive. That being said, if you have fast glass/expensive glass on the camera, putting an inexpensive filter on the front kind of cancels out quality. Also, sometimes we photographers Sell the farm To get into the business. Then it takes time To do the add-ons and we try to do it in the most economical way.