
Advanced Lightroom Start To Finish Project
Mornin’, everybody! Today we’ve got a tutorial that moves at the speed and style for advanced users. There’s nothing here that you can’t do — it’s just the speed and the fact that I don’t explain every little thing along the way like I would for a beginner tutorial. I think you’ll find lots of helpful little tricks in this one — I start with the RAW image out of the camera and take it to the finished image.
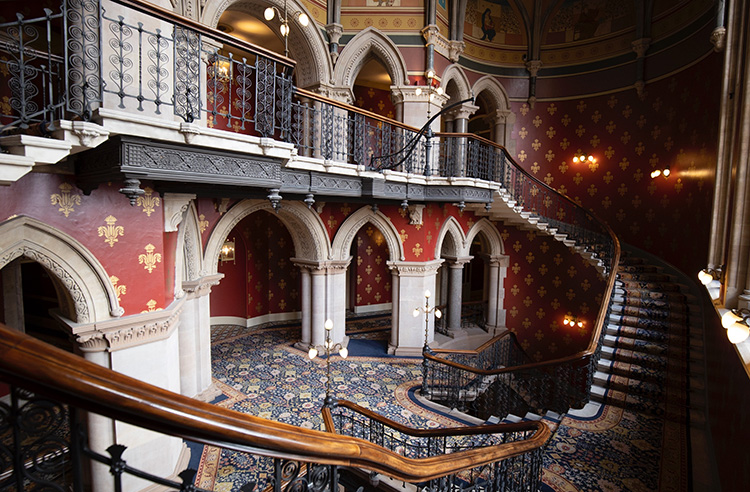
It’s 95% Lightroom; 5% Photoshop, but as it turned out, I really didn’t need the Photoshop part too much — I could have just finished it in Lightroom for the most part.
Hope you found that helpful. Here’s to a fantastic week, full of awesome possibilities and opportunities!!! 🙂
-Scott
P.S.If you live in Boston, Chicago, Philadelphia or Detroit, hundreds of photographers are all coming together on one day in each city for my “Ultimate Photography Crash Course.” Come on out and spend the day with a few hundred of your potential new shooting buddies. Tickets and details here.
“Saint Pancreas” – the patron saint of insulin perhaps? Love it.
Great turorial. Love these shorts!
Scott, as I mentioned in Paris, I LOVE these “start to finish” tutorials! They are the perfect quick refreshers for your video classes. I both learn new techniques and confirm old lessons every time I observe one. More, please!i
Thank you ,please do more, enjoyed.
Great!! Thank you!