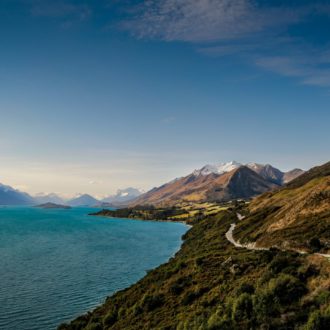
Picking up from last week’s post, the History and Snapshots panel share some common traits. If you expand the Navigator panel you can hover your cursor over a history step or a snapshot and see the Navigator panel preview change to reflect the state of the photo at that time. Similarly if you click on a history step or a snapshot you will set the photo to the settings contained in that step or snapshot respectively and this updates the live preview in the main editing window.
Here is a key difference to understand about the way these panels work. Clicking on a snapshot reverts the photo to the settings contained in that snapshot and adds that action to the photo’s history in just the same way as if you applied a preset or moved a slider. Even though this may change the photo to reflect settings from an earlier time in your post-processing you still retain all of the history steps that lead to the moment you clicked on the snapshot.
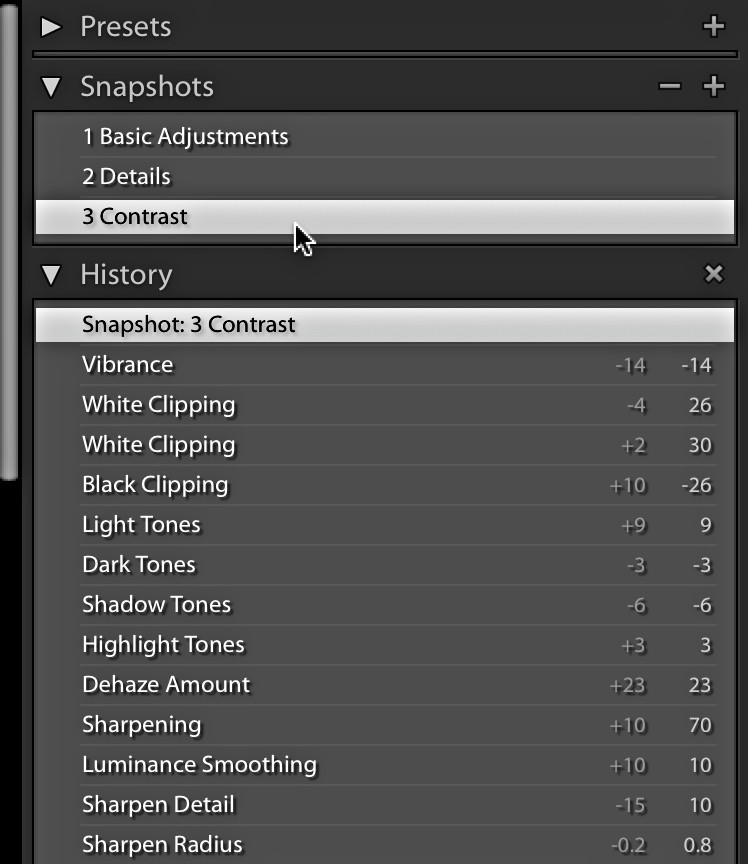
Any adjustments you make after that continue to be added to the History panel in a linear fashion. However, if you click on a past history step you revert the photo back to the settings at that point in time, and the moment you make any new adjustment you will wipe away all of the history steps that were previously above the selected history step. When you click on a past history step and make a new adjustment you have effectively taken the photo in a new post-processing direction from that selected point in history and any work above that history step no longer applies and is deleted.
So, if you take the photo in a certain direction and want to preserve those settings for all time, make a snapshot of that state. If you want to revert the photo back to that state without losing any history steps you can click that snapshot to go back and then take the photo in a new direction. If you are just experimenting and are not attached to the outcome, then just use the steps in the History panel to go back in time and wash away your experimental tracks by simply making any new adjustment.
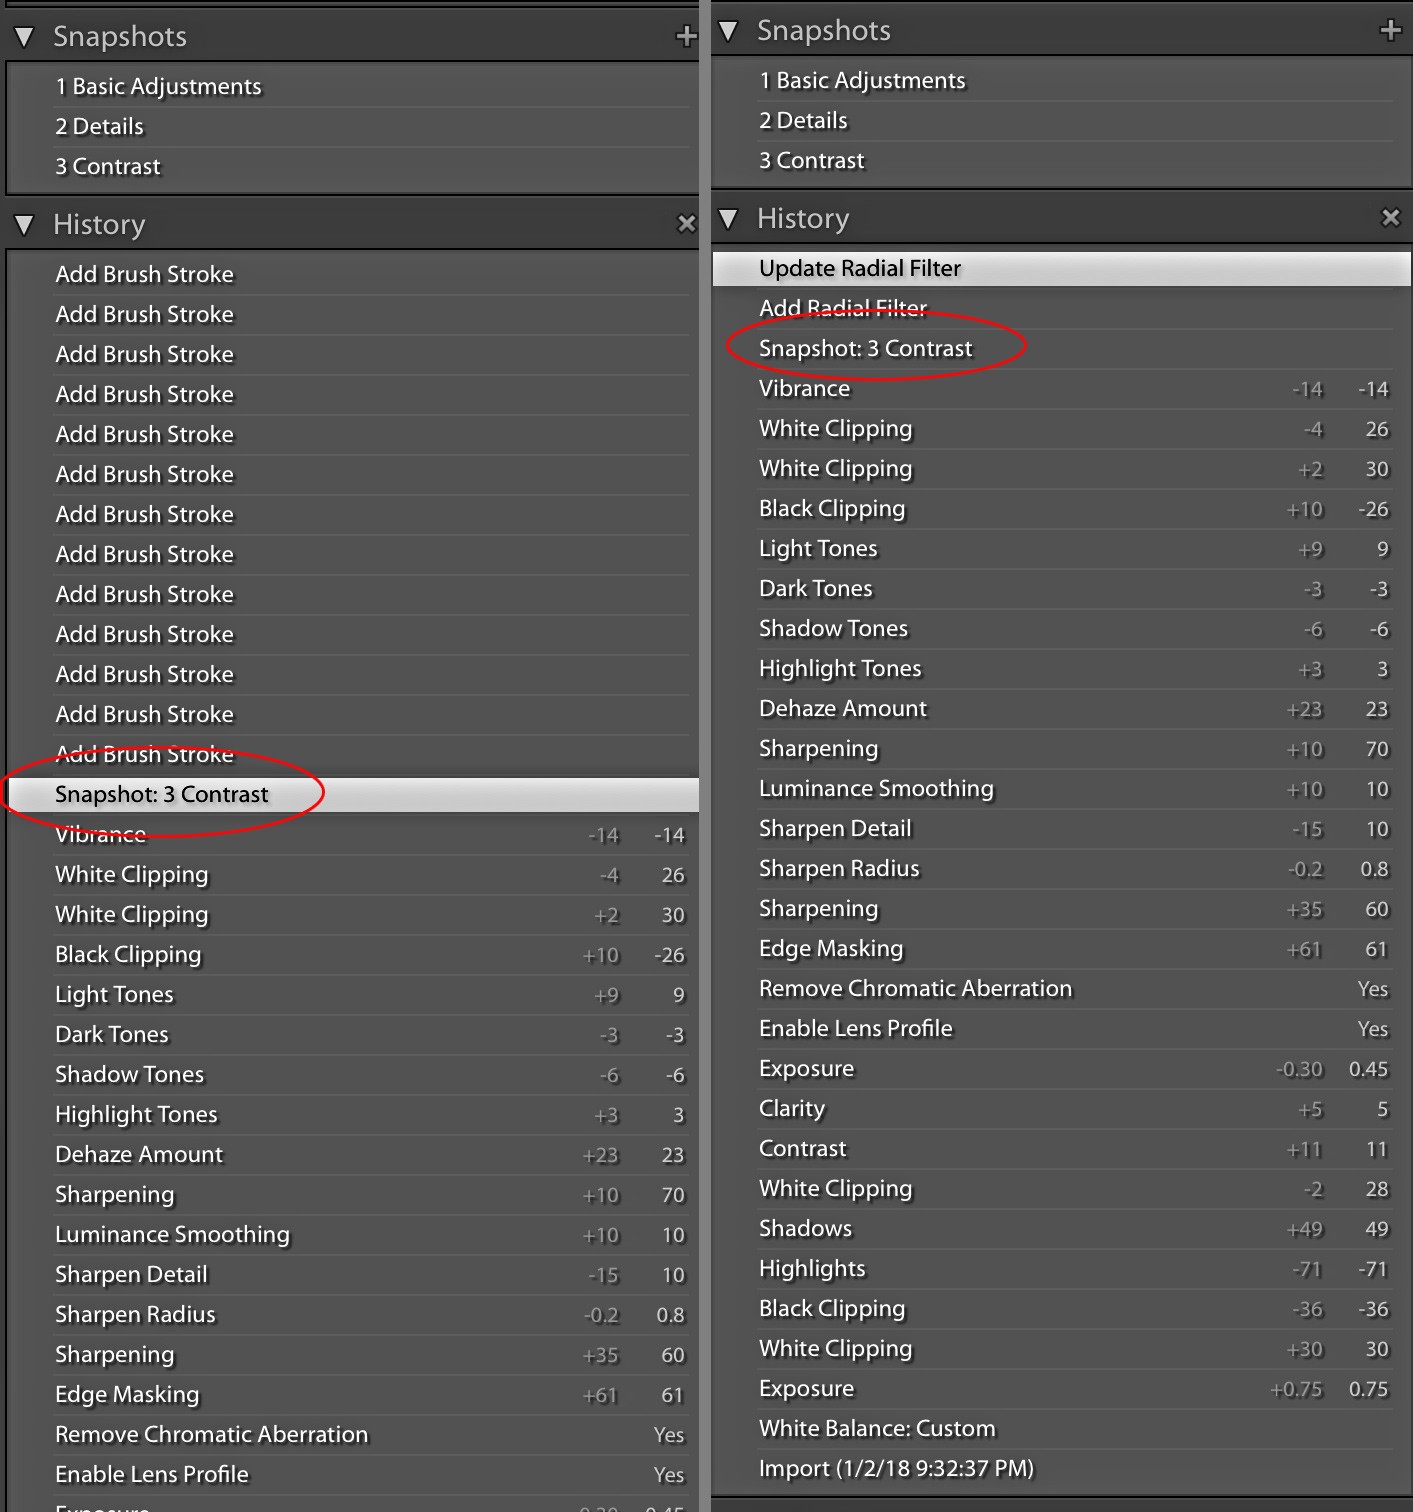
You can also make a snapshot from any history step by ctrl-clicking (PC: right-click) the desired history step and choosing Create Snapshot from the contextual menu that appears.
So, if you forget to make a snapshot at the time you make the adjustment you can always create one without having to revert the photo back to that state first.
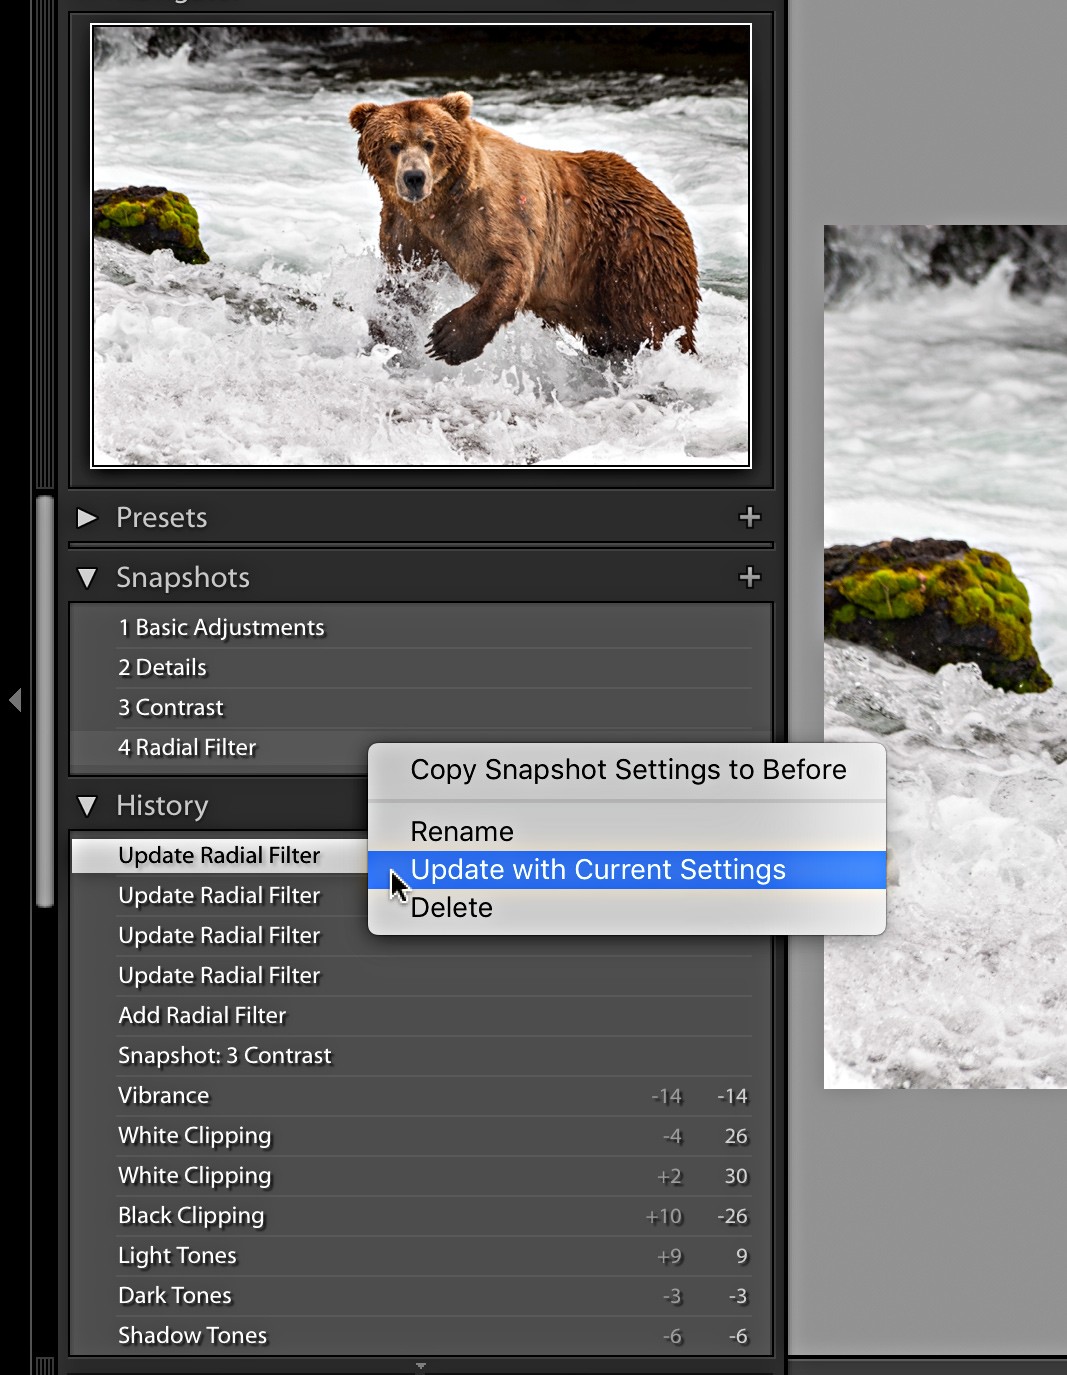
Sometimes history and snapshots are more useful for comparison sake than for reverting back to an earlier time. You may have noticed the second option in that contextual menu was Copy History Step Settings to Before (that same option exists when you ctrl-click/right-click a snapshot). I use Lightroom’s Before/After comparison view all of the time, and find it much more useful to compare a current adjustment against a significant develop state than to compare against the state at import. This is the second reason why I name and number my snapshots as I work, as I find it more useful to use a snapshot as the before state in many cases.
If you find that you create a snapshot and then do more work that you wish to include in that previously made snapshot, just ctrl-click/right-click the snapshot and choose Update with Current Settings. You can also use that same contextual menu to rename and delete snapshots.
One final note on snapshots versus history is that snapshots can be written to a photo’s XMP metadata whereas all of the individual history steps are not preserved (only the last set of settings are written to XMP). This might be useful if you like to preserve Lightroom changes in the photo’s XMP metadata in addition to the catalog.