Understanding the History and Snapshots panels: Part 1
One of Lightroom’s greatest strengths is the fact that it stores all the work you do in its catalog file and never changes the pixel data in the source photos. Having all of that data on hand gives you a tremendous amount of freedom and flexibility in your post-production workflow. The most obvious benefit is that you can always return to the un-processed state of your photo at any time, which gives you the freedom to explore and experiment without fear of doing permanent damage. It doesn’t have to be all or nothing though as you can step back and forth through every slider bump and setting tweak you’ve ever made in the Develop module’s History panel, and you can even preserve certain states along the way in what Lightroom calls Snapshots. I’ve written previously on the Snapshots panel, and want to continue that discussion with a comparison to the History panel.
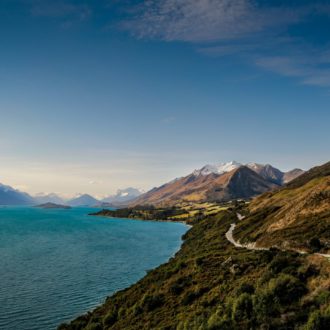
First there is the History panel, which is located near the bottom left side of the interface. Here’s a photo that has just been imported (and needs a bit of work).
The first step in the History panel is the state the photo was in when it was imported. Typically this is the photo’s default state, which would include only the default Adobe settings or any settings you included in a customized default. However, if you applied a develop preset via the Import dialog (or via tethered shooting) then that would be the import state instead of the default, and the preset name would also appear in the import history step.
The other panel I want to discus is called Snapshots and it is located right above History. The Snapshots panel is empty by default, and it is only populated manually when you want to preserve a certain state of processing. I think it is easier to understand how these two panels work by showing an example, so let’s follow along as I process this photo.
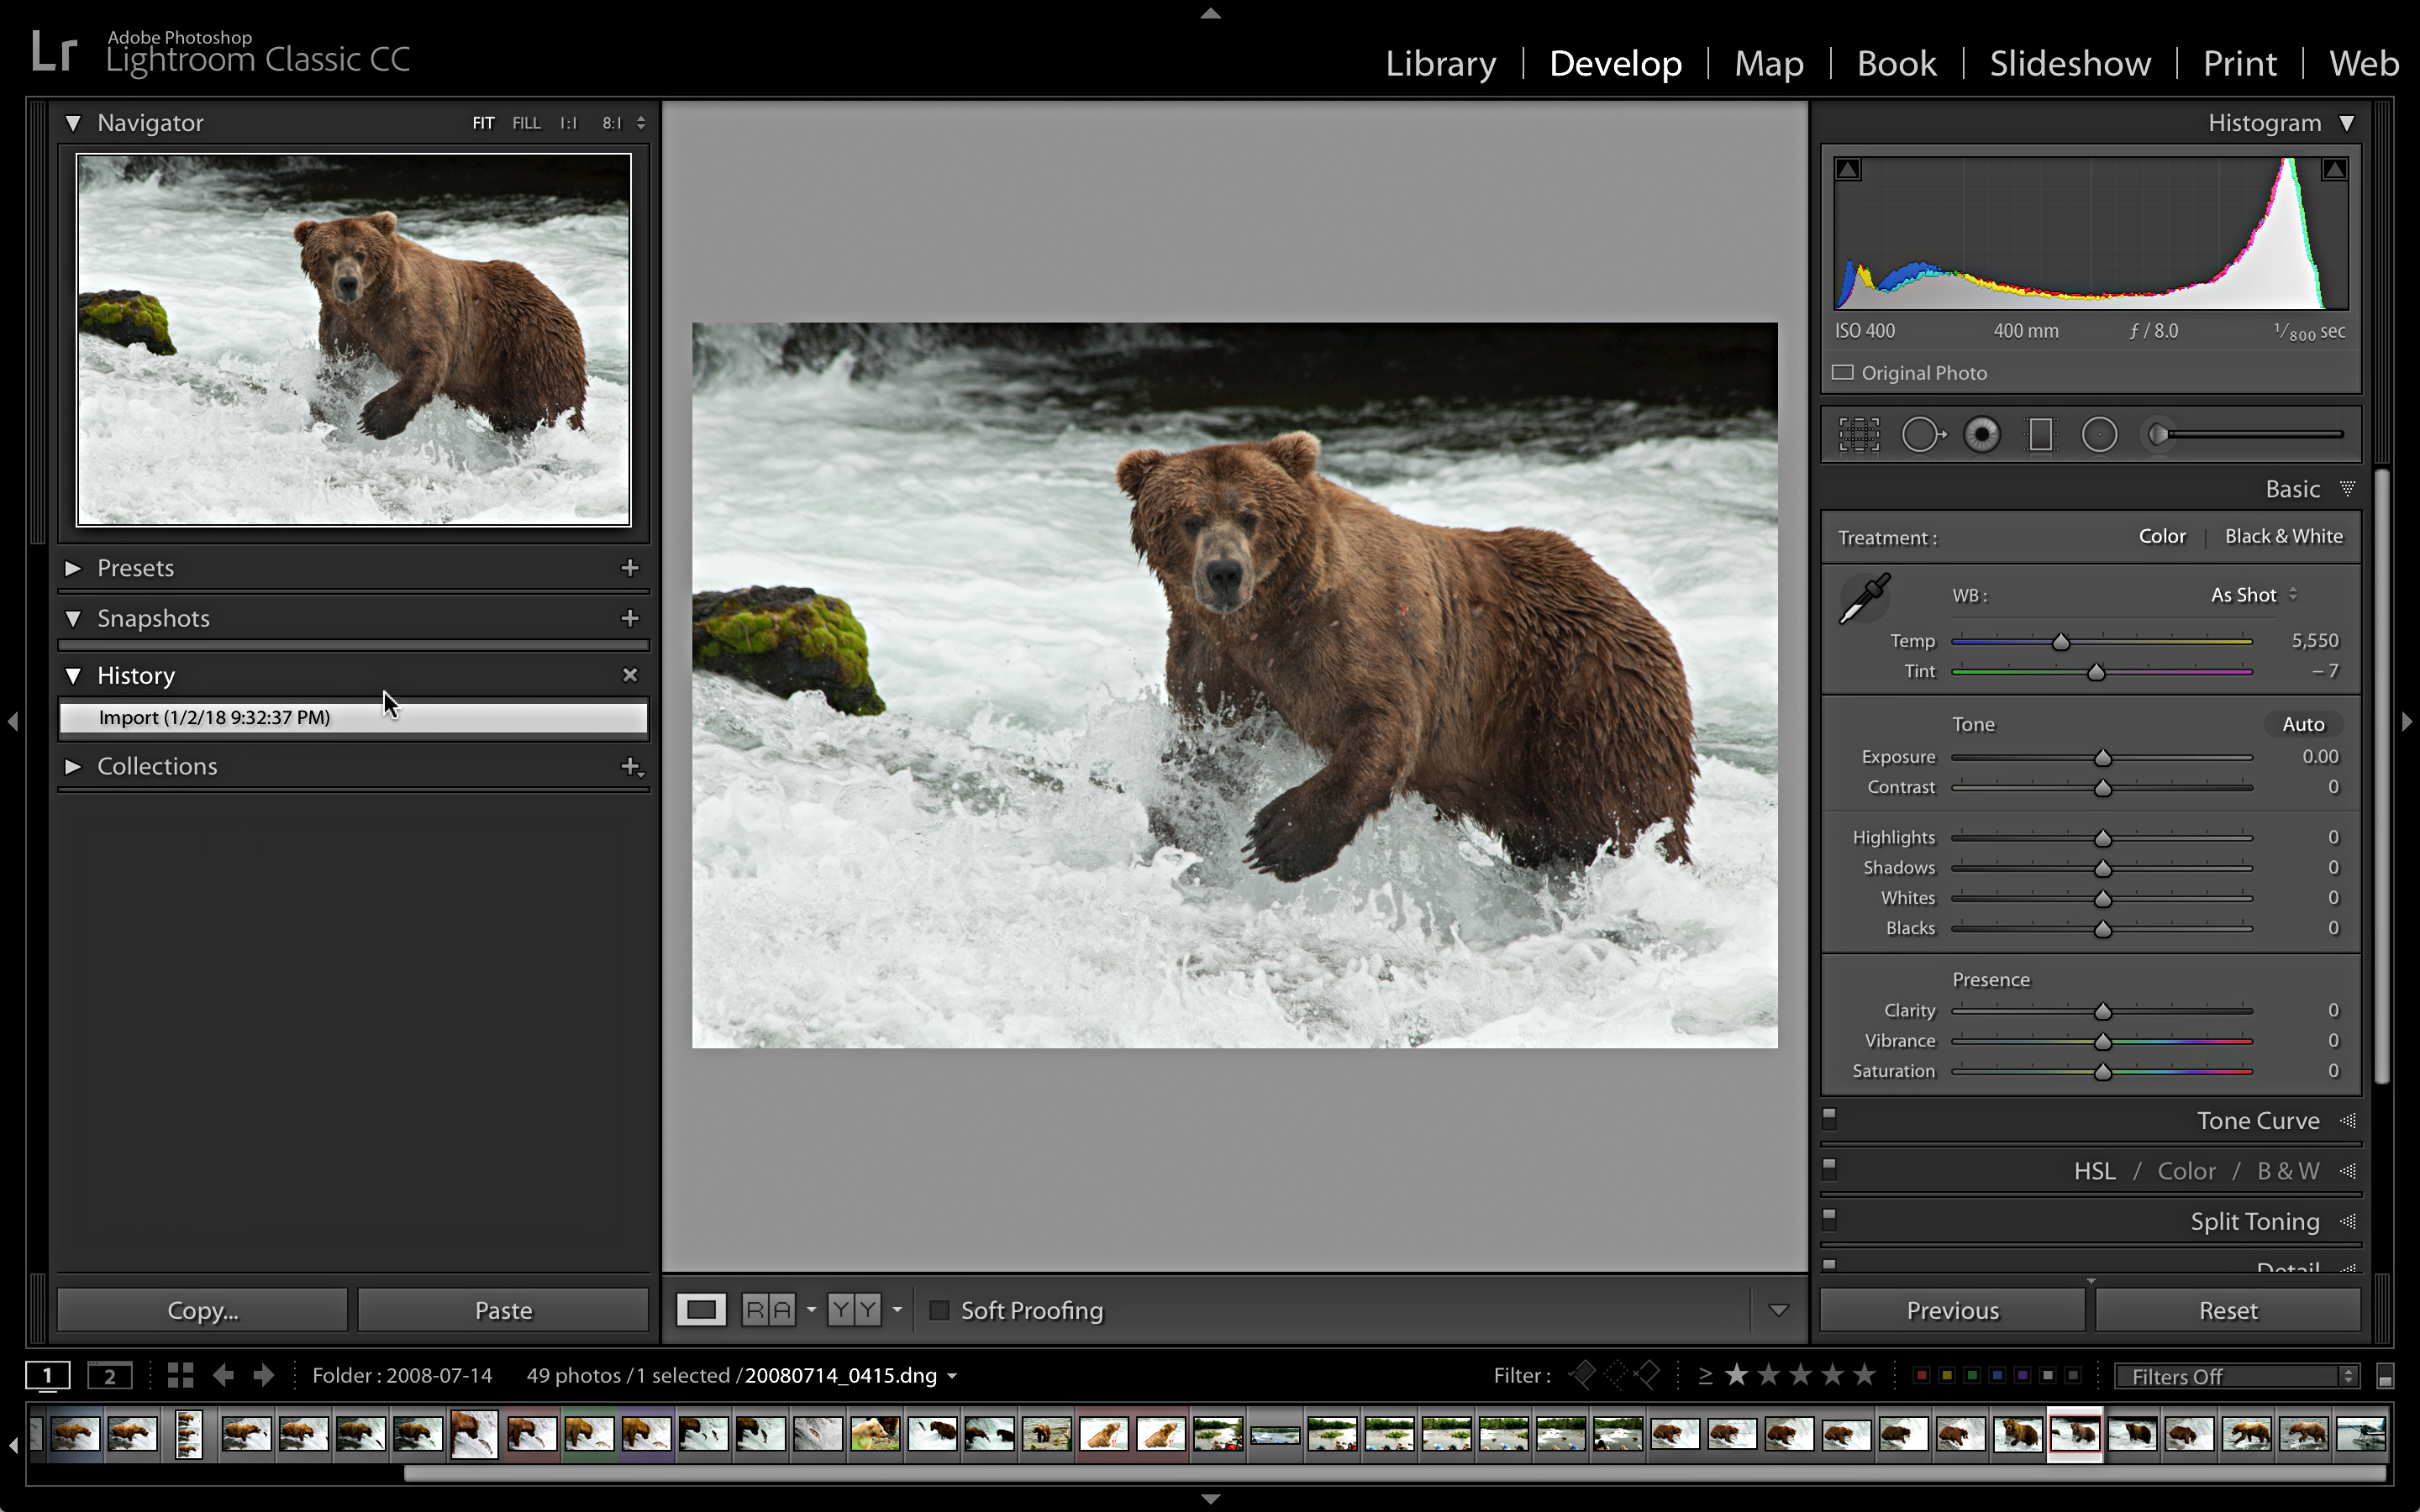
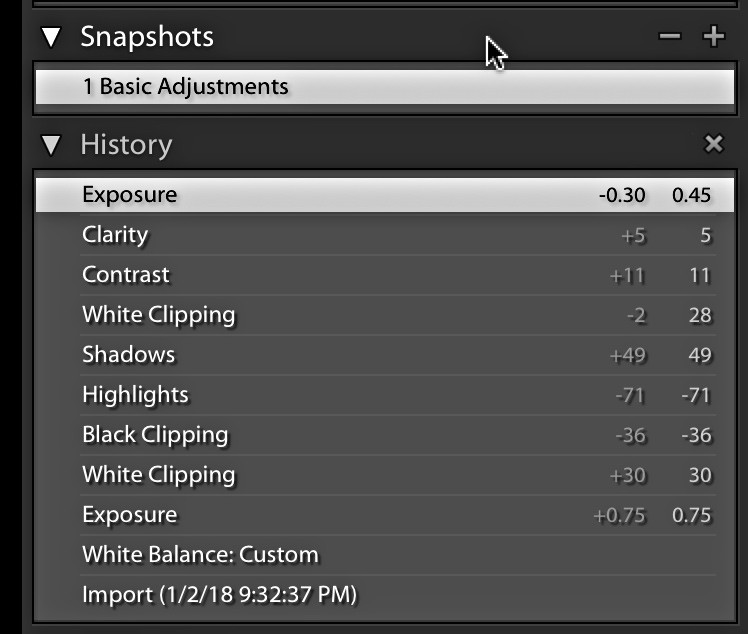
As you work on a photo the History panel is automatically populated with each adjustment you make as you make it. In this example I adjusted white balance and made some tonal adjustments, and all of those steps appear in the History panel.
Now you may wonder why we need the Snapshots panel if Lightroom is automatically recording each step in the History panel. A fair question, and the answer is that the Snapshots panel is there for us to create a more human readable and tailor made list of develop states that fit our way of working. Snapshots are also entirely 100% optional, and there are plenty of times when I don’t take advantage of using them. In those cases I am grateful that the History panel is silently recording everything for me.
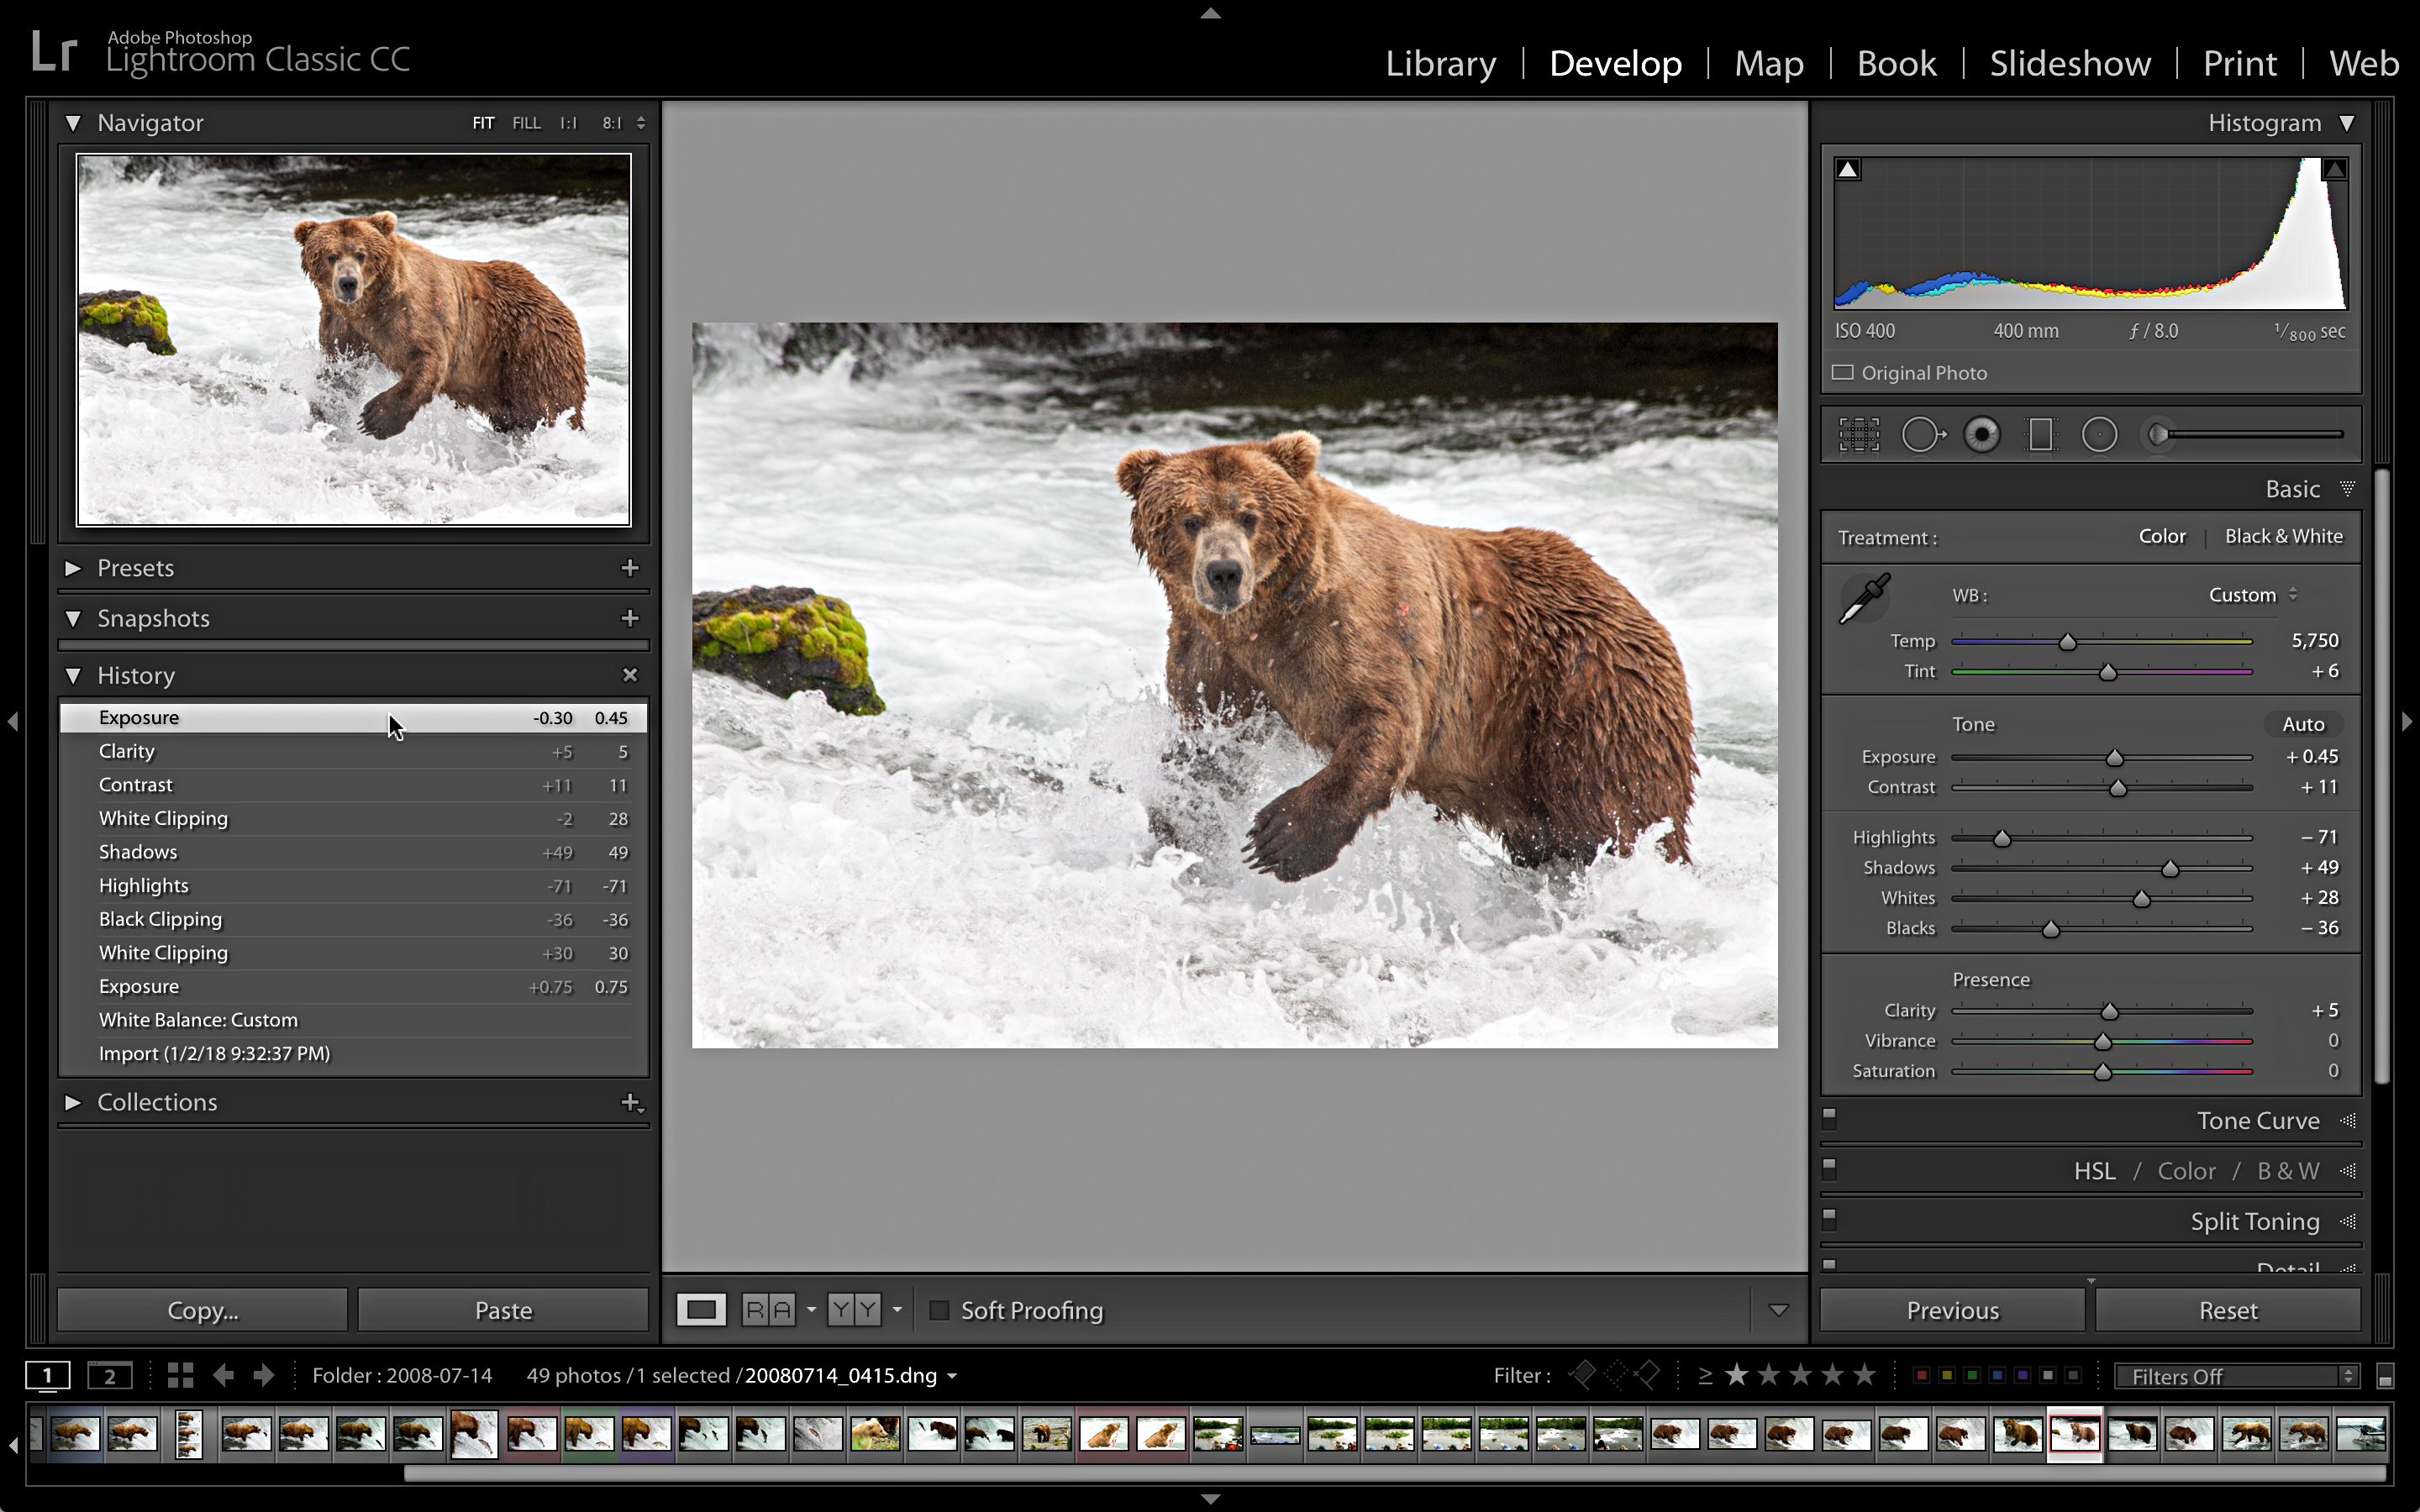
There is no wrong way to use Snapshots, but one way I like to use them is to record certain milestones in my develop workflow to make it easier to go back to a specific point in time, which can sometimes be hard to find in a very long list of History steps. Creating a Snapshot is as easy as clicking the + sign in the Snapshots panel or pressing CMD+N (PC: Ctrl+N) , and then entering a name in the New Snapshot dialog box that appears.
I try to use a descriptive name that relates to the stage of development and I give it a leading number so that the snapshots sort within the panel in the order I create them (instead of alphabetically). In this case I created my first snapshot after completing all of the basic tonal adjustments that I would use no matter what direction stylistically I might take this photo.
From here I’d go on to look at enhancing detail and minimizing noise before deciding how to finish the photo, and sometimes making snapshots along the way.

Next week, I’ll wrap this up with how both panels can be used to look back at how far you’ve come.