Save Time With Auto Import
Lightroom Classic’s Auto Import function is an often-overlooked asset with a lot of potential for increasing your efficiency and providing an alternative means for adding new photos to your Lightroom catalog automatically.
The Auto Import function has been around since the beginning, and was originally the only way to shoot tethered. Now that Lightroom’s has a built-in Tethered Capture, Auto Import has faded from the limelight. However there’s more to Auto Import than just shooting tethered, and as useful as Lightroom’s built-in tethering can be to your workflow, it still doesn’t support all of the cameras being used out there today (here’s a complete list of supported cameras). Do you ever use a scanner? Do you use some kind of wireless file transfer to copy your photos to your computer? Do you ever create images in other programs and would like an easy way to automatically import them into Lightroom? Well, you guessed it! Auto Import can help in each case.
Note, if you want to use the Auto Import function to shoot tethered then you will need an alternative way to transfer the images to a designated folder on your hard drive while you shoot (check with your camera manufacturer to see if they provide some kind of camera control software).
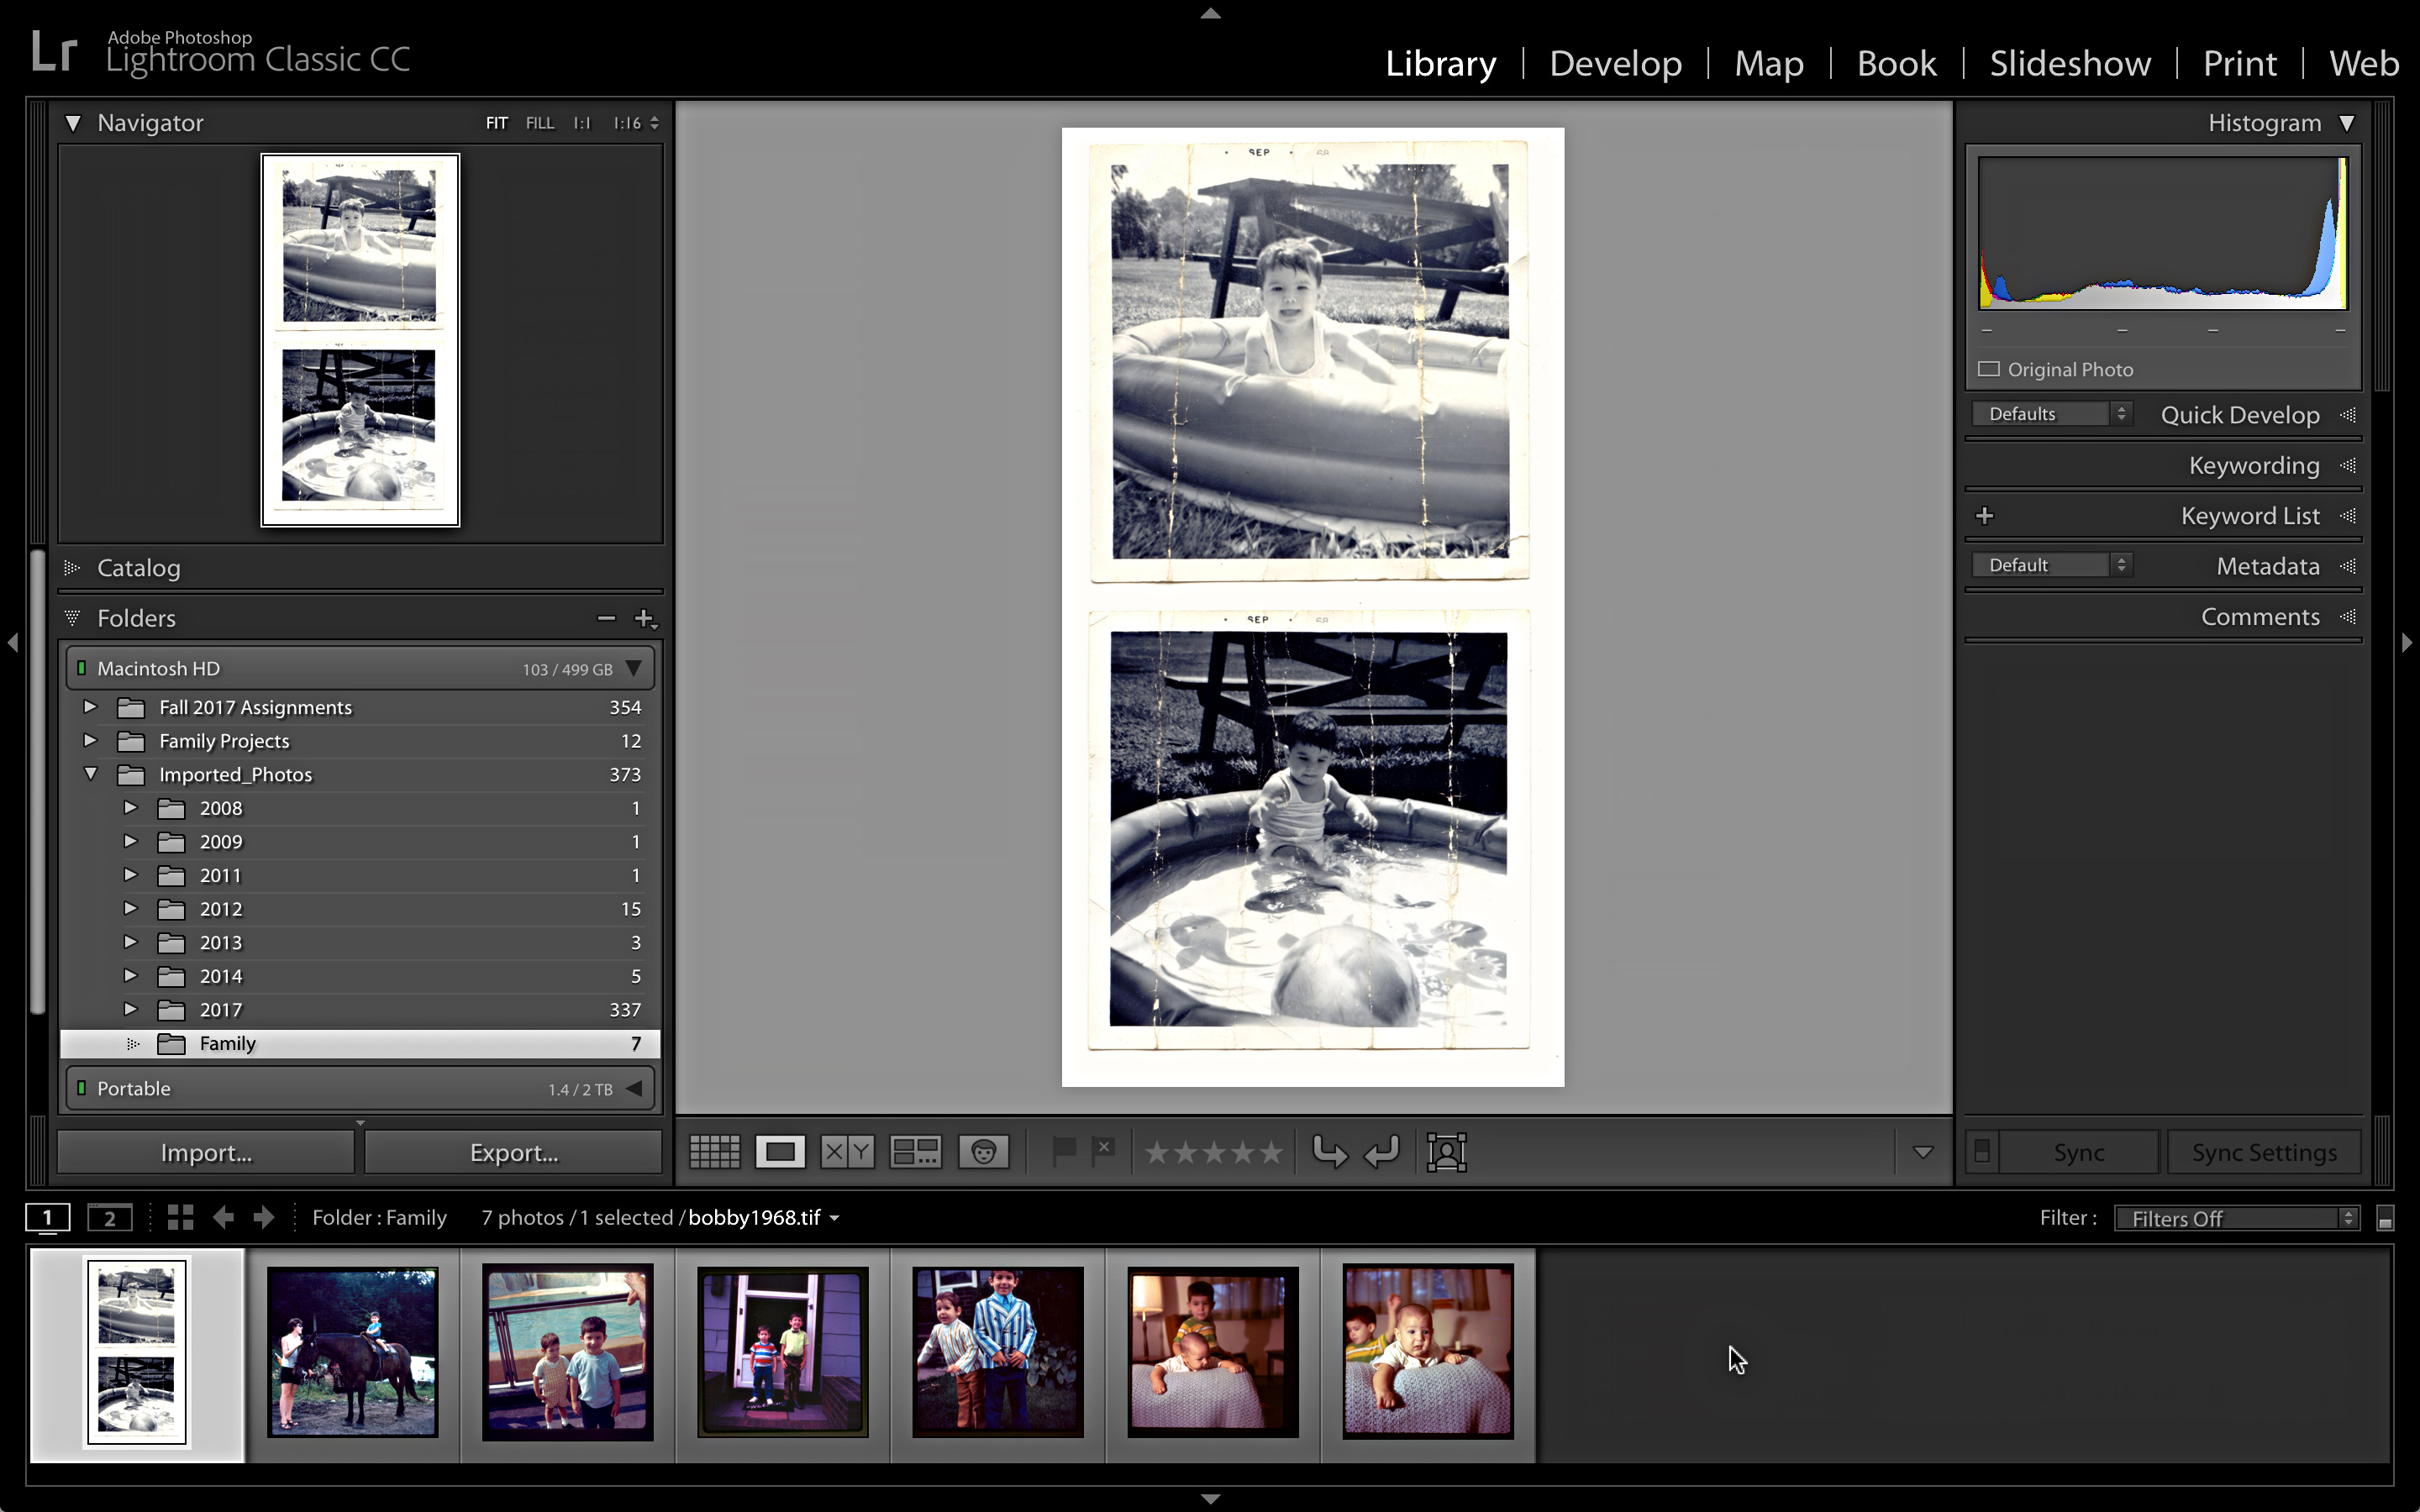
The fundamental operation of the Auto Import function is very simple. You choose (or create) an empty folder on your hard drive and you tell Lightroom to watch that folder and automatically import any photos that get saved into it. Let’s walk through an example setup to help bring this home. I was recently scanning old photos for a family project, and wanted to import the scanned files into my catalog.
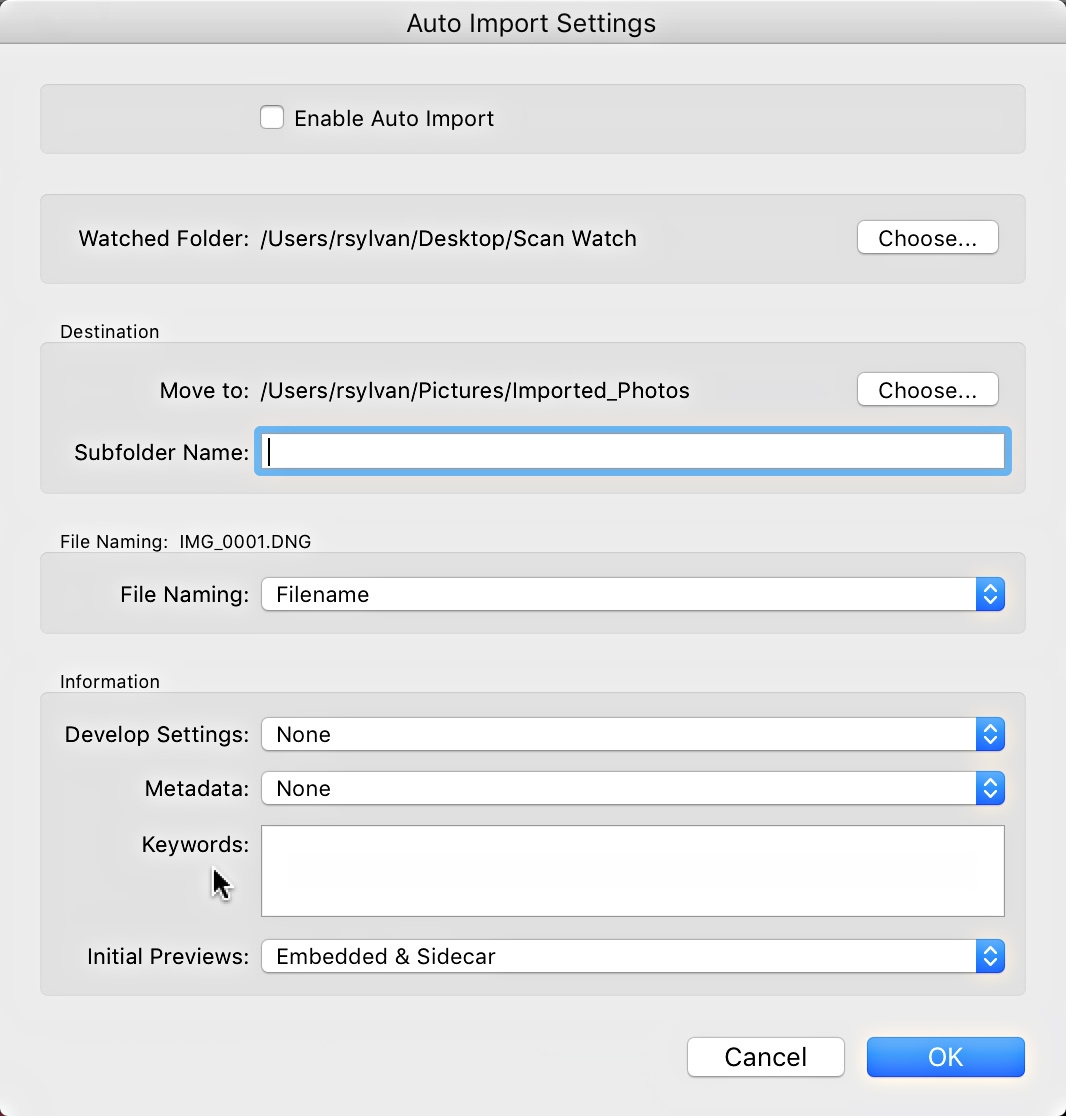
STEP ONE: Go to File > Auto Import > Auto Import Settings to launch the Auto Import Settings Dialog box.
STEP TWO: In the Watched Folder section, click the Choose button and select an existing folder or create a new folder to serve as the location that new images will be saved into. In my example, I created a folder named “Scan Watch” on my desktop as the location to put all photos saved from my scanner.
Note, The watched folder is actually a temporary location. During the Auto Import function Lightroom will move each imported photo into a different destination folder (see next step) of your choosing. It is critical that this watched folder start out completely empty, and that you do not create any subfolders within it. Otherwise the Auto Import won’t work.
STEP THREE: Choose a destination folder. Lightroom has to move each photo out of the watched folder as part of its normal operation, so you need to choose a folder to serve as the new destination. I created a folder I named for the project I was doing within the parent folder on my main drive for this purpose. Later, after import, I can easily find the new images, process them, and even use Lightroom to move them if needed.
STEP FOUR: Choose a File Naming option.
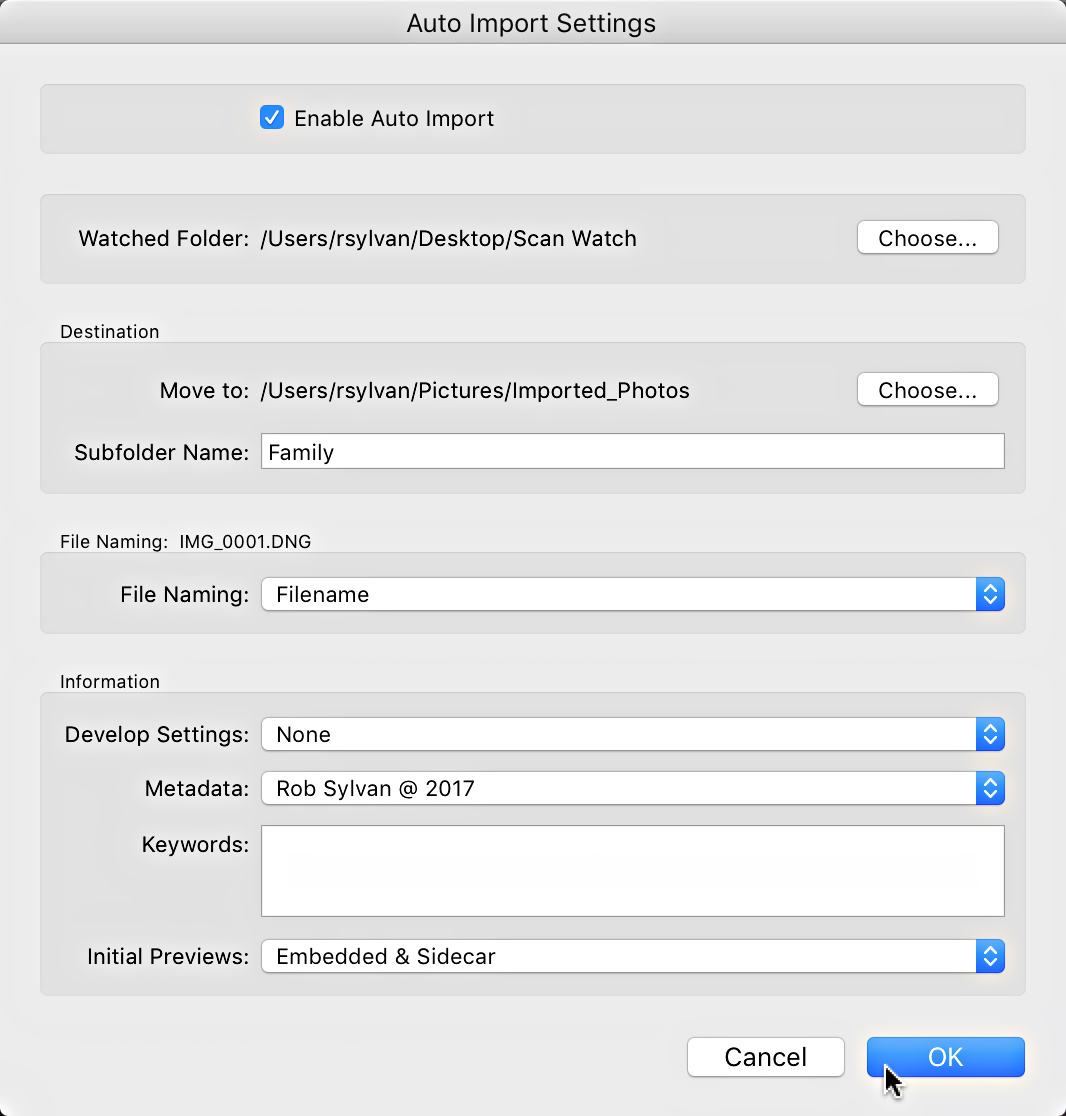
STEP FIVE: (Optional) Apply Develop preset if desired.
Here’s a bonus tip, you may not want to do this when you first configure the Auto Import, but if you are shooting in a controlled environment (studio, office, spare bedroom, etc.) you could consider taking your first photo under the lighting setup you are using, bring that photo into Develop, set the white balance and any other setting you know you want to apply to the rest of the photos from that shoot, then save those settings as a Develop preset, and update the configuration of the Auto Import dialog box to include that new preset. Now, all the rest of your photos from that shoot will be automatically imported and have these develop settings applied at the same time.
STEP SIX: (Optional) Choose your metadata preset.
STEP SEVEN: (Optional) Apply any keywords you want to be applied to all photos from this shoot. I prefer to leave it blank and keyword after the shoot.
STEP EIGHT: Configure Initial Previews. This allows you to schedule the rendering of previews after the photo has been imported.
STEP NINE: Check the Enable Auto Import box at the top, and click OK. You are ready to go!
Note, if shooting tethered, there isn’t an option to convert to DNG using Auto Import, but you can always convert to DNG after import via the Library > Convert to DNG menu.
From this point on, as long as Lightroom is open, when a photo appears in the watched folder it will be moved to the destination folder, added to the catalog, and have any settings applied. A real nice feature of Auto Import is that the newest photo automatically becomes the active image viewing, so when shooting tethered this way I select either the destination folder in the Folders panel or the Current/Previous Import collection in the Catalog panel, press E to go to Loupe view and easily see each new photo as it is imported.