Remix Anyone?
I recently wrote about the new Recommended Preset feature added to Lightroom (Lr) cloud apps in the October 2021 release, but there’s another new Lr only feature that got slipped into the desktop (Mac and Windows) version of Lr as well. The new feature is called Remix, and it is totally unlike anything I’ve seen added before. What makes Remix so unique is that it gives you the opportunity to share certain edits of your photos through the Lr in-app community and let others take a stab at making their own edit to your photo. What, sacrilege, you say? I get it, as photographers we’re pretty protective of our babies, and that includes how they are treated in post processing. But, as learners and members of a global community using the same set of tools, perhaps there can be some value in seeing how other people approach an edit? I think it is worth investigating at least.
Where to begin
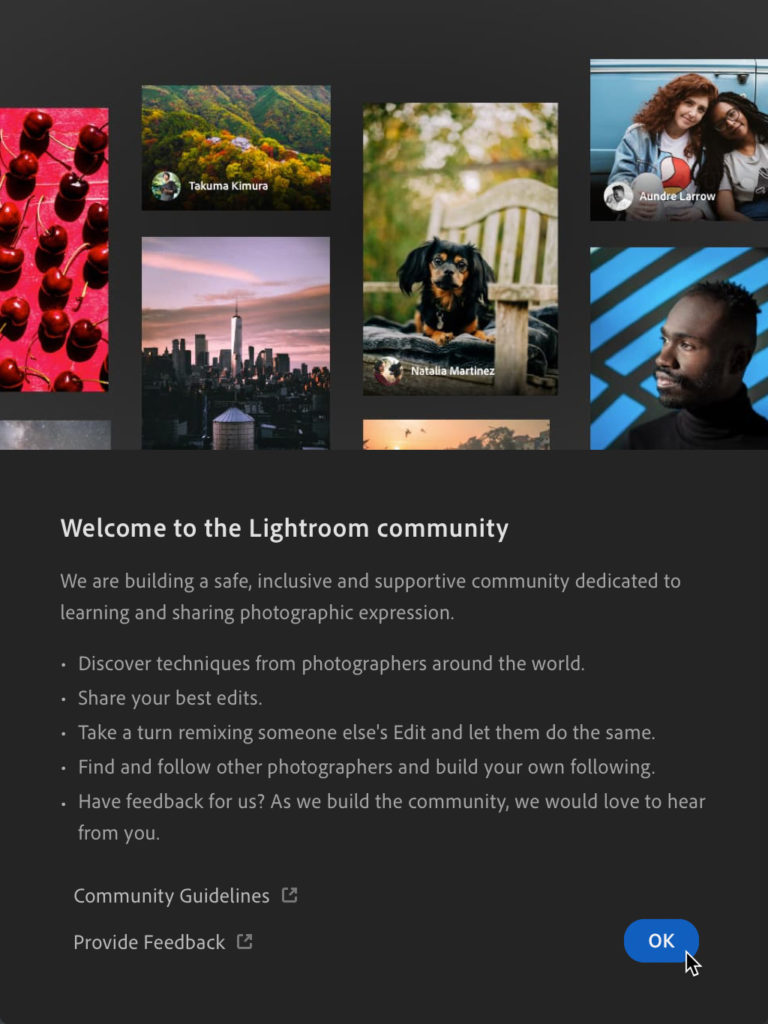
To find the Remix feature you’ll need to be using Lr on your Mac or Win computer. I don’t know if it will expand to the other Lr apps, but for now, that’s where you start. Once you have Lr open, click Discover to enter the Lightroom Community.
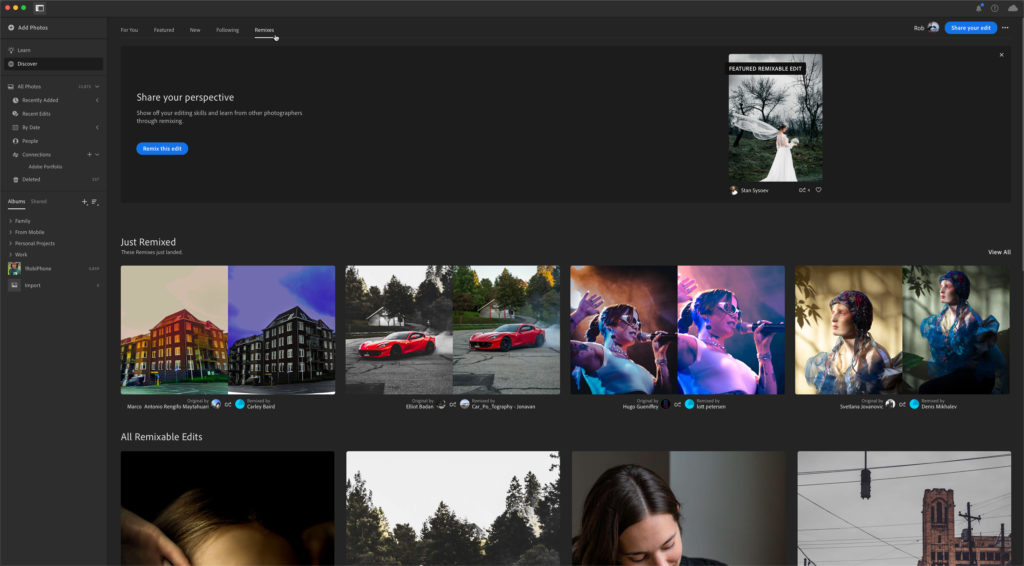
I’ve written about Discover before, as well as how to share an edit, and for those reasons alone it is worth a look from time to time. Along the top of the content area you’ll see buttons labelled, For You, Featured, New, Following, and now, Remixes. You don’t have to share any of your own work to start exploring this feature. Click Remixes and see what’s featured, which photos have recently been remixed, as well as access to all photos made available for remixing.
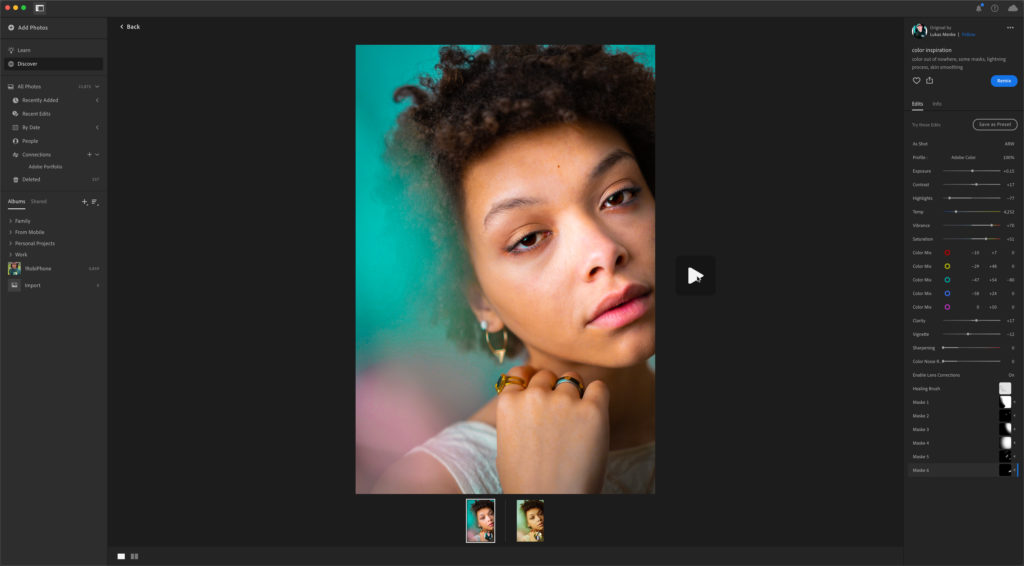
Roll your cursor over thumbnails to see a quick before and after. Click into any of the available photos to check out the edits already applied to the original. Click the Play button that appears on the photo to see a playback of the edits being applied from the start. On the right-side panel you’ll find an option to Save as a Preset (if enabled by the creator), as well as the Remix button, which puts you in the driver’s seat for flexing your own editing skills on the selected photo. Give it a go and see what you think!
Sharing Your Own Remix
To make one of your own photos available to be remixed you’ll first have to apply your own edits, then click the Share icon to be able to choose Share to Discover.
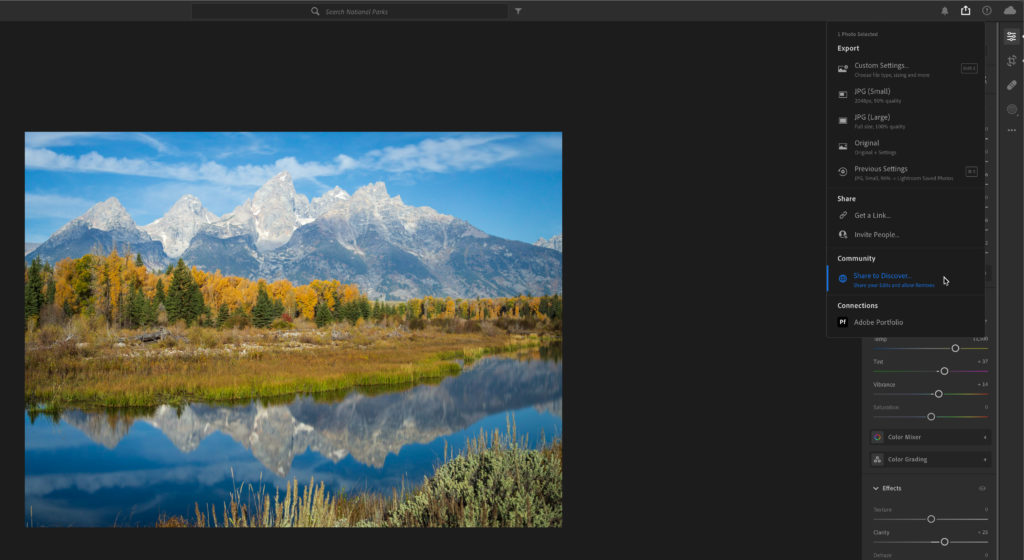
From there, fill out the required fields, decide if you want to allow other community members to save your settings as a preset, and then flip the switch to Allow Remixing before clicking the Share button to pass it on to the in-app community.

Once shared, go to your profile page to see it along with any other edits you’ve shared.
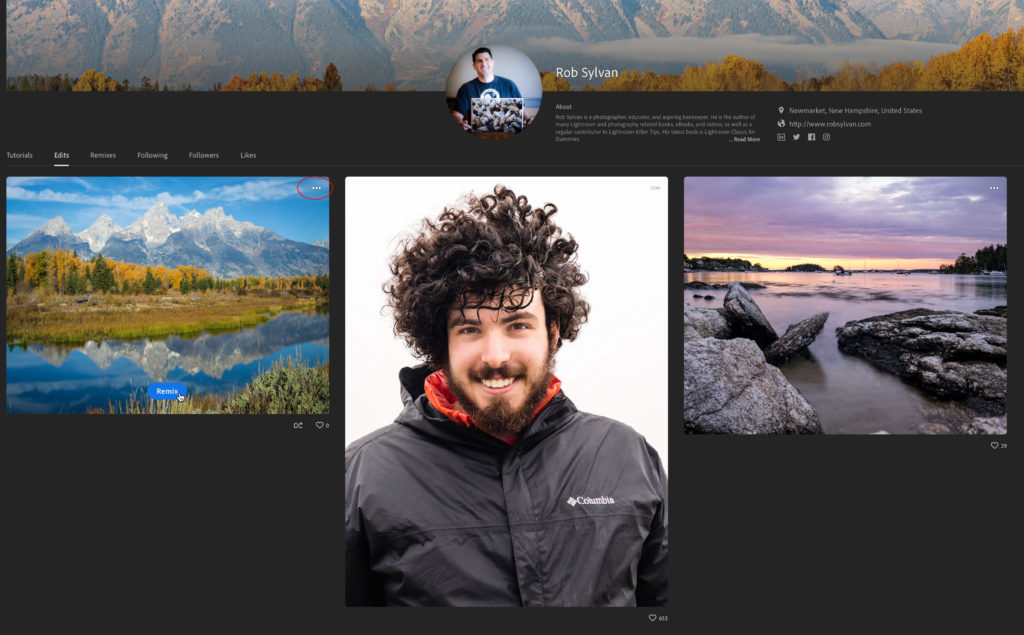
Go to the Remixes tab to access the one’s you’ve marked to allow for remixing. The three-dot menu that appears when you move your cursor over the photo will give you access to a link for sharing your remix on social media (feel free to remix my photo to your heart’s content). That’s all there is to getting started with Remix. I’ve been enjoying exploring it so far, and am remaining open to learning new things from seeing other people’s approach to editing. Check it out and let me know what you think.