
Reducing Wrinkles in Lightroom (retouching tip)
This really helpful technique works in either Classic or ‘cloud’ and it does a great job of reducing wrinkles. Check it out below:
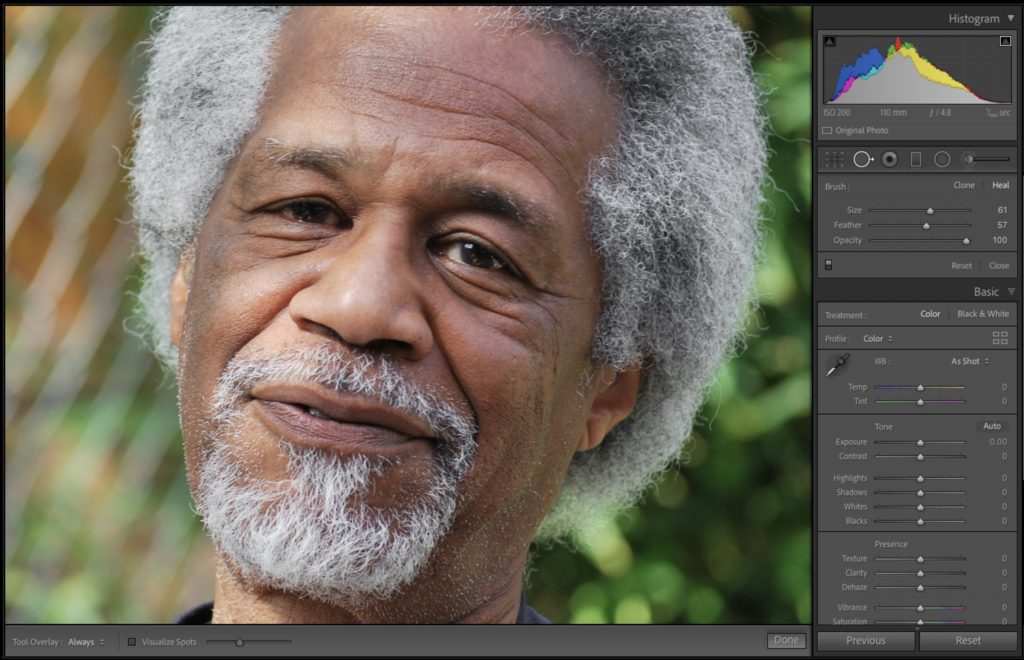
STEP ONE: Get the Spot Removal tool from the toolbar (it’s the circle with an arrow coming off it in LR Classic right under the Histogram, and in ‘cloud’ its along the left side where it’s called the Healing Brush and its icon looks like a bandaid).

STEP TWO: Take the tool and paint over a wrinkle you want to reduce (as seen above where I’m painting with the tool over the center of the main three wrinkles on his forehead).
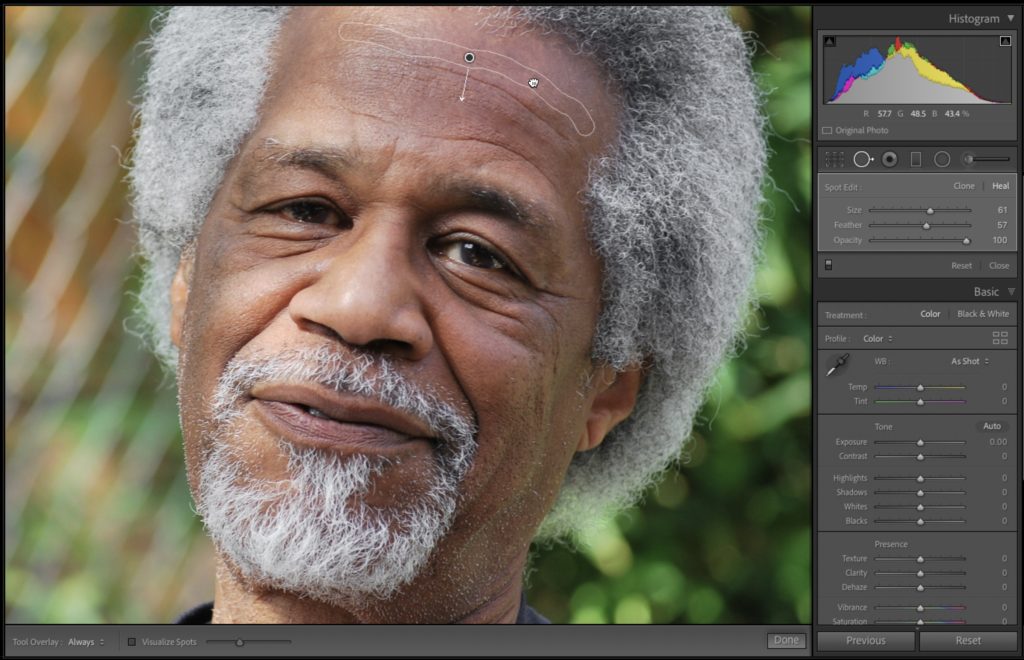
STEP THREE: Lightroom will choose an areas to sample from to fully remove the wrinkles, and chances are it will have picked the wrong place, so click inside the paint stroke shaped outline and move it to an area that has some clean unwrinkled skin to sample from, like I did where I dragged it up above his topmost wrinkle. When you do this, it completely removes the wrinkle, which is not what we want – that’s way too obvious and unrealistic. When want him to look 10 years younger – not 50 years younger.

STEP FOUR: OK, here’s the move that makes it all happen. Now that your wrinkle is removed, go over to the Spot Removal (Healing Brush in cloud) tool’s options and lower the Opacity. Think of that Opacity slider as “undo on a slider” and as you drag it to the left, lowering the opacity, the wrinkle you removed starts to come back. I’ve found that lowering it to around 40% seems to work well for most images (of course, it depends on the person in the photo), bringing back a lot of the wrinkle, but not all of it, so it looks natural but the shadows and crevices look less “deep” which is our goal (as seen above where that middle wrinkle on his forehead looks less deep.
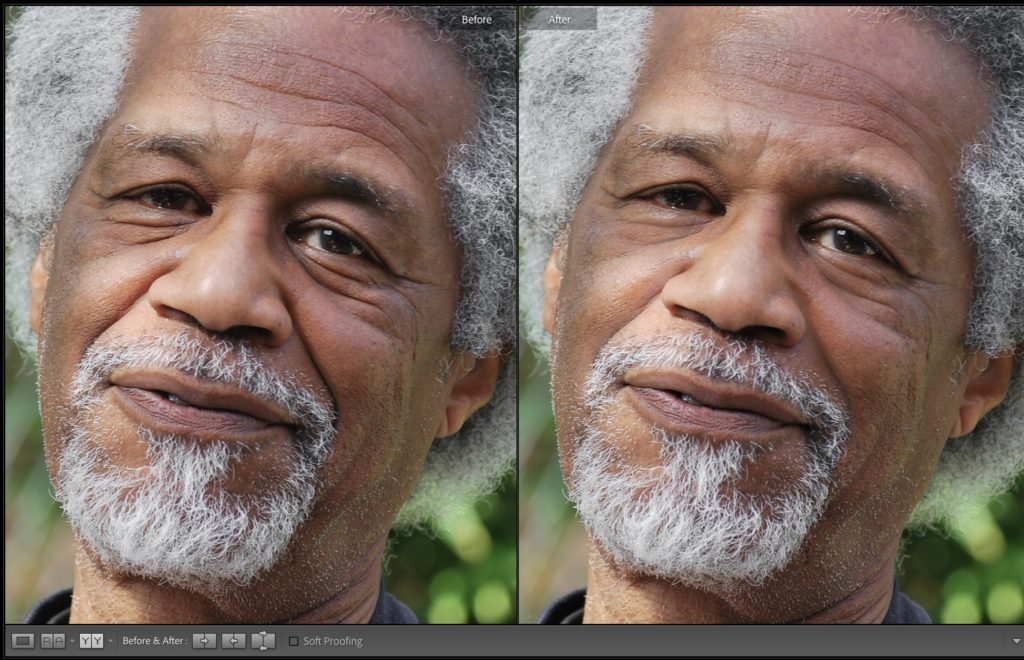
STEP FIVE: Repeat that process for all the rest of the wrinkles on his face, and what’s nice is – as you paint now you’re already at 40% Opacity (that Opacity setting stays in place – it’s “sticky”), so each time you paint over a wrinkle, it doesn’t remove it, it reduces it to that 40% Opacity, so you don’t have to keep going back and forth to the panel. Here’s a before/after above and you can see his wrinkles are less deep and intense and it creates a younger look without going too far and being too obvious. Plus, without such dark lines his whole face looks brighter (I did not do any exposure adjustments whatsoever).
Well, there ya have it! 🙂
Hope you all have a fantastic Monday!!!!
-Scott

