NOTE: Sorry I didn’t get this posted on Tuesday like usual (totally my fault), but here ya go (and sorry again for the delay).
Ok, we’re picking up where we left off last week, where we went through the basics of Layers in Photoshop and why we even need layers in the first place. We focused on creating a new layer and changing the orders of objects (or photos) on our layers; how to fill stuff on layers with color, now to move stuff on layers. All that type of stuff.
This time around, I’m going to introduce you to the wild world of Layer Blend Modes, which are useful for so many things (it’s one of my most-used Layers features), including creating fine art montages the easy way. You are going to super dig this. Here we go:
First, let’s start by opening an image (in this case, I’m using a picture of a cup of coffee on a table, but the image we use doesn’t really matter for what we’re going to do).
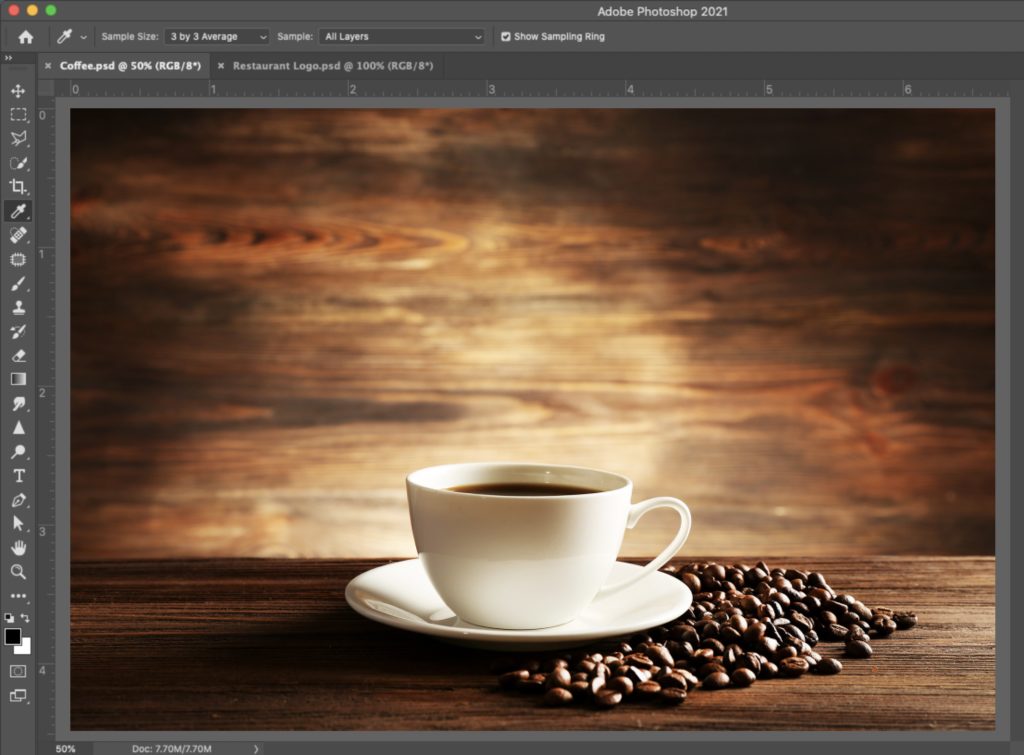
Now let’s open an image we want to add to our coffee image (in this case, it’s a graphic of a restaurant logo on a white background). To get this restaurant logo over onto our coffee image, we’re going to do a simple copy and paste, but first, we need to let Photoshop know if we’re going to copy and paste just part of this image or all it. We want all of it, so go up top under the Select menu and choose “All” from the pop-down menu and see here. Now press Command-C (PC: Ctrl-C) to copy that entire logo into memory.
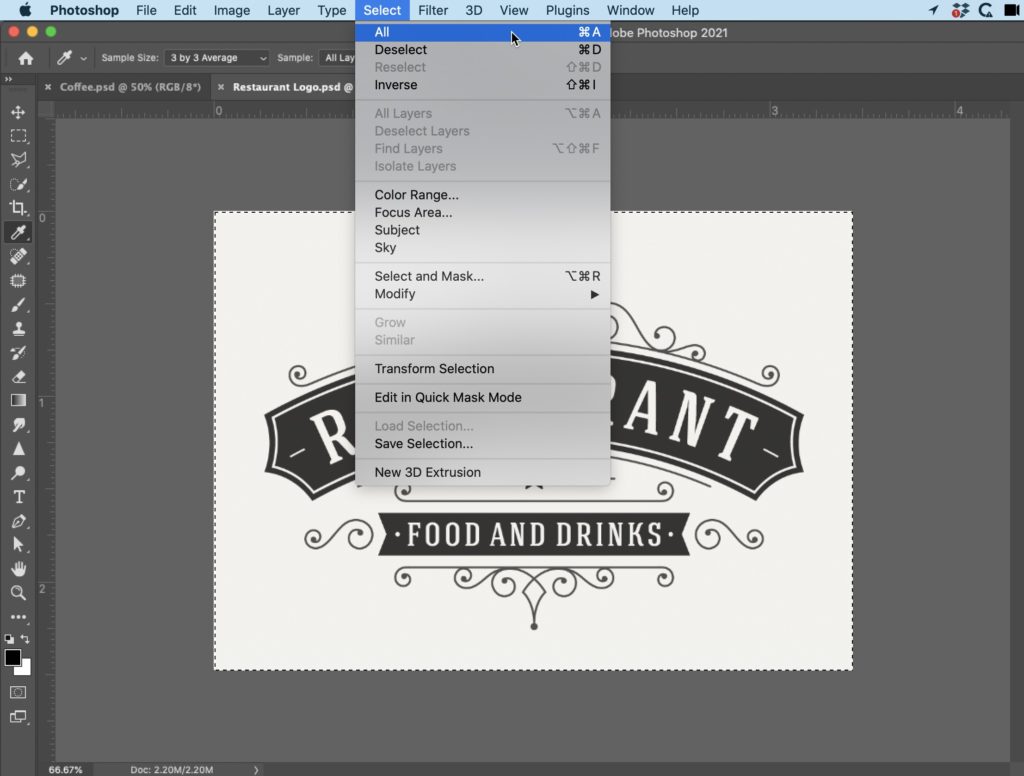
Next, switch to the coffee image and press Command-V (PC: Ctrl-V) to Paste that logo into this document, and you’ll see it appear on top of your coffee background. Then, look over in the Layers panel, and you’ll see it appears above the background layer as “Layer 1” (when you copy and paste like this, images automatically appear on their own layer, and by default, it names them Layer 1, Layer 2, and so on.
Now, for learning blend modes, this next thing is really important: the Layer blend mode for this layer is set to Normal, and you’ll see the word “Normal” near the top left of the Layers panel. What this means is simply: The object on this layer (Layer 1) is set to normal, which means it covers up whatever is below it, and you can see, sure enough, it covers most of the coffee cup. So that’s the way the Normal layer blend mode works. It’s something that is solid (not transparent); it covers what’s below it. OK, now let’s have some fun with it.
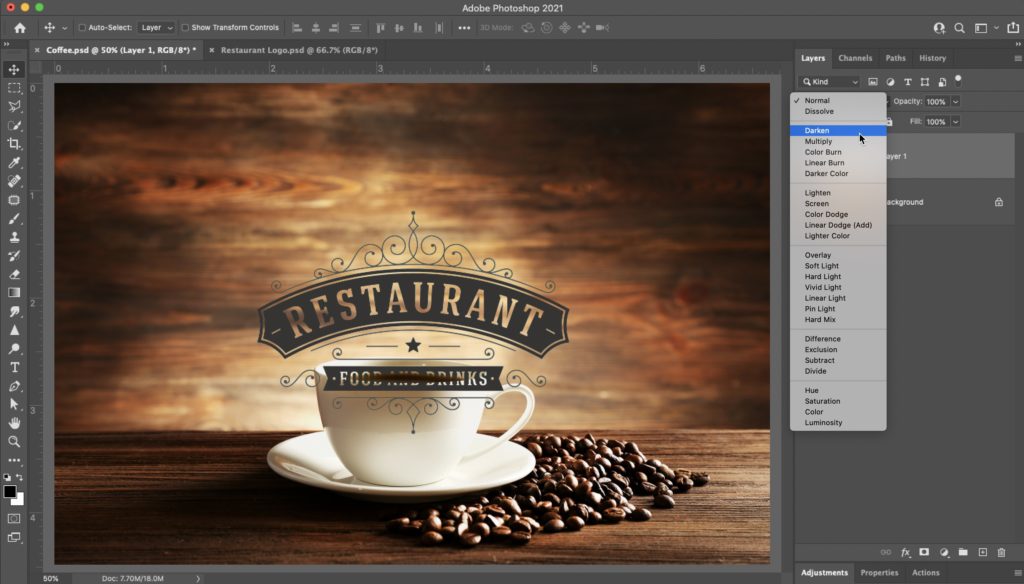
The other Layer blend modes (there are 27 in all) blend with what’s on the layer below it, rather than just covering it up (well, that’s usually the case anyway). That’s why they’re called “Blend Modes” – they blend in with the layer beneath it. Let’s choose one, so you’ll see what I mean. Click and hold on the word “Normal,” and from the pop-up menu that appears, choose Darken, and you’ll notice that the white areas of the image drop out, leaving just the logo. This won’t always be the case when you choose “Darken” mode because it’s entirely dependent on the image below it, because it’s just reacting to the colors in this particular image, but in this case, the result is: the white background is gone. Let’s keep going and try another blend mode.
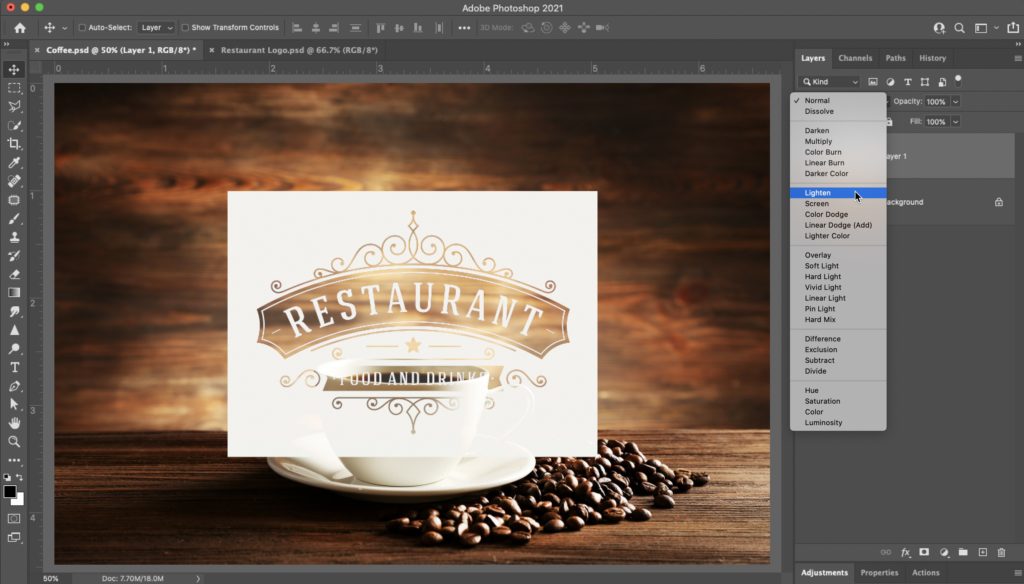
Let’s go to the opposite and this time, from that same pop-up menu, choose Lighten and now look — instead of dropping the white from the outside of the logo, this time is left the white on the outside, and now the dark area around the letters themselves are transparent. You can see through to the coffee layer below it. TIP: If you hover your cursor over any of the blend modes while the menu is open, you’ll see an instant on-screen preview of how that blend mode would look if you chose it, so try hovering your house up/down that menu to see the effect (if it doesn’t work for you, it means you have this feature turned off in Photoshop preferences).
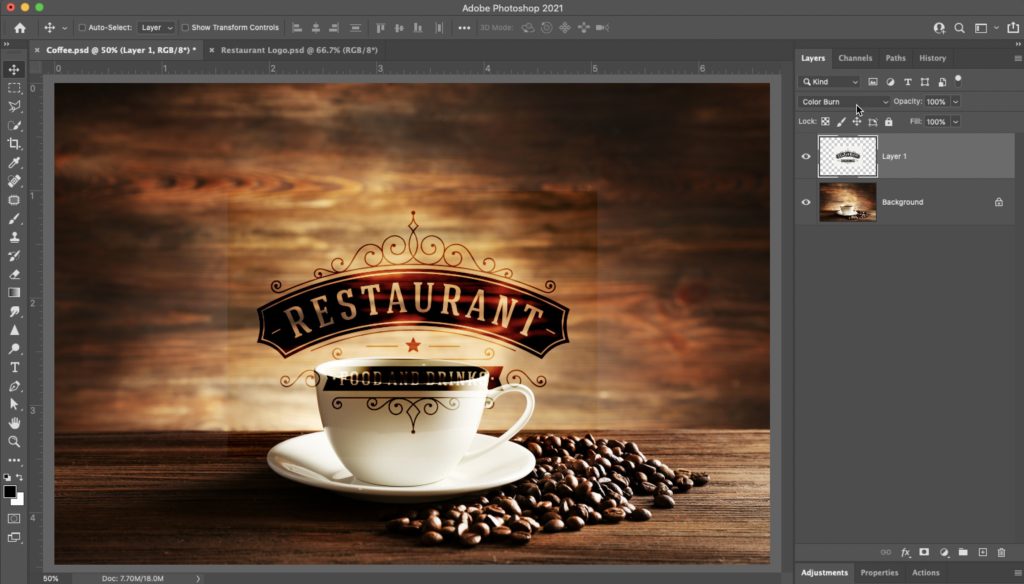
Another way to try out different blend modes that don’t require you to hover or even have that menu open is to use the keyboard shortcut Shift-+ (the plus sign) to move forward through the list (each time you press Shift-+ it moves to the next blend mode in the list), or Shift- – (the minus sign) to move backward. I use this shortcut a lot in my work.
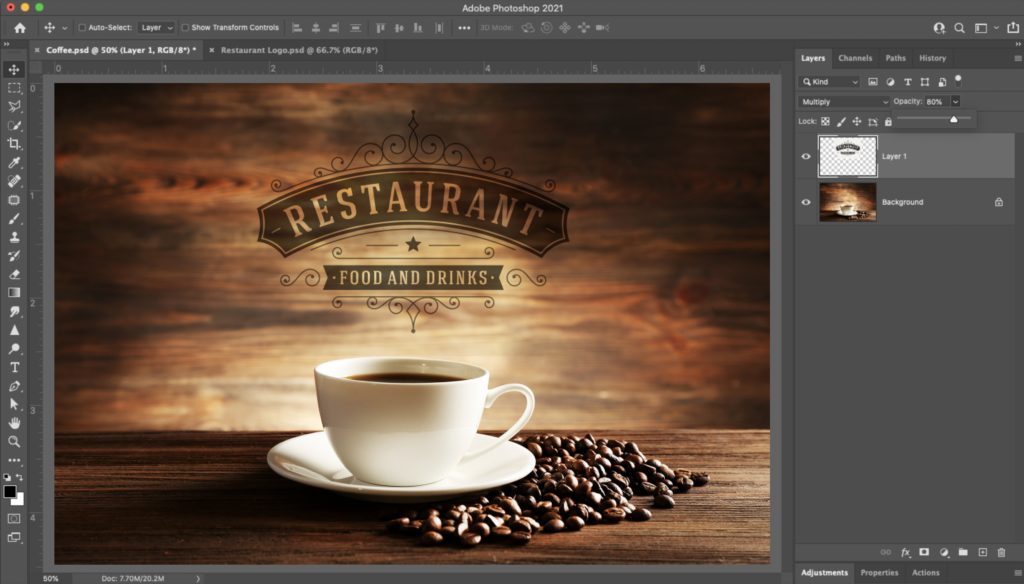
Now go and find which one from the list you think looks best (spoiler alert: I think it’s Multiply, so I choose that, but it leaves a little visible hard edge at the end of the logo image, so I grabbed the eraser tool from the toolbar; choose a large soft-edged brush, and I erased the hard edges. There is a better way to do this, actually, and it uses layers, but that’s for another day, my friends, but we’ll get there). For now, once the logo is looking good, switch to the Move tool and drag it up a bit so it’s not touching the coffee cup at all. Also, as a finishing move for adding logos like this, I generally lower the opacity of the layer a bit, using the Opacity slider in the top right corner of the Layers panel. I reduce it to like 80%, so the logo doesn’t look so “stuck on” there. OK, now that’s we’ve done through all that, we need to delete the logo layer so we can move on to the next thing, so either hit the Delete key on your keyboard or drag this layer into the trash can at the bottom of the Layers panel to delete it.
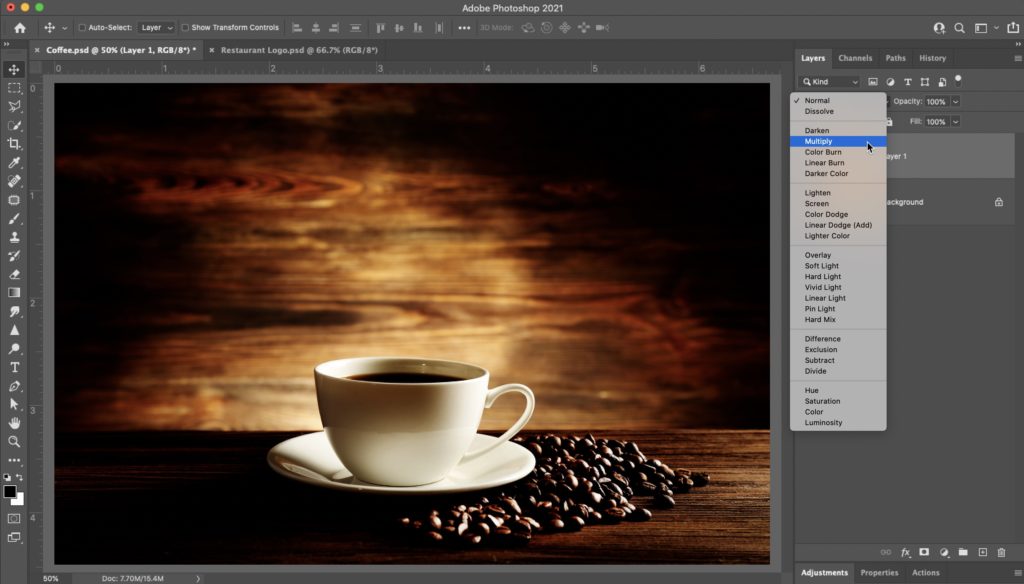
There are four blend modes that you’ll probably wind up using a lot in your work so let’s look at them. To do this, we’re first going to duplicate our background layer, so press Command-J (PC: Ctrl-J), and now you’ve got a duplicate of your layer right on top of the original. Of course, it looks exactly the same at this point because our blend mode for this new layer is set to ‘Normal.” To have this layer blend with our original, let’s choose one of the four most-used blend modes. We’ll start by choosing Multiply. It makes your image darker, kind of like “doubling up on itself” tone-wise, and you can see how much darker. More saturated the image looks with the top layer set to Multiply. So, when you want to darken your image, Multiply is your go-to Layer Blend Mode.
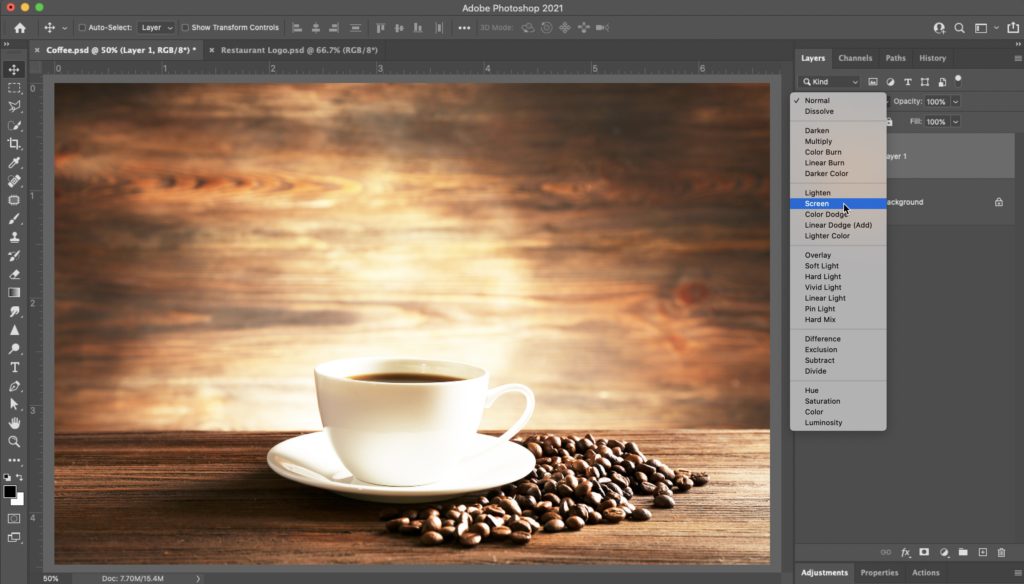
The 2nd of the four “most used” blend modes is ‘Screen,’ and when you choose it, it brightens the image big time (like you see here), kind of like doubling up and brightening rather than Multiply’s darkening.
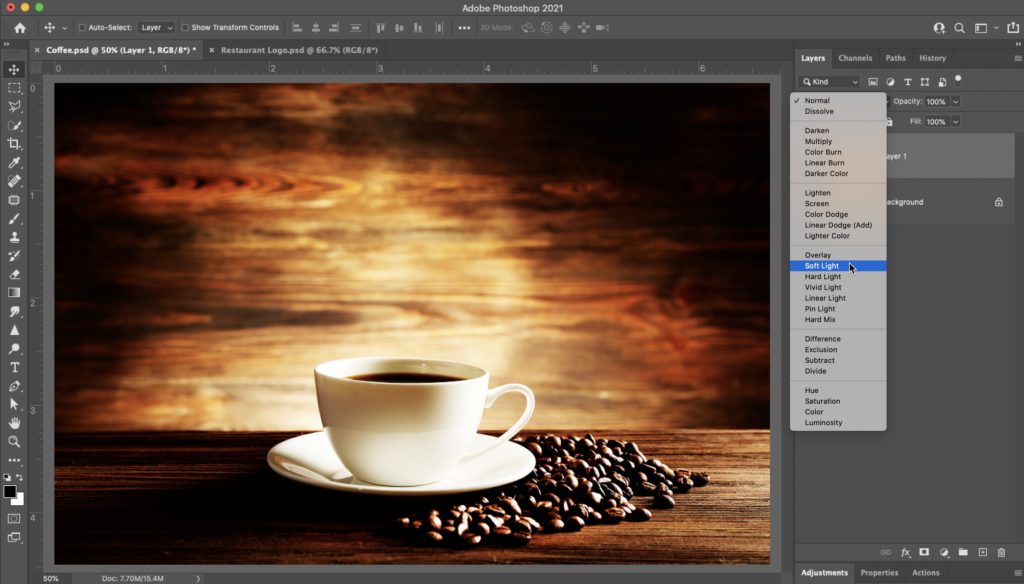
Number three of the “big four” is Soft Light. It adds a nice amount of contrast to your images, making the brighter parts brighter, the darker parts darker, but because it’s adding contrast, it generally makes your image a little darker and richer looking.
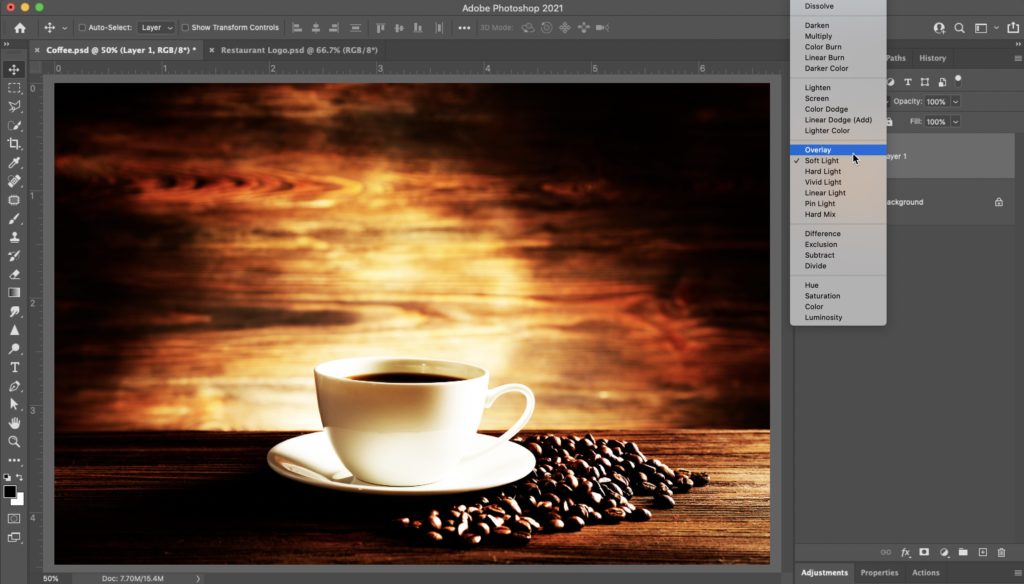
The final one of the big four is “Overlay” mode, and it’s a more powerful version of Soft Light in that it adds more contrast. These last two are great when you want to add a texture over a solid background. For example, if you posed somebody against a roll of seamless paper or a flat wall in their home, and you wanted to add a textured or painted pattern; you would copy and paste the background on top of the portrait then change the blend mode to Soft Light (or a subtle texture), or Overlay (to see a lot more texture). Then you’d erase over the person to cut a hole out of that texture, so it’s not covering their face and clothes, etc.
Well, there ya go – we uncovered just a tiny bit of Layers magic there. Lots more to come, but now that we’ve dipped our toe in the pool, it’s time for a deeper dive next time. See you next week.
-Scott