My Lightroom Classic Tethering Set-up (from top to bottom)
I’m back from my trips to New York, and my family vacation in Maine, so let’s do this! 🙂 Whenever I show behind-the-scenes shots from my shoots, I always get lots of questions about the rig I use for shooting tethered in Lightroom Classic, so today, I’ll break it all down for you.
NOTE: if you haven’t tried tethering in Lightroom for a while, it is now VASTLY better, much more stable, and way, way faster than it used to be. A while back Adobe redid the whole tethering thing (for Nikon and Canon – Sony won’t give them the secret handshake to make their cameras work with Lightroom), and it’s a night and day difference (high-five to Adobe’s engineers).
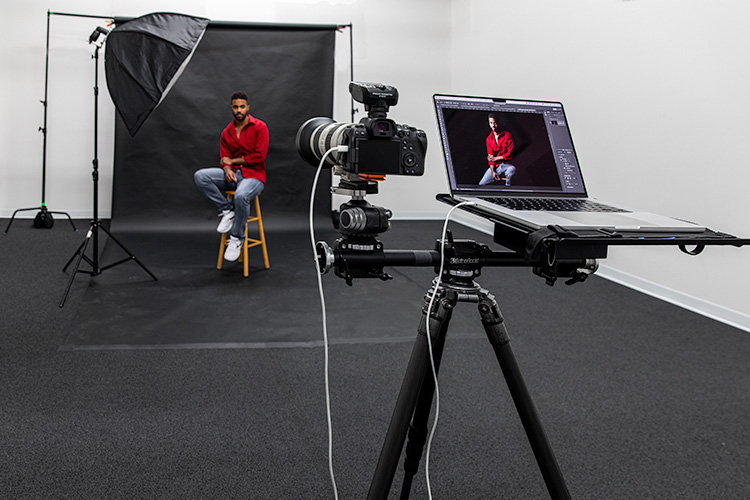
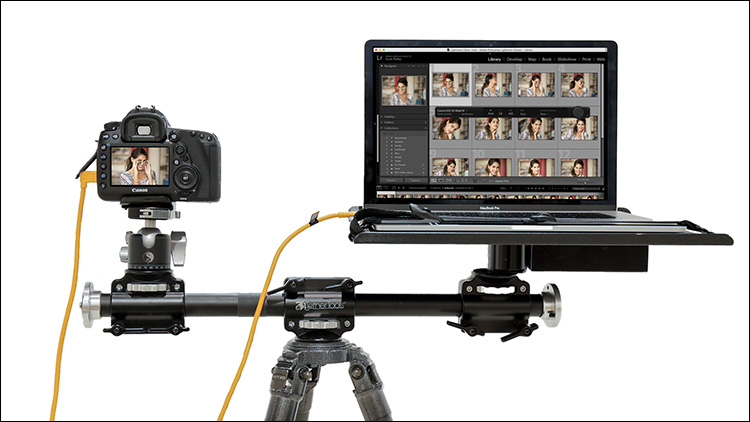
Here’s one of those shots I’m talking about. Hey, what’s with the white tethering cable? Well, more on that in a minute. First, I’m going to show you the rig, and then I’ll break each session down below:
NOTE: I don’t get a commission, or kickback if you buy any of this stuff from Tethertools – this is just the stuff I use in my own workflow, but since I don’t get an affiliate fee or anything, feel free to send me some money if you like (kidding, totally joking).
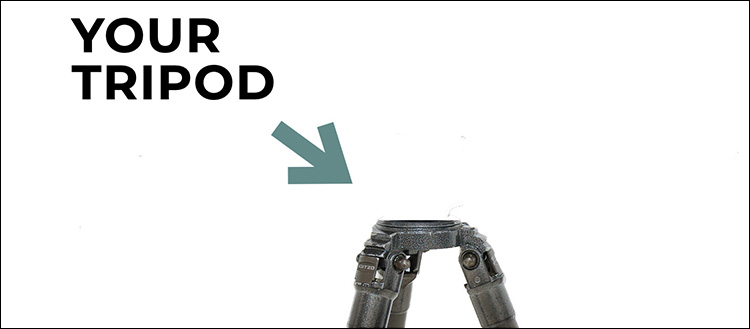
It’s starts with your existing tripod
OK, now let’s break it all down:
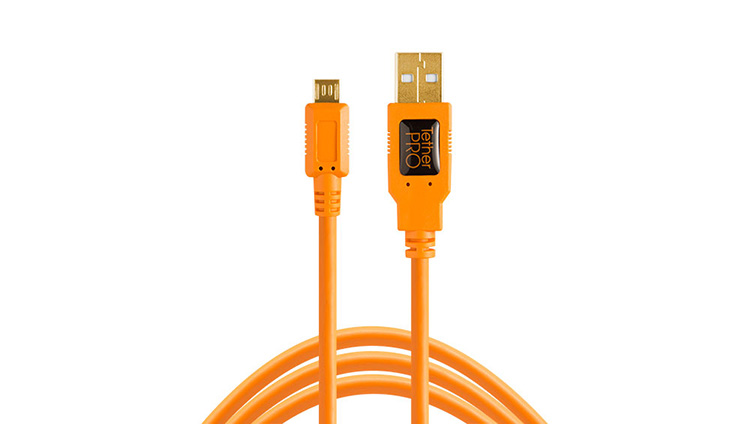
The All-Important Tethering Cable
The long orange cable (like the one you see above) is the essential thing you need to connect your camera to your computer (and into Lightroom). It’s from a company called Tethertools, and their entire company is dedicated to making stuff for tethering, and all the tethering gear itself is from Tethertools (btw: great company, great people behind it, great products, and awesome customer service – I totally dig them!). Anyway, the cables come in different lengths and different connectors to fit your particular make and model of camera (USB 2.0, USB 3, USB-C, Micro-B, Mini-B, etc.). The bright orange color is to help you see the cable in a dark studio environment, so you don’t trip on it. Prices vary based on the length and type of ends chosen but figure around $35 to $55.
Now, so what’s with the white tethering cable in the photo up top?
Went to do this shoot with my new Canon R6 mirrorless; it uses a USB-C connector, and so does my new MacBook Pro, but despite the many Tethertools tethering cables I have, apparently, I don’t have one that’s USB-C to USB-C, so I was stuck. Luckily, Ron, my in-house IT wizard, walked in and said, “Will this work?” and he was holding the short white cable from my MacBook Pro’s wall power adapter. It actually did work, but it’s very short, and of course, now I can’t power my laptop, so, in short, I went and ordered the proper orange cable from Tethertools, but at least this white power cable worked in a pinch. Don’t “do as I did” – go get the right cable.
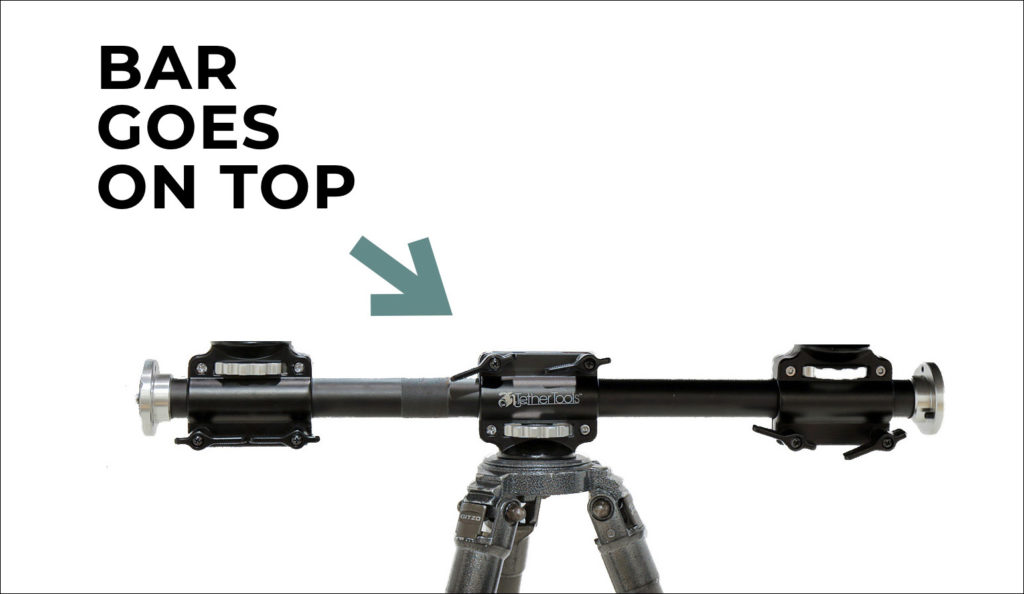
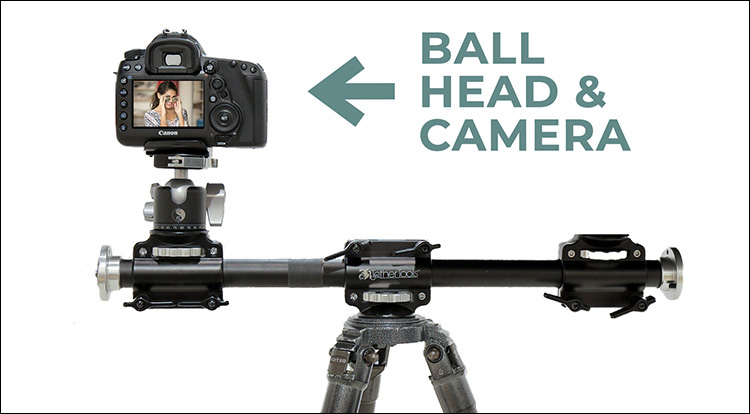
The Bar It All Mounts On
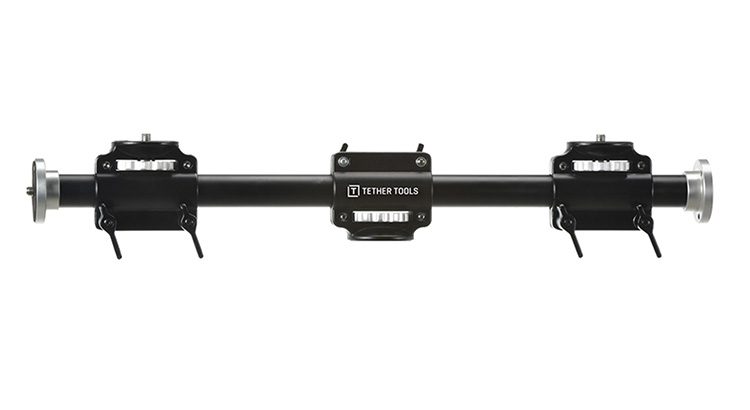
The crossbar that makes this all happen is the ‘Rock Solid Tripod Cross Bar’ from Tethertools (it holds a laptop table on the right and my Really Right Stuff BH-55 Ballhead on the left, (which gives me a place to put my camera between frames, while I’m tweaking the lights, or looking at the images in Lightroom). It’s $129.95 direct from Tethertools or B&H Photo.
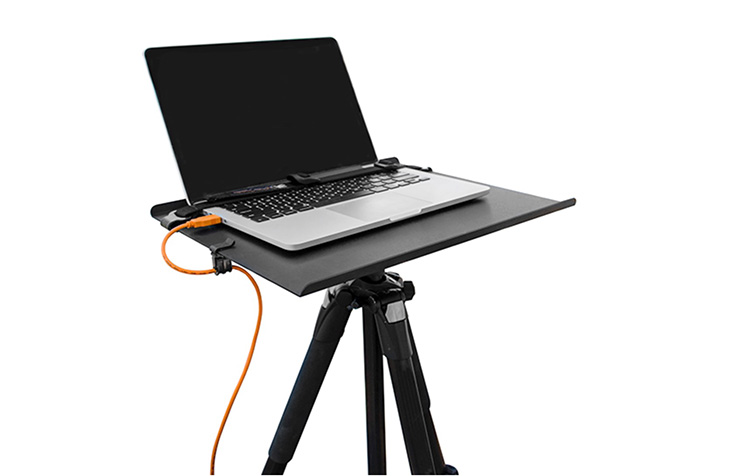
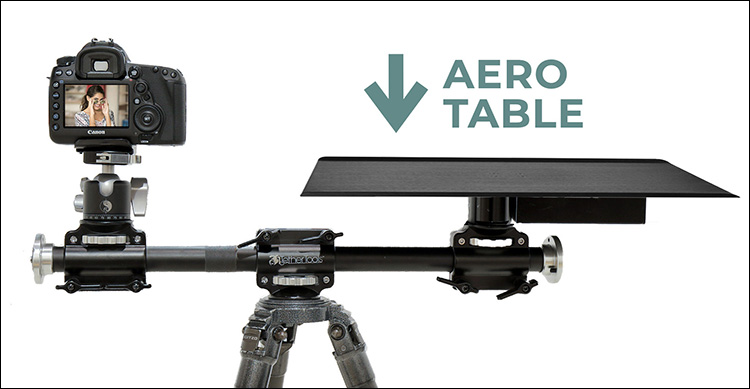
The Laptop stand (and all-important safety strap):
It’s called the Tether Table Aero. NOTE: If you get this, I would strongly (in the strongest, most strongly of strong terms) suggest that you buy the optional SecureStrap that keeps your Laptop from sliding off the table, which is most likely to happen when you and a friend/assistant pick up the rig to move it). It has saved me countless times. Get the strap. It’s a must. It’s strap time. Strap it on. The Aero Table comes in different sizes, starting at $199, and it’s only $20 more if you want a larger one for bigger laptops.
External Hard Drive Holder

The little black box under the left side (Shown circled above) is for holding an external hard drive. That little external drive holder is called the ‘Aero XDC‘ and they make ones that hold one drive or two drives. Super handy because if you don’t have one, then your hard drive is just kinda sitting there leaning against your computer, waiting to fall off during the shoot (said from experience). Around $55.
A Rolling Base For Your Rig
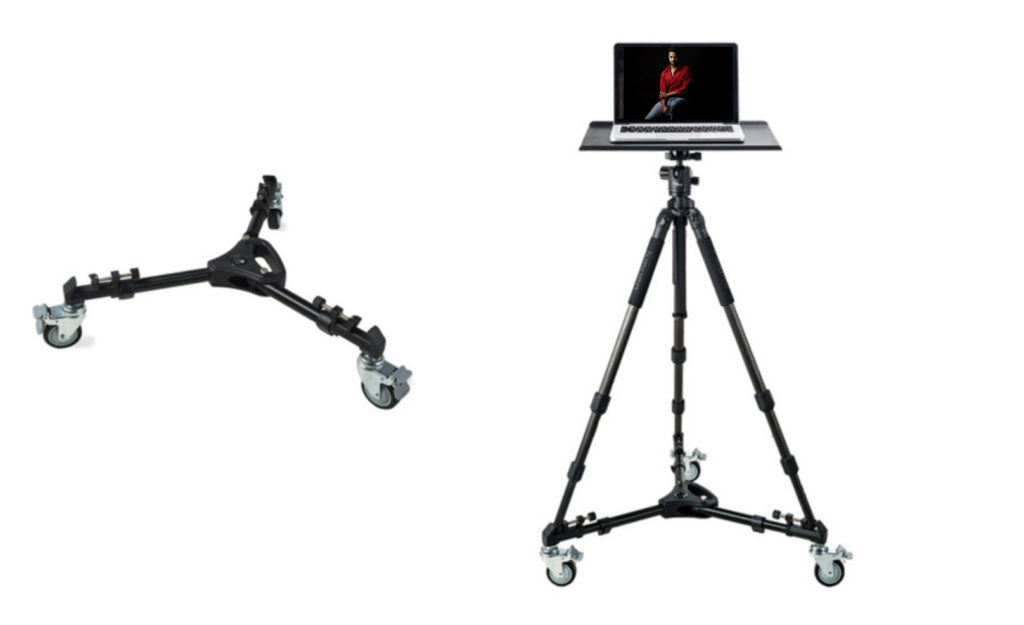
The accessory to this system that I have deeply fallen in love with is their Rock Solid Tripod Roller, (seen above), which lets you easily roll the entire rig around rather than having two people pick it up and carefully move it around the studio, which I often have to do a dozen or so times during a shoot. This way, your tripod sits right in special mounts on the roller, and it just glides around. It’s much safer, and faster, and you don’t need a 2nd person to wheel it around (nor do you have to worry about your laptop falling off when it’s just gliding across the floor, much like Belle in Beauty and the Beast. But I digress). It’s around $79. Can’t recommend it enough.
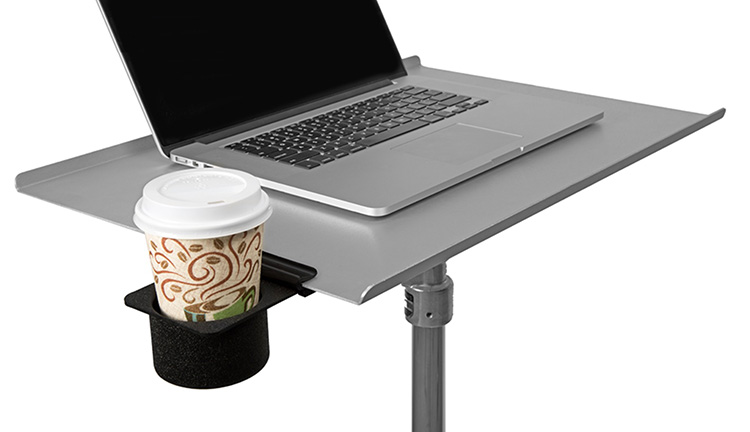
Not Seen, But Felt…
You can’t see it in my behind-the-scenes photo, but it’s super awesome is their optional Aero Cup Holder accessory, which slides under the Aero Table, and you slide it out when you need it. It can hold a water bottle or coffee cup, but it’s also awesome for holding your phone during the shoot, or extra batteries, or whatever you need handy during the shoot. It’s $29.95. Totally worth it.
You can get any of this gear direct from Tethertools or from the greatest camera store in the world, B&H Photo.
Hope you found all that helpful, and here’s to an awesome tethering experience! 🙂
-Scott
P.S. I am super psyched – I’m getting to speak in front of an in-person event again! Next month I’m one of the speakers at the big NECCC Photography Conference up in Amherst, MA. The conference is July 15-17, 2022, and I’m teaching all three days, and a pre-conference session as well. Lots of great speakers, and tons of classes and events. Here’s the link to sign up (hope I’ll see you there)!