Moving Your Classic Catalog to a Different Drive
Last week I wrote about how to point the Lightroom Classic catalog to a new drive for your photos, and someone asked about moving the catalog and previews too. I thought that would make a great post for this week. Thanks, Stephanie!
Now, don’t go moving your catalog around just for fun. This would only be if you had a pressing need, such as you need to replace the drive it is currently on, or maybe you had the catalog on an external drive, but now you want to move it onto your internal drive. All things being equal, you will always get better performance from the catalog when it is stored on an internal drive versus an external drive (especially if that internal drive is SSD).
Ok, here’s how to make the move simply and safely:
Step One: Go to Lightroom > Catalog Settings > General (under Edit menu on Windows).
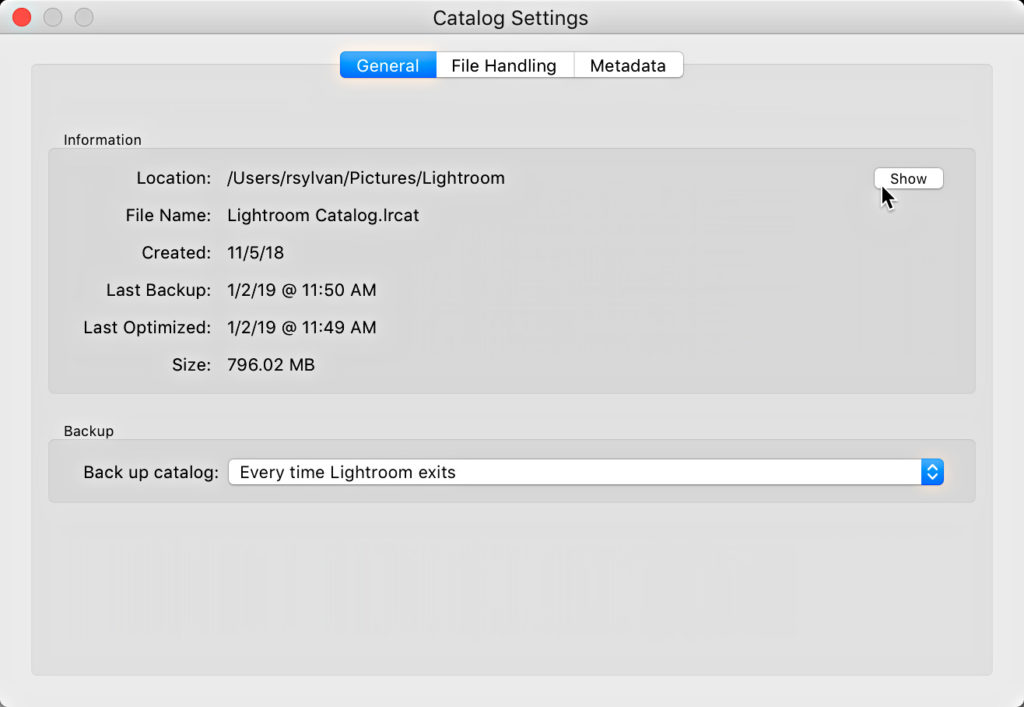
Step Two: Click the Show button on the General tab of the Catalog Settings to open the folder containing your catalog in your file browser.
Step Three: Quit Lightroom. If prompted to backup, click skip for now (unless you haven’t backed up for a while, in which case you might want to run that backup).
Step Four: Copy the entire folder containing the Lightroom catalog (.LRCAT) and its associated preview caches to the location you want it to be stored (pick a locally connected internal or external drive).
Step Five: Once the copy operation is complete, double-click the catalog file to open it back into Lightroom. This way you can make sure all is working fine, and the new location will be included in the preferences. Then update your Default Catalog preferences.
Once you are 100% certain the copy of the drive is secure and functioning correctly you can go back and safely delete the original catalog (and its associated preview cache) from the original location. You will then move forward with the catalog in the new location.