Hi, gang and greetings from what will be a very windy, rainy, yucky Florida in a day or so (needless to say, we’re watching the storm very carefully and preparing as much as we can, but at this point, there’s only so much we can do. Thanks to everyone who has sent a good word or a prayer. It’s very much appreciated). Anyway, we can’t let Irma stop the learning, so here we go!
This quick little tutorial is a very handy one for folks who take multiple images from Lightroom over to Photoshop for compositing or blending images together (and something you might not think about because it’s not real obvious at first).
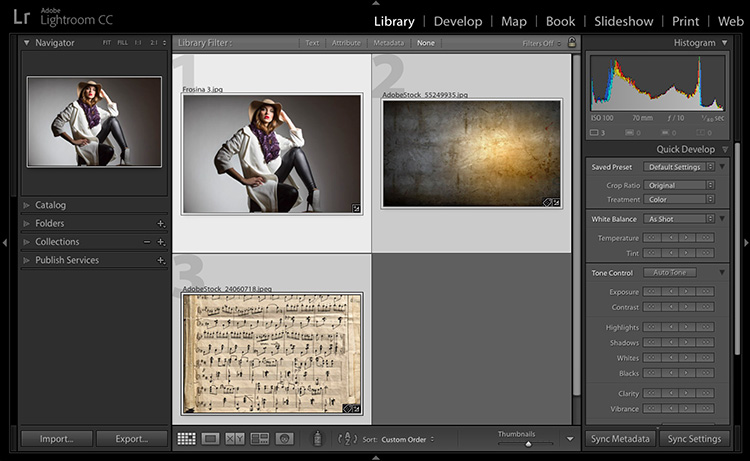
STEP ONE: Start in Lightroom by selecting the images you want to take over to Photoshop to composite or collage together. When you get to Photoshop, normally you’ll wind up dragging or copying and pasting each of these images into one main document to build your composite, and that’s where this tip saves a lot of time and trouble.
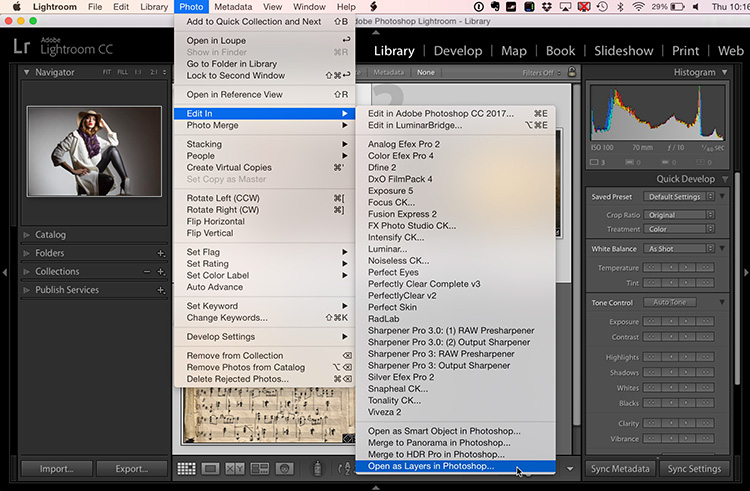
STEP TWO: Once your images are selected, go to the Photo menu up top (or right-click on any of the images) and in the menu that appears, go to ‘Edit In,’ and way down at the very bottom is an option called ‘Open as Layers in Photoshop.’ Choose that.
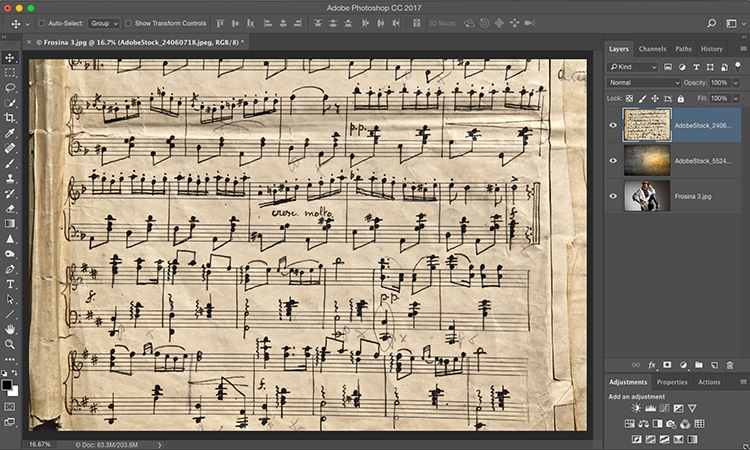
STEP THREE: That will launch Photoshop and automatically put all three of those images into one document, each on their own separate layer (btw: it will put them in reverse order, so whichever image appears first in Lightroom will be the last (topmost) layer in the layer stack in Photoshop. Also, whichever image is the last image in Lightroom will wind up being the document where it puts the other layers. In this case, I knew I wanted my subject on the background layer, so I could blend in a background texture and sheet music over her, so I reordered the image in my collection BEFORE I jumped to Photoshop putting her last.
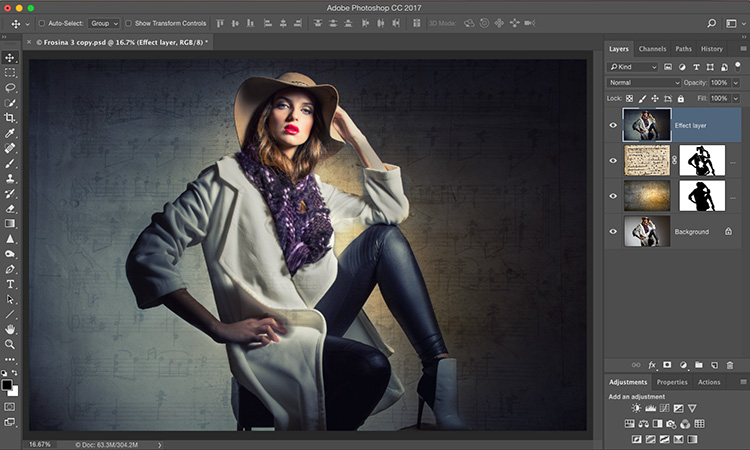
STEP FOUR: Once in Photoshop, and once on their own separate layer, I was able to easily use Layer Blend Modes and Layer Masks to add both the background texture, musical notes texture, and add a cross processing look and the Radial Filter (either in Lightroom or Camera Raw — both will do it easily), to finish off the image.
If you want to learn how to add these textures and do the masking (it’s so incredibly easy), you can catch my class on compositing and masking hair over at KelbyOne.com (see below).
Well, that’s it for this Hurricane Irma tutorial weekend post. Hoping you all stay high and dry! (us, too!).
Hoping you all stay high and dry! (us, too!). 🙂
Best,
-Scott