
Editing in Photoshop from the New Lightroom CC
I’m sure many of you regular Lightroom users have begun testing the waters with the new Lightroom CC app for Mac/Win. One thing I came upon that is a little different from what we are used to with Lightroom CC 2015, and now Lightroom Classic, is the Edit in Photoshop workflow. There’s a potential for lost work if you’re not careful, so I wanted to highlight that, as well as show what’s different.
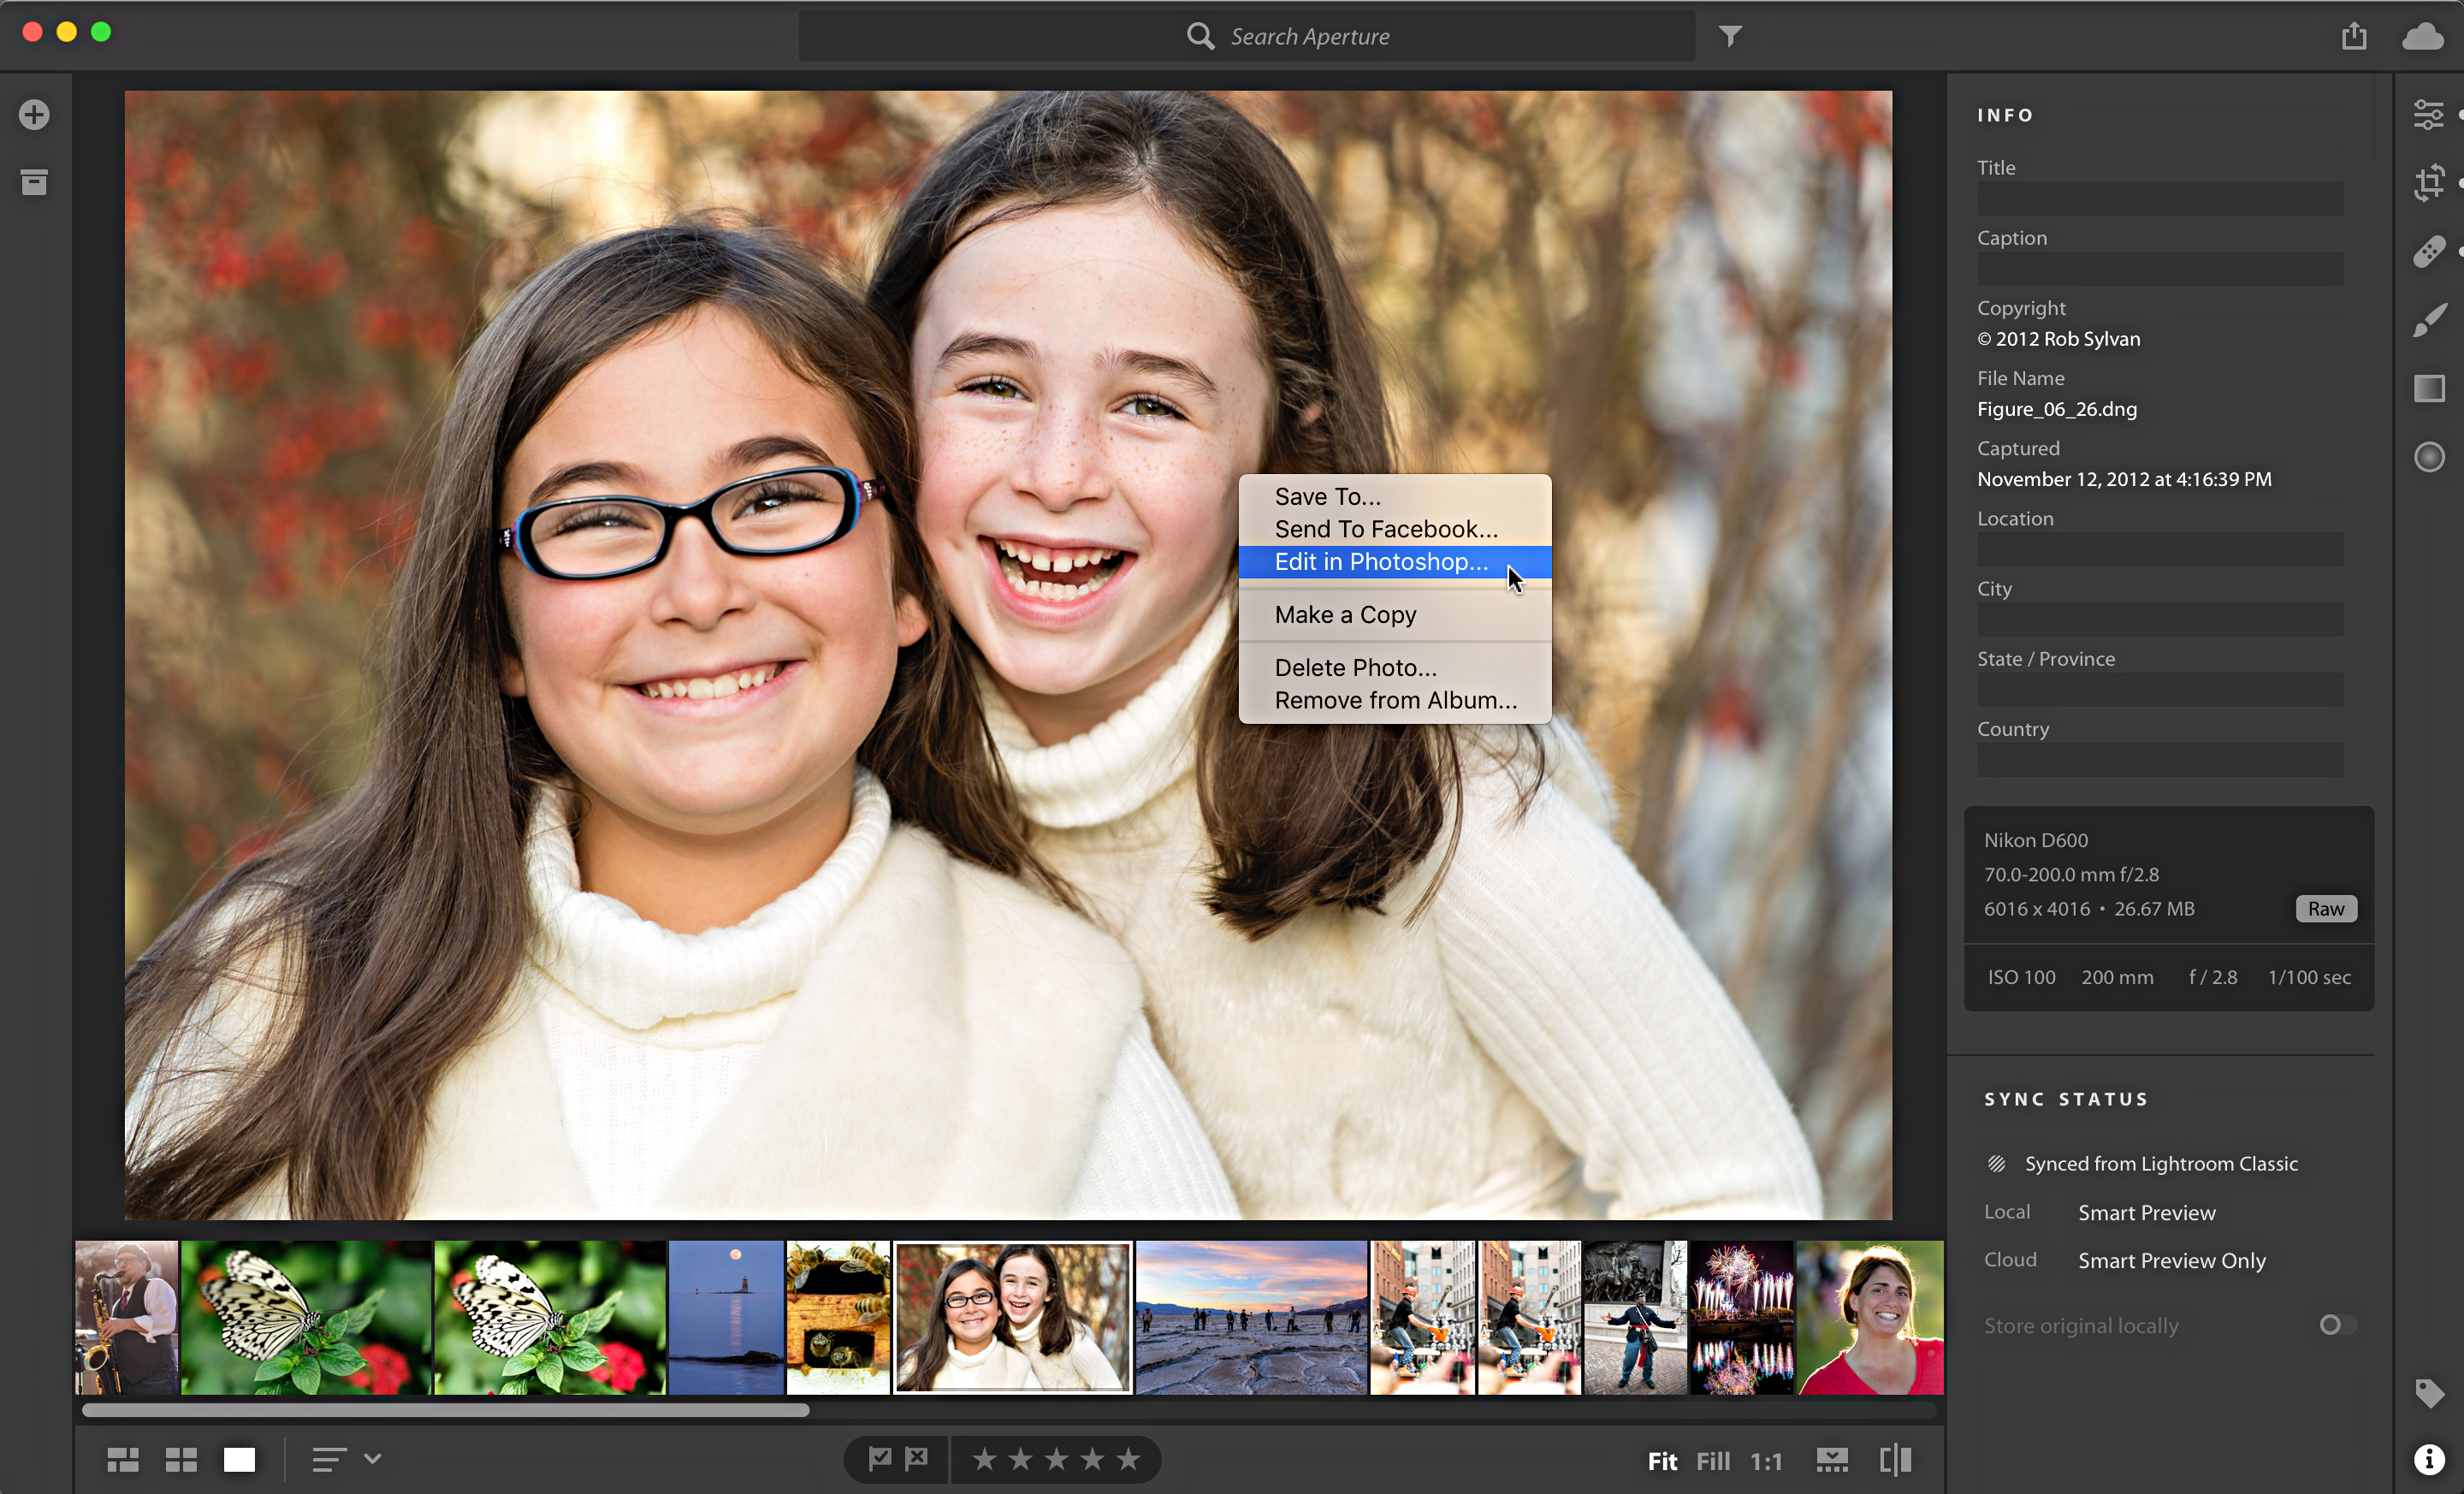
Assuming you have the CC subscription that includes Photoshop (and not the Lightroom CC only subscription), when you are ready to send a copy to Photoshop you can do so in a number of ways. You can control-click (PC: right-click) the photo to access the contextual menu, and choose Edit in Photoshop.
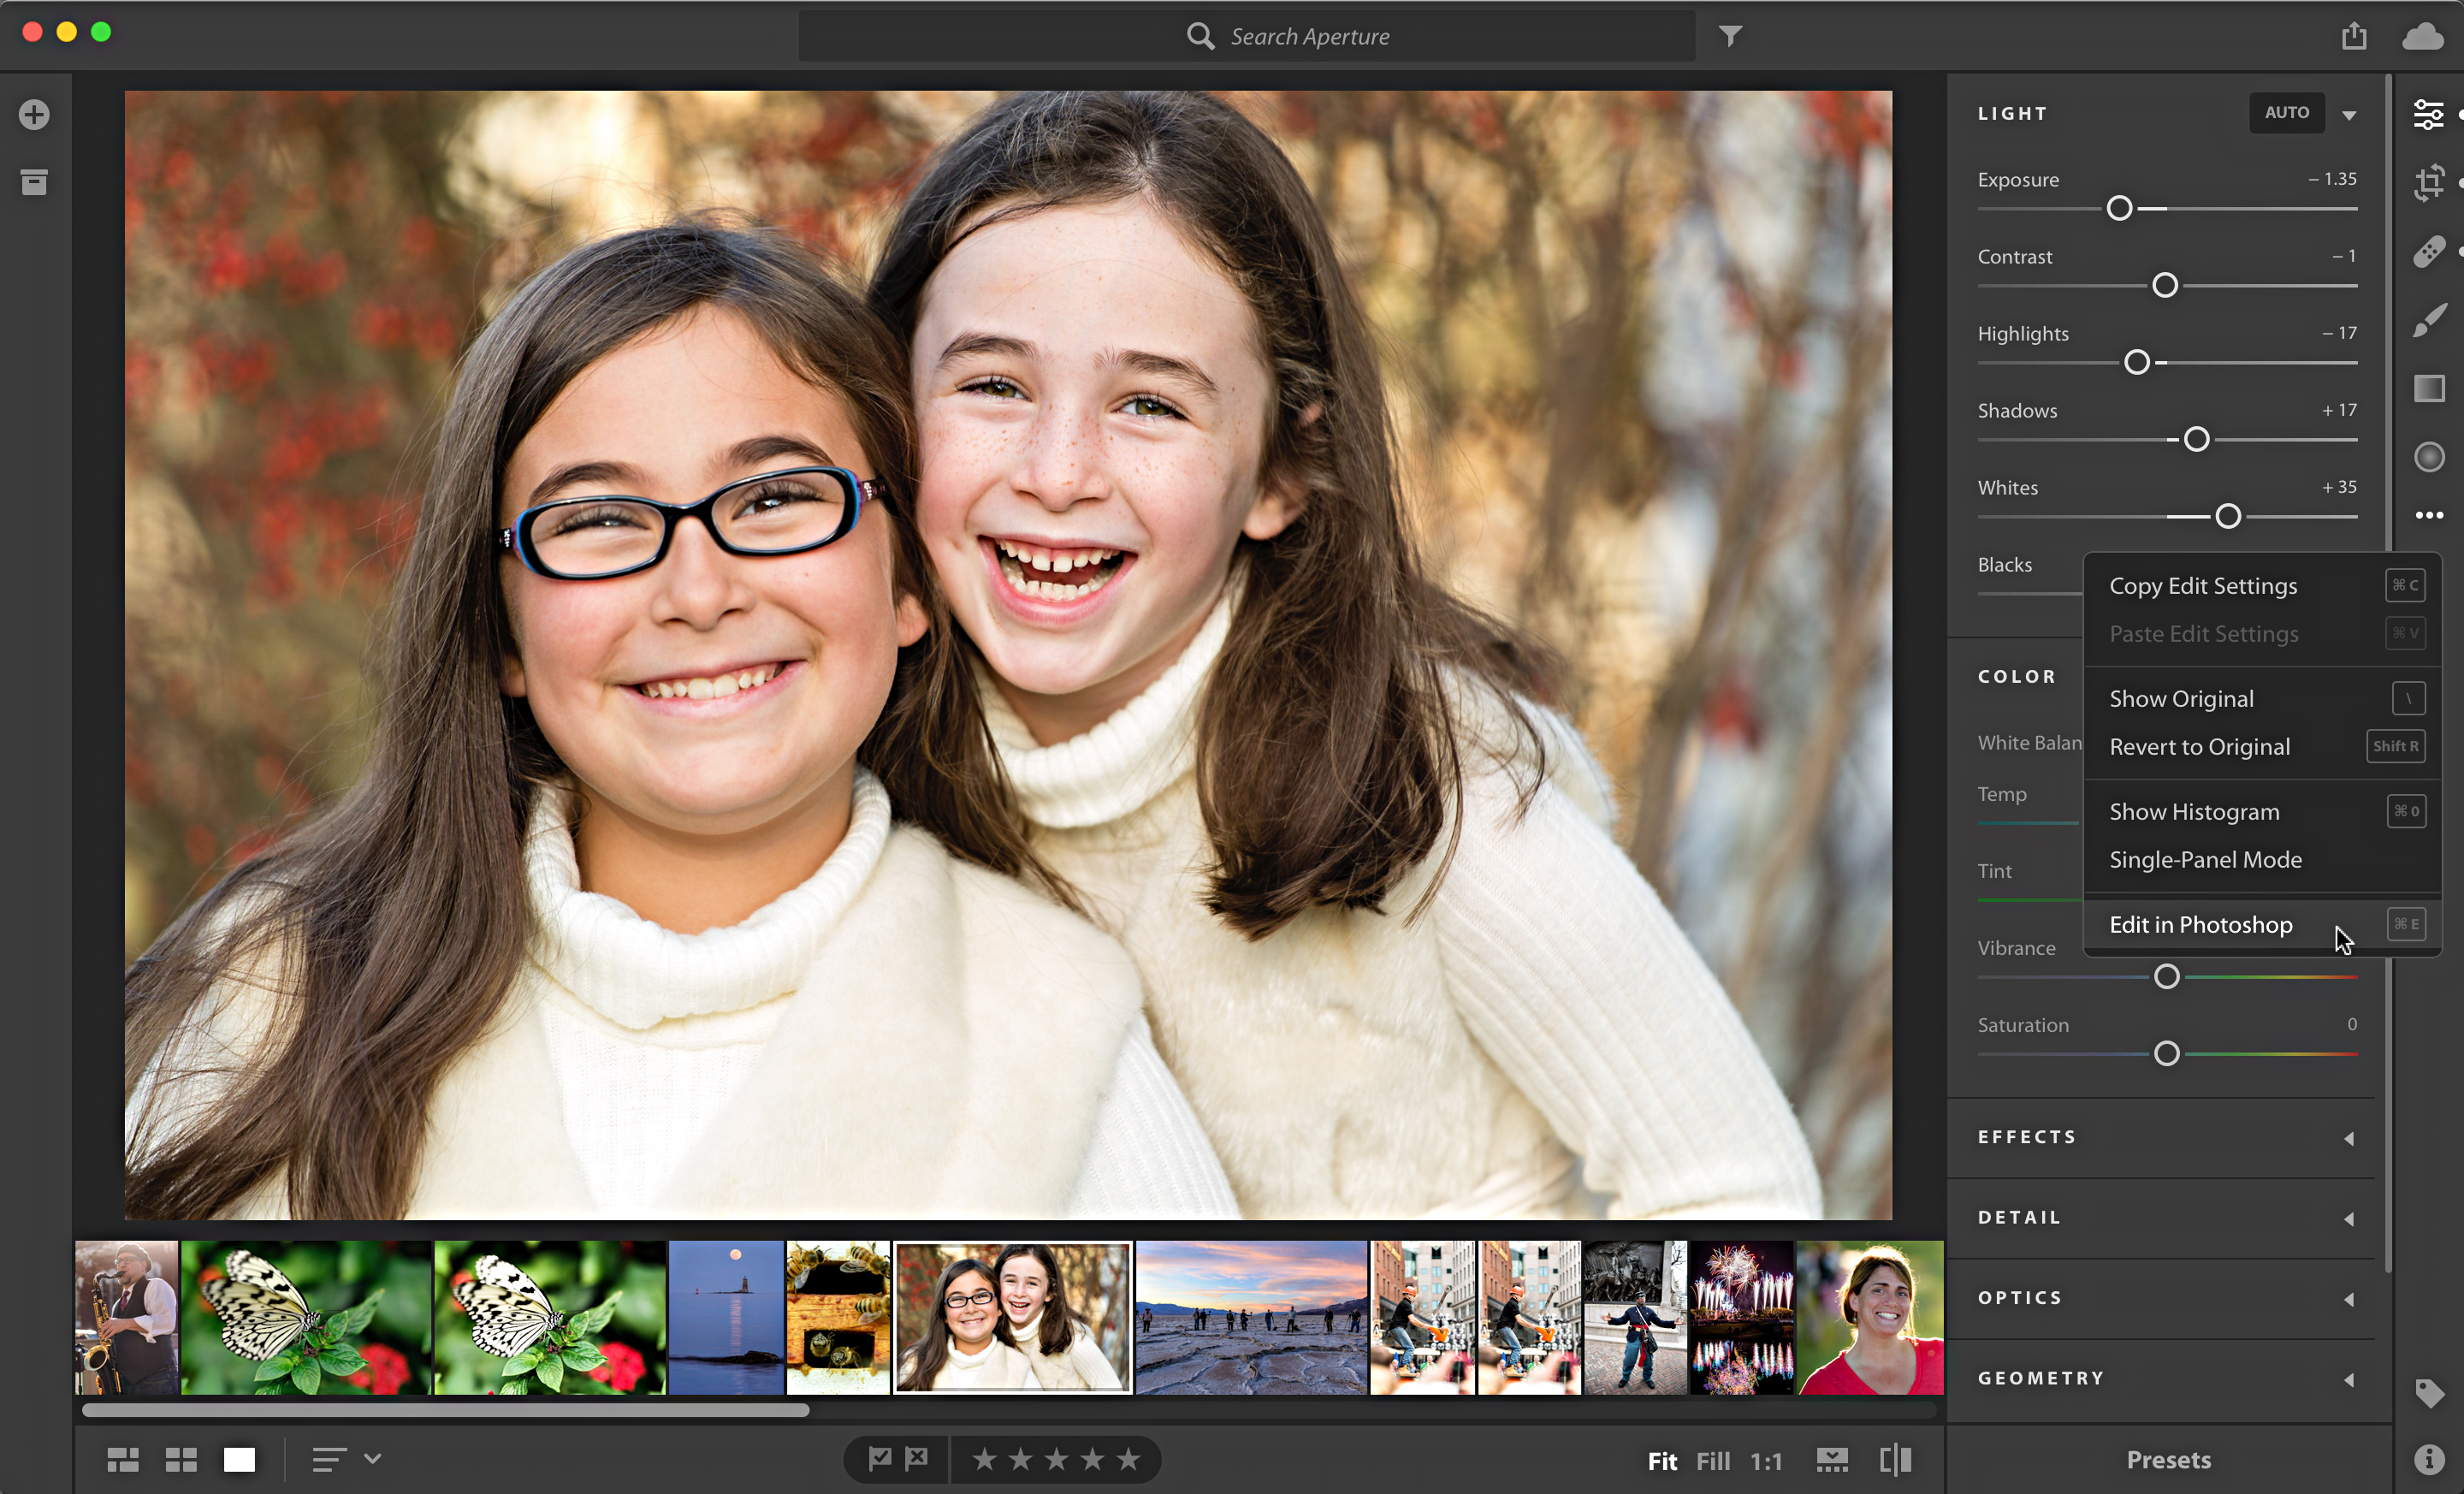
Or, if you are in the editing tools, you can click the three dot menu on the right, and choose Edit in Photoshop from the list.
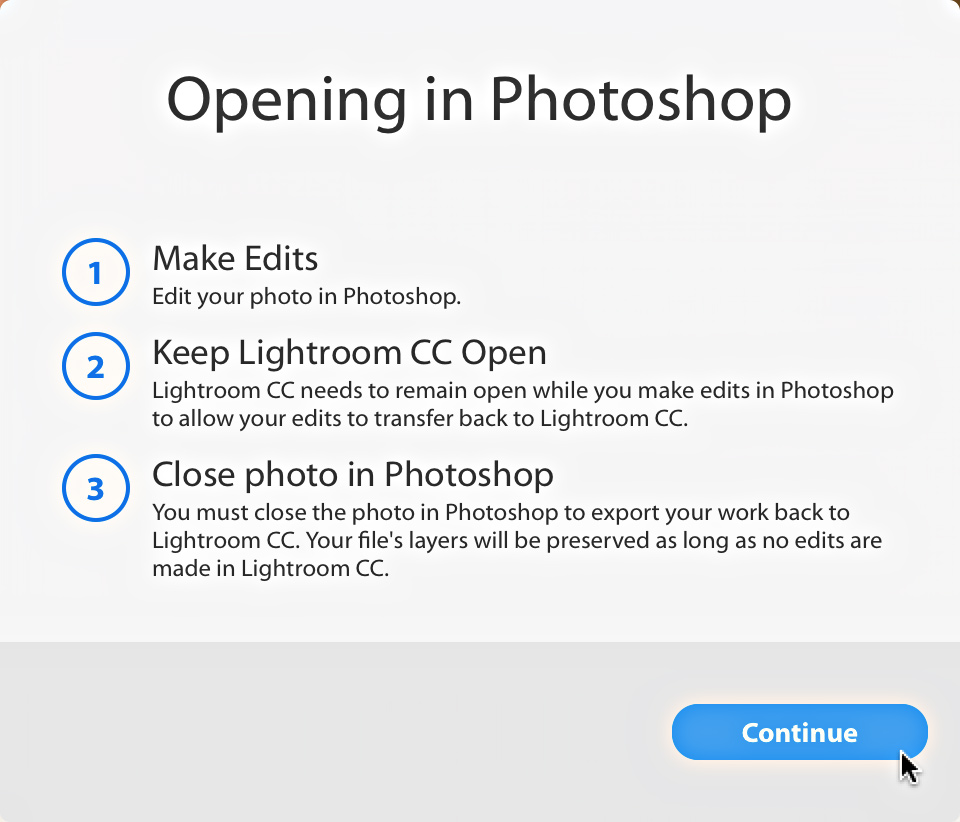
Or, use the File > Edit in Photoshop menu, where you will see that our familiar CMD+E (PC: Ctrl+E) shortcut is used. The first image you send to Photoshop will result in a popup showing you the steps. This is easy to dismiss, so here it is.
There are not edit in Photoshop preferences in Lightroom CC (at least none that I can find), so a 16 bit ProPhoto RGB TIF copy is made and appears in Photoshop automatically (I got the same results using a raw photo, a JPG, and even a smart preview). As that popup states, you want to keep Lightroom CC open in the background while you work in Photoshop. When you are done, save your work (File > Save), then close the photo out of Photoshop. The new copy will be added to Lightroom CC, and start uploading to the cloud. It is a TIF file, so having multiple layers in the final document is fine.

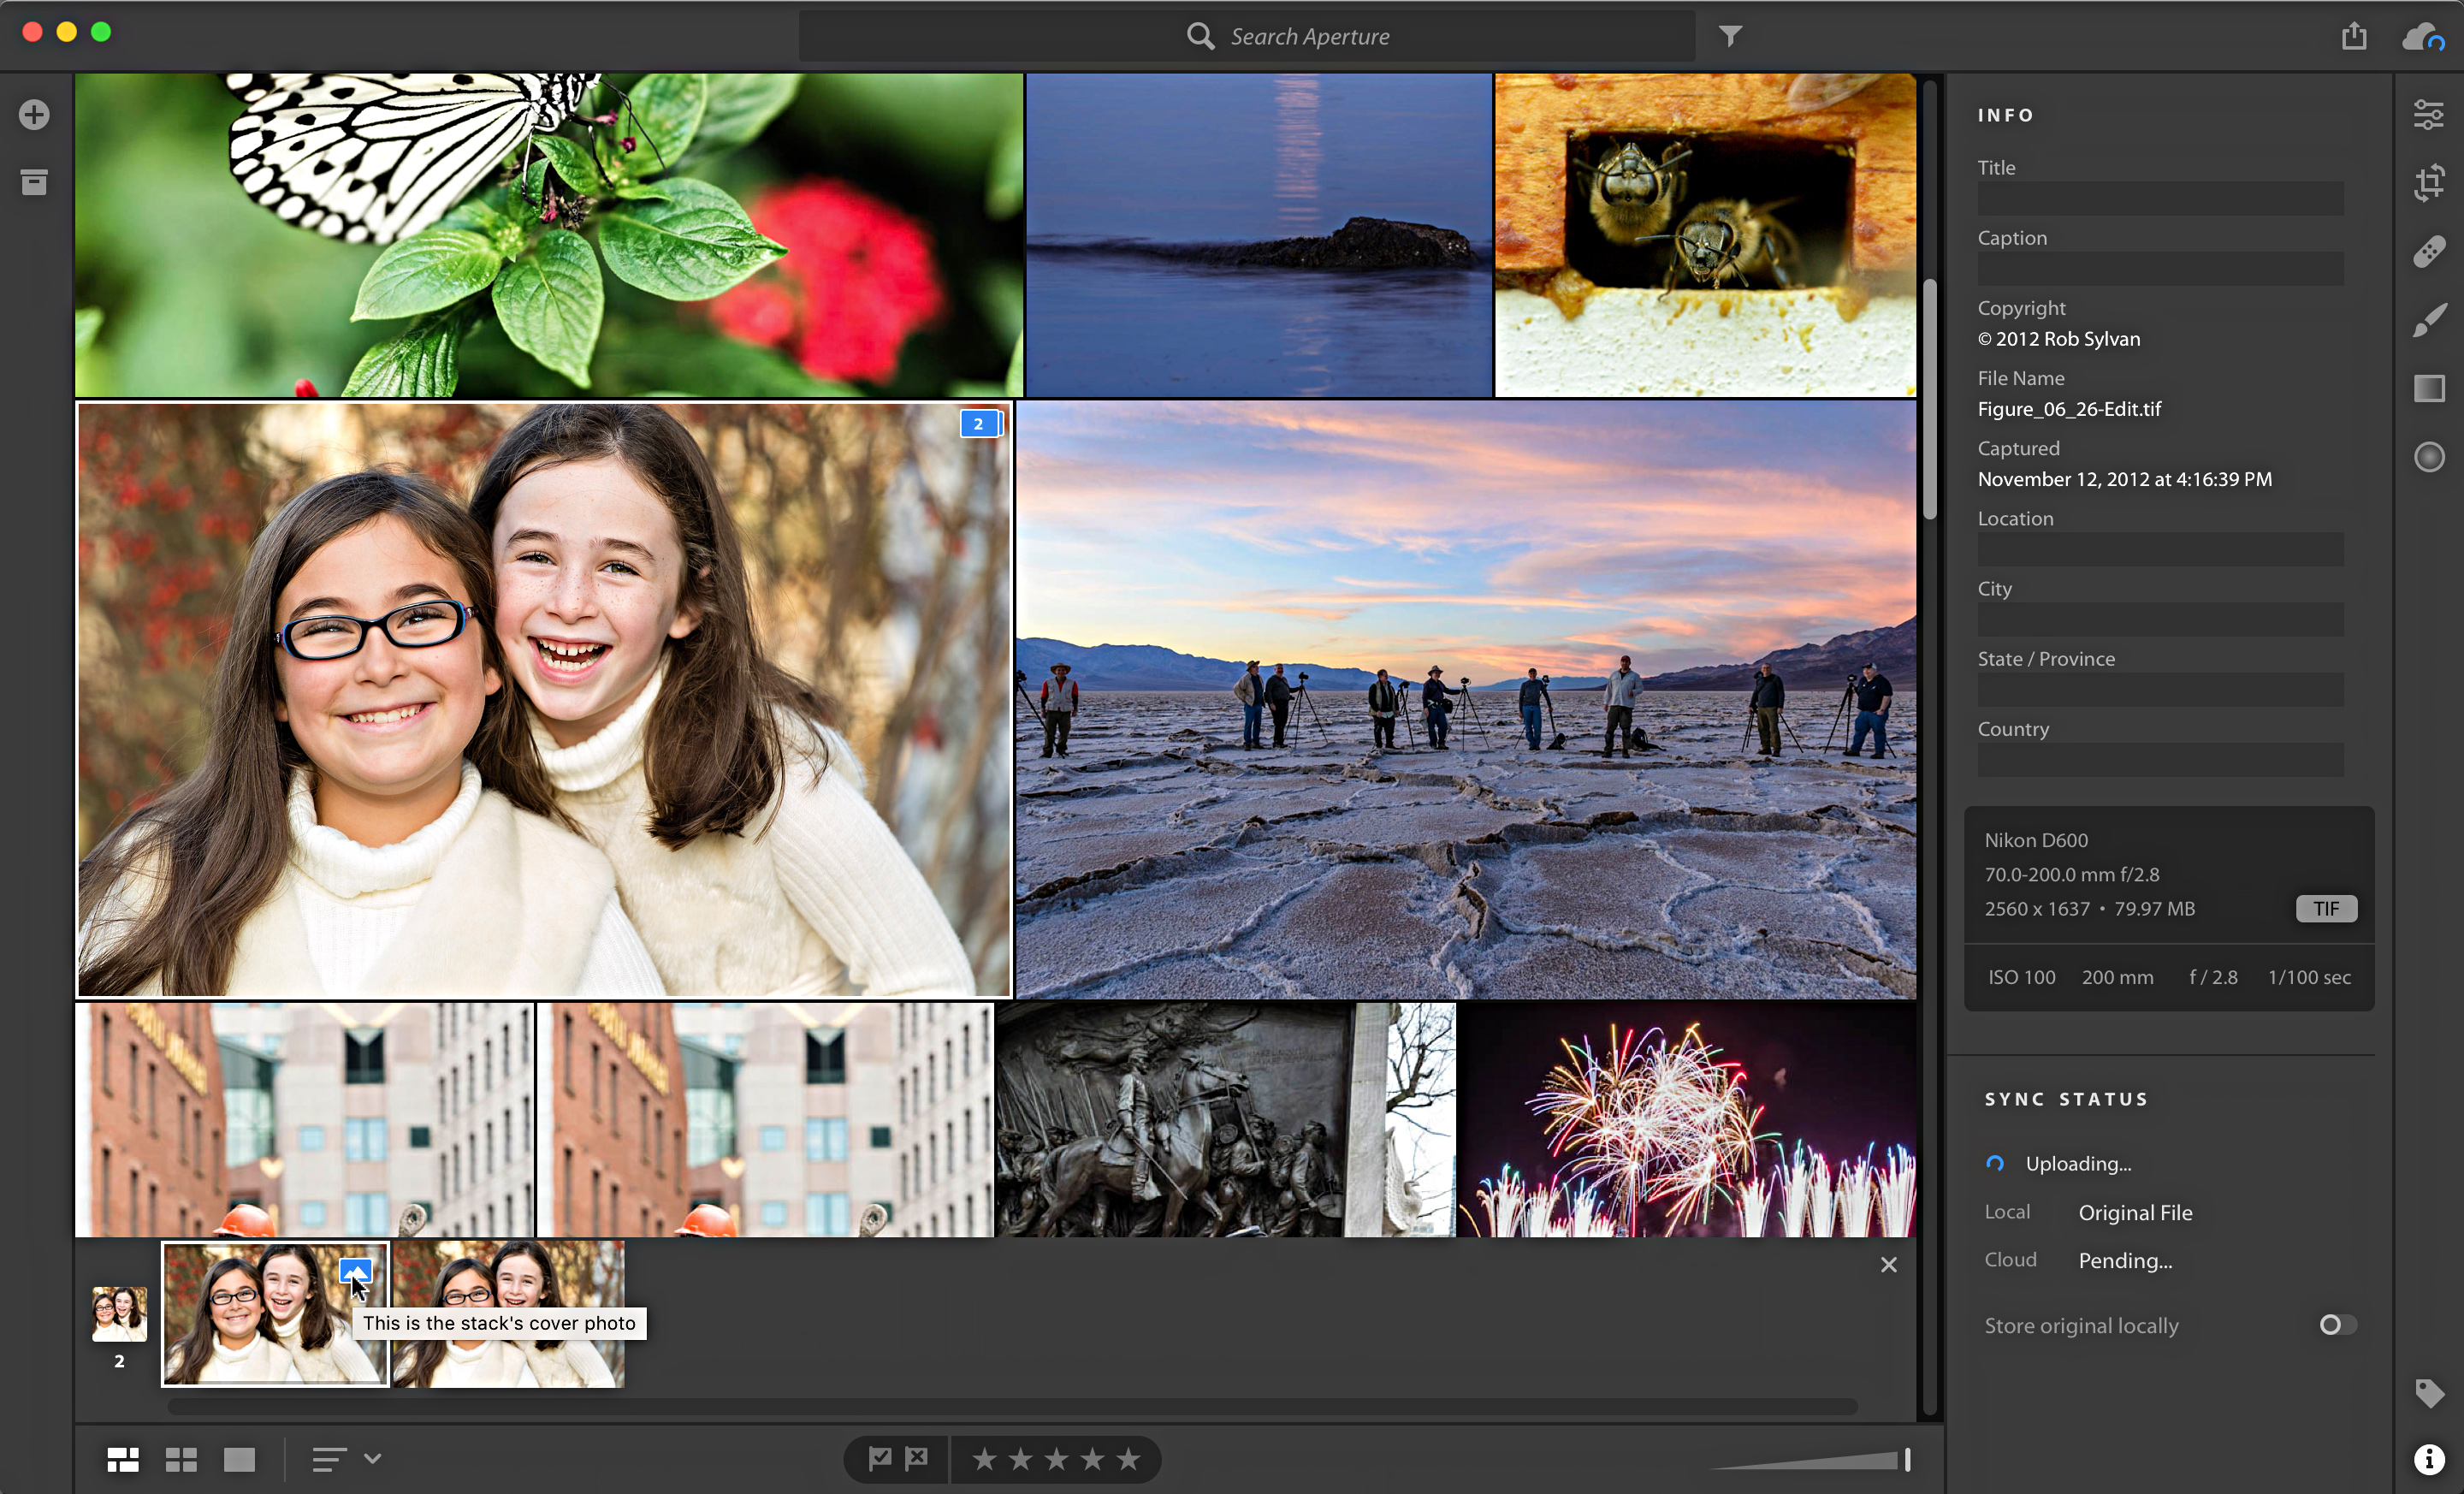
Back in Lightroom CC, you’ll see the new copy is stacked with the original, and a number appears on the thumbnail indicating how many photos are in the stack.

Click that number to see the contents of the stack appear in the strip below.
Here’s the part I want to make you aware of, since there is no “Edit Original” option from Lightroom CC, if you added layers to your photo during editing in Photoshop, and want to preserve those edits, do not do any further adjustments in Lightroom CC. I say again, do not do any further adjustments to that layered photo in Lightroom CC. If you do make edits in Lightroom CC to that layered copy, and then send that photo back to Photoshop, you will find that the layers have been flattened (and the new adjustments applied). That’s what the popup means when it says, “Your file’s layers will be preserved as long as no edits are made in Lightroom CC.”
As long as you make no further adjustments to the TIF copy in Lightroom CC, the layers are preserved. You can select that photo again and use any of the above methods to Edit in Photoshop, and you should see your layered version appear in Photoshop. Has anyone discovered any other differences in this workflow?

