The Hidden Amount Control For the Adjustment Brush
Happy Tuesday everybody. Here’s a fairly hidden slider that allows you to change the amount (intensity) of all your Adjustment Brush edits for the selected pin, at the same time (this will make more sense once you see it).
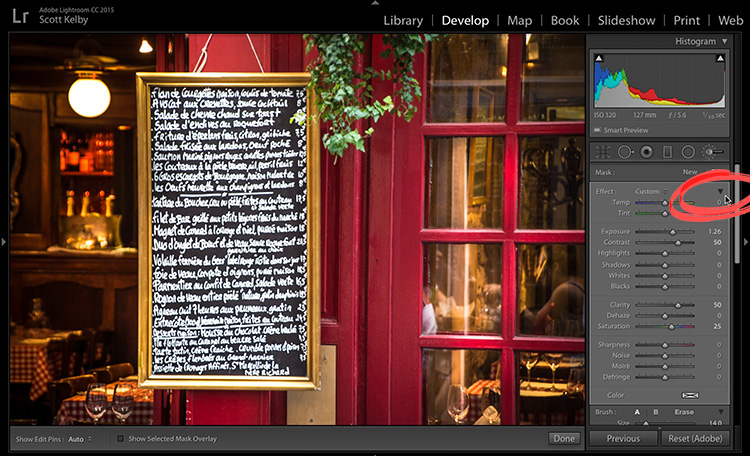
STEP ONE: Get the Adjustment Brush; move multiple sliders (as shown above) and paint somewhere in your image. Now, if you look at the top right corner of the panel, you’ll see a little black triangle (shown circled in red above). That’s a “flippy triangle” (also known as a disclosure triangle), and it’s aiming down, which means it’s already displaying (or disclosing) all those sliders. Go ahead and click on that disclosure triangle.
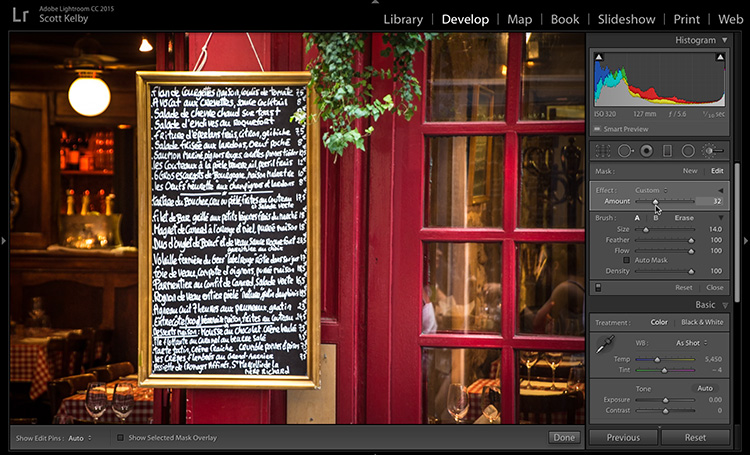
STEP TWO: Since it was already expanded, instead it tucks all those sliders away, but it reveals something new — an Amount slider. What makes this slider to awesome is that it lets you adjust the overall amount of all the sliders at once with just that one slider. Here, I dragged the Amount slider to the left to 32, to reduce the overall amount of all those sliders at once.
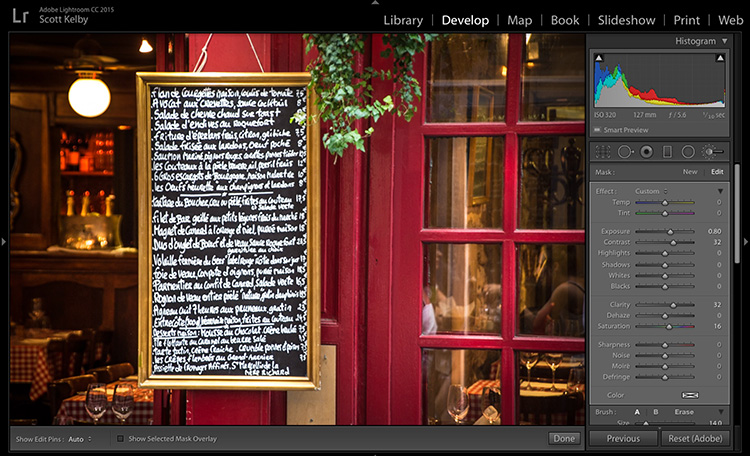
Above: Switch the flippy disclosure triangle back and you’ll see that all your sliders have moved to the left. The Exposure was +1.26 and the Contrast was 50. Now the Exposure is only 80 and the Contrast is down to 32. Clarity went to 50 to 32. The Saturation is down from 50 to 16.
So, there ya have it. It’s hidden no more. 😉
Hope you find that helpful.
Best,
-Scott