Skin Softening in Lightroom Quick Tip
On Friday I was teaching my seminar in Hartford (shout out to all the awesome folks who came out to spend the day), and on one of the breaks between classes, a gentlemen came up and asked:
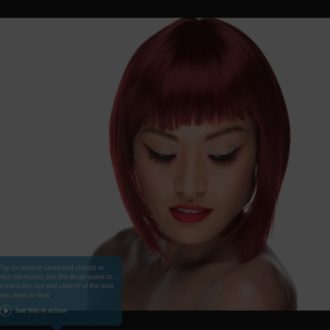
“Is there’s an easy way to soften skin in Lightroom?”
Then he explained the workaround he was currently doing, which started in Lightroom, it took a lot of steps, and I think it included a trip to Photoshop at some point. Anyway, there’s a preset in the Develop module that, while it’s not awesome for high-end retouching, it’s OK for what he’s looking for — simple quick softening.

If you go to the Adjustment Brush, you’ll see a pop-up menu to the right of the word “Effect” — click and hold on that menu at near the bottom of the list of presets you’ll find one called “Soften Skin.” Choose that, and it puts some simple settings in place that you can use for simple skin softening.
OK, that’s the tip (told ya it was quick).
If you’re KelbyOne member, I did an entire class on portrait retouching just using Lightroom alone. Here’s the link if you want to check it out.
Here’s to a better than average Monday! 🙂
Best,
-Scott