CollectionsFeatured How Lightroom Classic Users can do a Visual Search (cooler ... Last night, I was a guest on this week’s KelbyOne Community Live (hosted by the awesome Chicky Nando), and the topic was my SLIM System ... Scott Kelby February 9, 2024 2
ExportFeatured Create a Photo Summary in Lightroom Classic Export I came across a post in the KelbyOne forum recently where someone was asking if it was possible to create a version of the results ... Rob Sylvan February 8, 2024 1
FeaturedLightroom Tip Tuesday Today Kicks Off “Lightroom Tip Tuesday” – short video tips ... That’s right – today I’m launching a new short series here on the blog – short one to two minute videos with a helpful tip (well, ... Scott Kelby February 6, 2024 5
Backing UpCatalogFeaturedLightroom Classic New Course: My Simplified Lightroom Image Management System (the “SLIM” ... Last week we released a new course on how to finally get really organized in Lightroom Classic – and it’s the most recent version of my ... Scott Kelby February 5, 2024 0
EventsExportLightroom CloudLightroom Mobile Great video: How to Find People in Lightroom Now, in the video (by the awesome Terry White), he says this is only for Lightroom ‘cloud’ users, but if you’re a Lightroom Classic users, ... Scott Kelby February 3, 2024 1
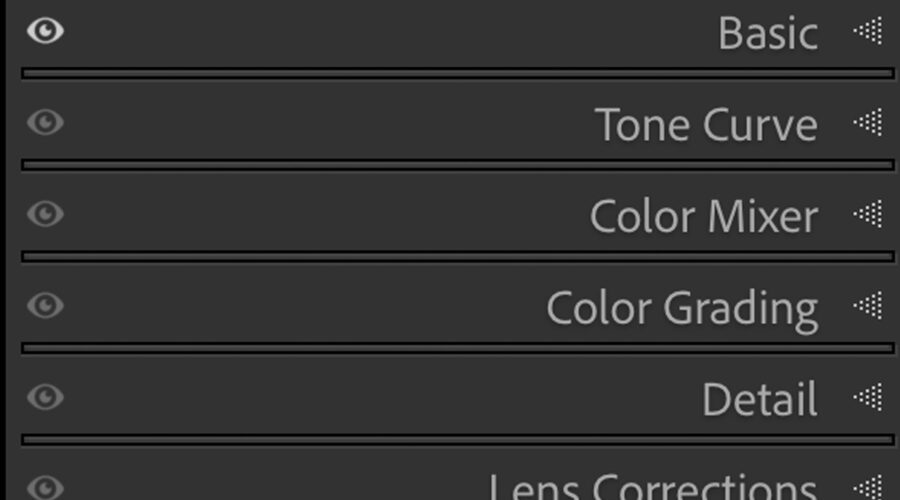
DevelopEvents How To Reorder Your Panels In Lightroom Classic If you find yourself using some panels more than others (heck, there are some I really don’t use at all), you can easily reorder them ... Scott Kelby January 29, 2024 4
Uncategorized Lightroom in 60-Seconds: How to speed your work using ‘Scrubby ... I use these scrubby sliders every day to speed up my work, and these are one of those little features that can make a big ... Scott Kelby January 26, 2024 1
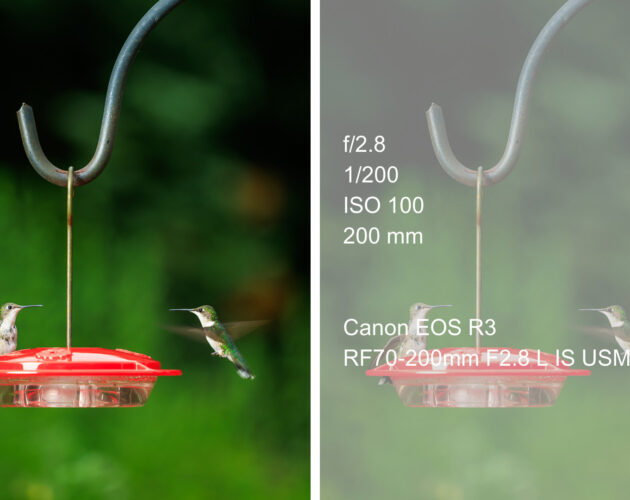
FeaturedMasking How to Easily Create Lighting “Fall Off” in Lightroom Using ... This is something I wind up showing a lot of “The Grid” when we do blind critiques. “Fall off” is a lighting term, and it’s ... Scott Kelby January 22, 2024 0
FeaturedLightroom ClassicPrint How To Use Lightroom’s Identity Plate to Add a Fine ... Here’s how to create a nameplate using your own signature that goes at the bottom of your prints (or even a slideshow) in Lightroom Classic. ... Scott Kelby January 19, 2024 0
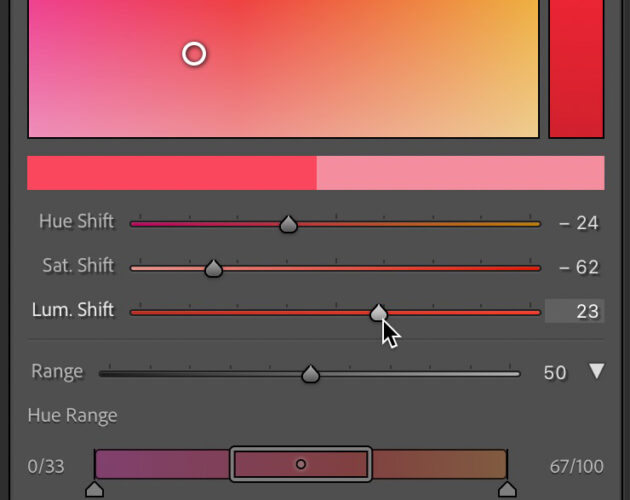
DevelopFeaturedLightroom ClassicLightroom Updates Get to Know Point Color in Lightroom Classic In the 2023 Adobe MAX release of Lightroom Classic, Lightroom, and Camera Raw we got a few new editing tools to add to our workflows. ... Rob Sylvan January 17, 2024 2