Lightroom Classic: How To Cut The On-Screen Clutter
After Friday’s tutorial for more advanced users, I thought today I’d share one for some newer users, and it how to unclutter your screen by strategically hiding the four panels that eat up screen space and make your editing experience look more complicated than it needs to be.
To open or close any panel, you can click the little triangle icon on the edge of the panel, but since you’ll be opening/closing these a lot during your workflow, I recommend using their keyboard shortcuts instead (which are listed below).
NOTE: All of these shortcuts “toggle”; press them once to hide the panel(s) and press that shortcut again to show it again.
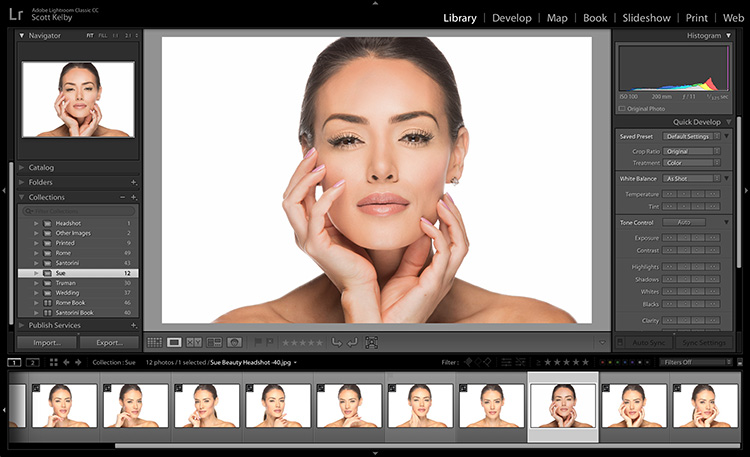
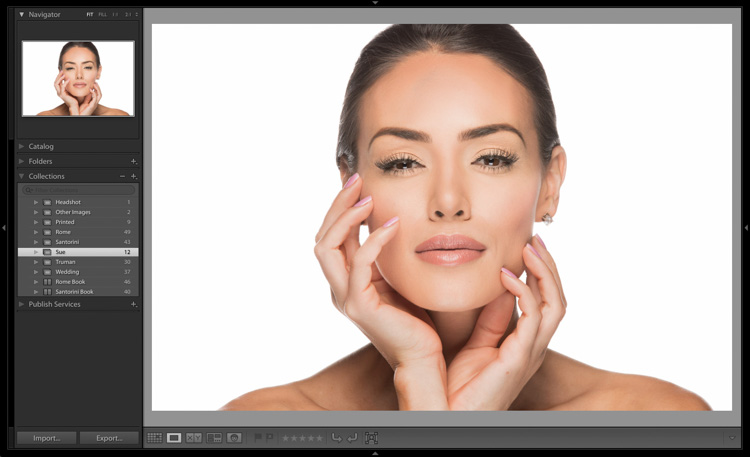
Above: Here’s the standard view, with your image surrounded by panels, left, right, top and bottom.
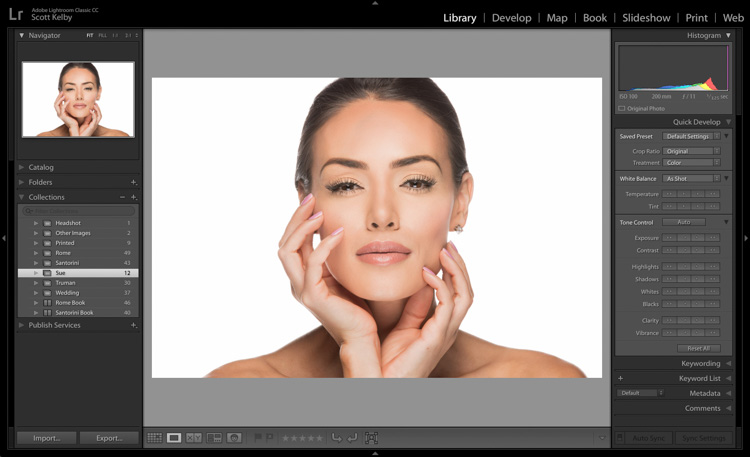
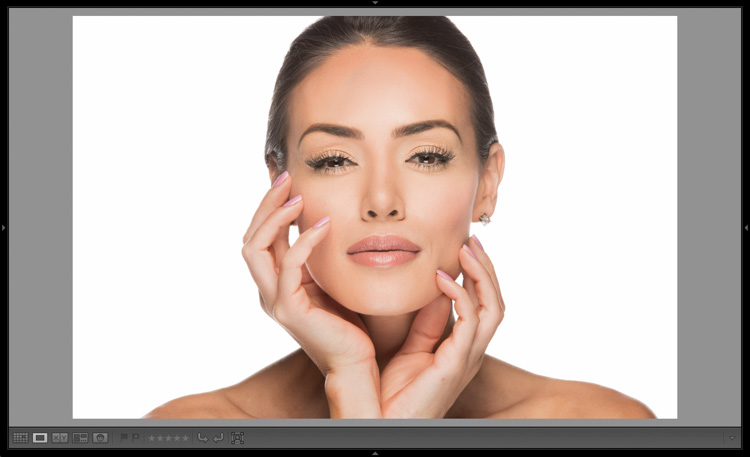
Above: To hide the filmstrip along the bottom of the screen, press F6 on your keyboard.
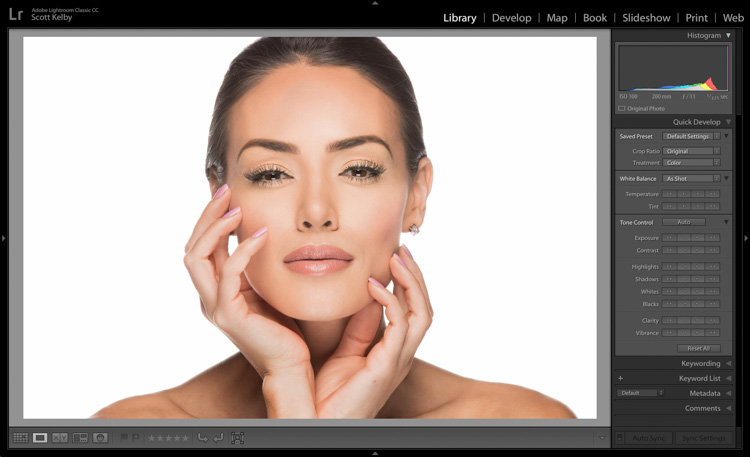
Above: This is my preferred working layout, with the Filmstrip hidden and the Left side panel is hidden as well (by pressing F7). Look how much larger the image appears now. You won’t need the left side panels as much, so it’s a great one to keep hidden while you work.
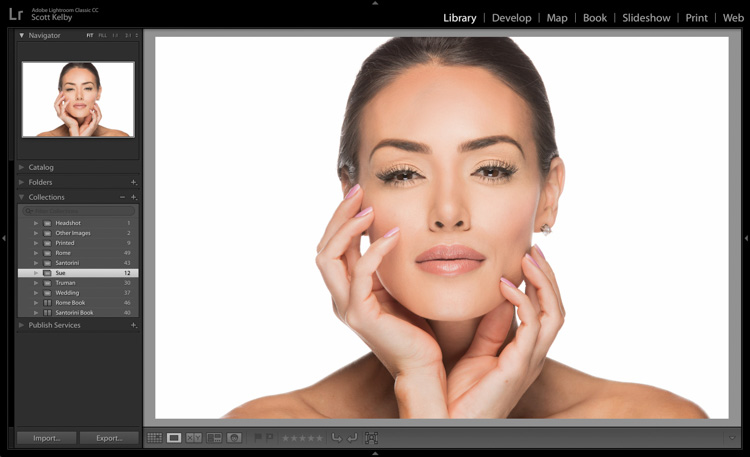
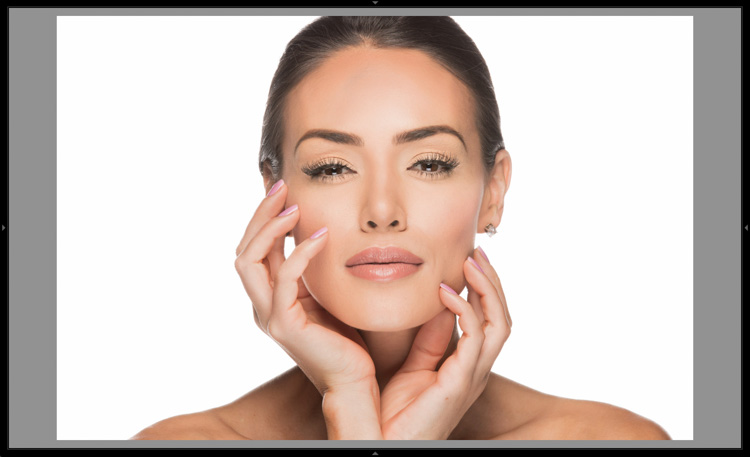
Above: Here’s what it looks like with the Right Side panel hidden (press F8). The only problem with this layout is — you can’t do much to your image using only the left side panels.
Above: Here’s the view with the top navigation bar hidden (the Module Picker) as well. To hide the top Nav, press F5 on your keyboard. This is another you won’t use that often (plus, you can jump to the Develop module any time by pressing the letter “d” on your keyboard).
Above: Here’s the super uncluttered view when you hide all the panels. I use this view when I want to evaluate the image without any distractions. The keyboard shortcut is Shift-Tab. However, you’ll notice that the Toolbar still appears along the bottom of the screen.
Above: To remove the Toolbar at the bottom as well, press the letter “T” on your keyboard.

Above: For the ultimate in uncluttered, press the letter “F” on your keyboard to enter
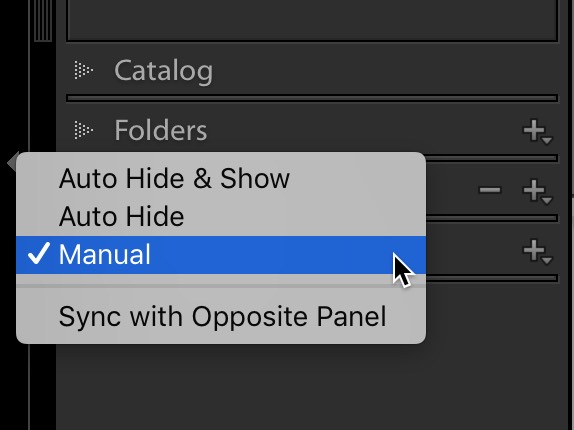
NOTE: If you want to change your panels so they don’t keep automatically “popping in/out” when you least expect it, right-click on the arrow at the edge of the panel and choose “Manual” (As shown above). Now they will only open/close when you use the keyboard shortcut or click on the arrows yourself manually.
Hope you found that helpful. Have a great day, everybody! 🙂
-Scott
P.S. If you want to learn how to light beauty headshots (like the photos you see above), I have an entire class on it on KelbyOne.com — not just the lighting, but the Lightroom post-processing and Photoshop retouching, too. Here’s the link (and I put the official trailer for the course below).